


zipper pouch for my planner
Ever since the big announcement about THE DOCUMENTED LIFE PROJECT people all over the world have been posting photos of their cool planners and journals. I love all of the sharing and communicating that has come from being a part of this project.
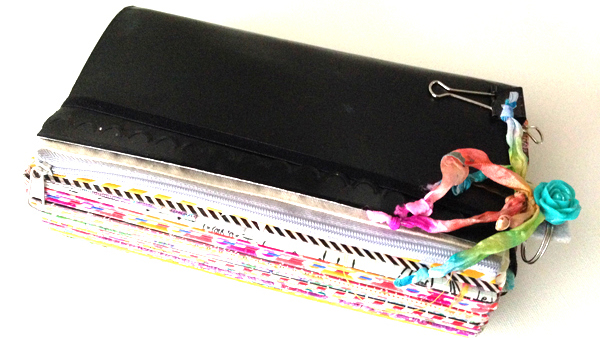
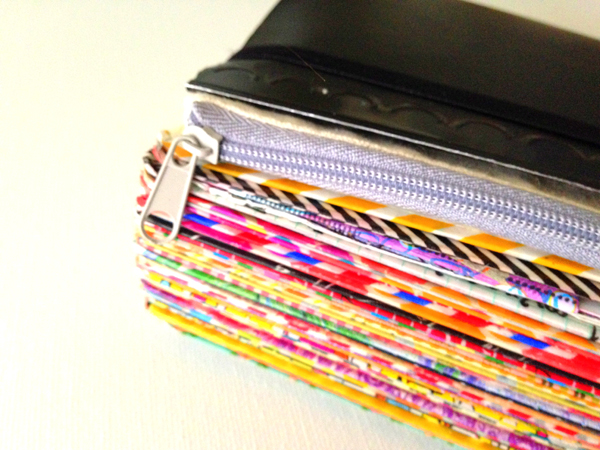
I have had quite a few fellow documenters ask about the zipper pouch that I have attached to my planner, so I thought I would give you the scoop. I bought this pouch as part of a two pack in the Dollar Section of Target. I think I paid $3 for this and a smaller one like this.
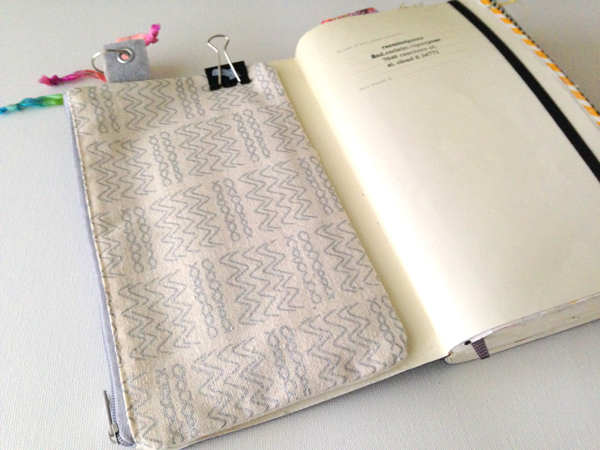
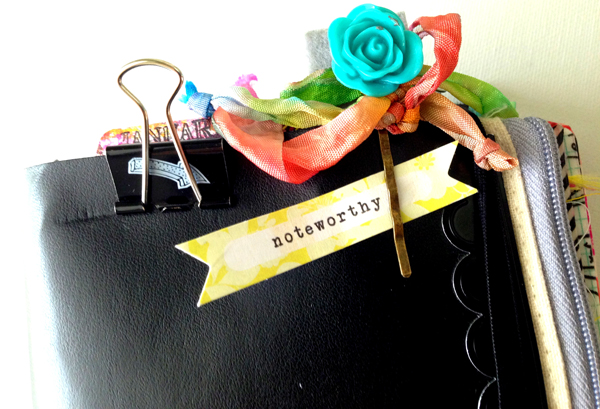
I left the ring that attached both pouches on the felt tab but removed the smaller pouch. I use a binder clip to hold the pouch in place- this way I can remove it easily when replenishing supplies and what not. I found that by positioning it a little off center the book closes nicely.
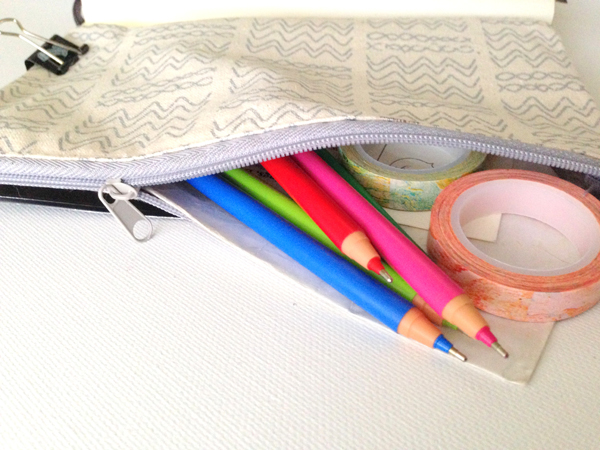
Most days I keep several colored ink pens and a small roll of washi tape on hand. I also keep a sleeve of stamps and a few miscellaneous papers on hand. This way I can make notes on pretty scraps, doodle them up and tape them in- all on the go. I think I will keep my eyes open for a special charm to add to that ring!
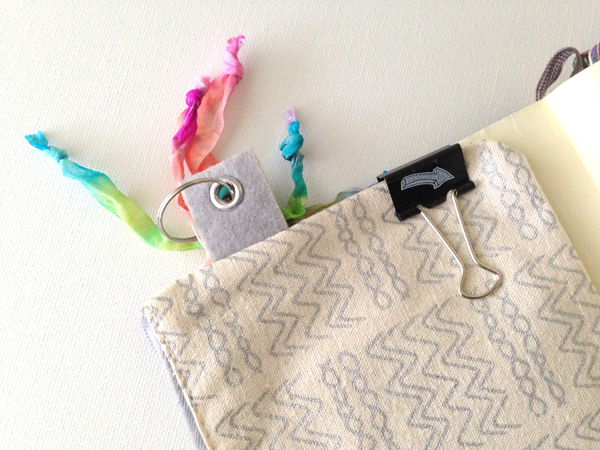
I dyed some seam binding using DYLUSIONS INKS for a pop of color, and attached them to a pretty bobby pin I found in the Dollar Bin at Micheals. I can use it to attach an uplifting word or note to the front of my journal.
When I am finished documenting for the moment, I zip up the pouch and flatten out the supplies. The planner closes just fine. I am sure that as my planner gets chunkier I will have to add a longer elastic band to hold my book closed. Maybe I will dye some elastic in a bright color. I am working on adding a prettier, longer, wider place marker ribbon as well. Will post some photos when that is complete!
READ HERE -----> to learn how to add a pretty Sari Ribbon Place Marker to your Planner!
I hope this answered some questions. I can't wait to see what you guys come up with for your planners over the next few months. I have seen so many awesome adaptations here and here already and I am loving every one of them! Want to learn more? More Details here ----->
- Facebook:
https://www.facebook.com/groups/thedocumentedlifeproject/
- Flickr:
http://www.flickr.com/groups/thedocumentedlifeproject/
- Instagram: #documentedlife
- Roben-Marie Smith
- Lorraine Bell
- Rae Missigman
- Sandi Keene
- And our Life Photographer: Barbara Moore

 Rae Missigman
Reader Comments (3)
That's awesome! I, on the other hand, just bought a bigger purse to carry mine in. My friends had a good time teasing me about my journal having it's own bag! Hope you're having a great day!
How funny Deanna! I have a bag for just about everything! Enjoy!
Hello Rae, j'ai emprunté votre idée, j'ai seulement changé la fixation de la pochette par une ruban froncé monté sur élastique ( à voir sur Flickr°
Merci pour toutes ces créations..
Amicalement.