


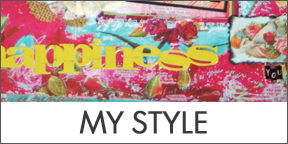


15 minutes of mixed media
Yay for Tuesday! Here is another take on my 15 minutes of mixed media - a lesson in art and time management!
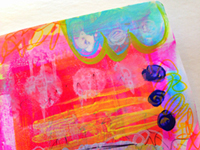
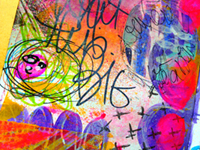
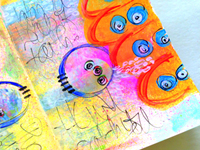
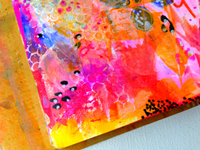
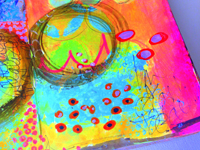
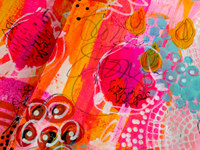
I had trouble staying focused this week. I think because my mind was racing with the details of ten million other things I wanted to stop the timer. I was really tempted this week. I really wanted to hit pause, take my journal over the gelli plate, create a beautifully colored background and start over.


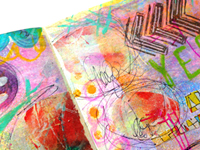
I am proud of myself for not doing that. It took great effort. My page isn't as busy as usual- another hint to as how my mind was wandering. I do like the colors and simplicity of the end result however.


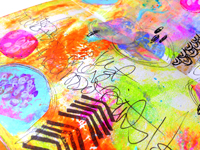
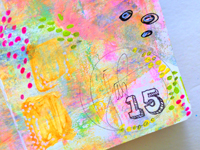
Since I have devoted the last three or four week's to a blank page start I think I will reward myself with a bright and beautiful background as a springboard next week.

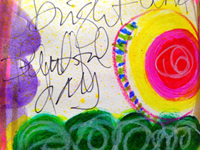
I hope this reminds you that just because we create every day, doesn't mean it comes easily every time we put brush to paper. We are allowed a day to fumble and stall. The point is to keep going. Don't hit pause. I was glad I stuck with it. One more page called done in my journal.
I hope you enjoy the process.
-----------------------------------------------------------------------------------------------------------------------------
SUPPLIES I USED THIS WEEK ----->
Apple Barrel White Gloss, Key West and Neon Pink and Yellow, Painters Brand Paint Pens in Red & Orange, Water Brushes filled with Dylusions Inks in Bubblegum Pink, Lemon Zest, Funky Fuschia, & Pure Sunshine Sharpie Oil Pen in White, Sharpie Mean Streak in White, UHU Glue Stick, Scissors, Collage Papers from my stash of art journal papers, and both homemade and store bought stencils, Tim Holtz Distress Ink in Ripe Persimmon, Pilot Multiball Fine Tip Pen and a hand carved stamp. I also used paintbrushes, an old gift card and a heat embosser. ------------------------------------------------------------------------------------------------------------------------------
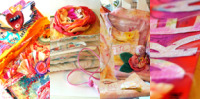
Here are a few other journal pages I created using this technique-------> Click on the images below to see how these journal pages were created using 15 minutes of mixed media.
------------------------------------------------------------------------------------------------------------------------------


*as an amazon affiliate, I receive a small incentive if you purchase a product through these links*
 Rae Missigman


