Roben-Marie Smith

Roben-Marie Smith


THIS AND OTHER  PRODUCTS AVAILABLE AT

       IS A REGISTERED TRADEMARK


 sandi-keene

Roben-Marie Smith

Blog Index
The journal that this archive was targeting has been deleted. Please update your configuration.

Entries in live the repurposed life (69)

Thursday
Mar132014

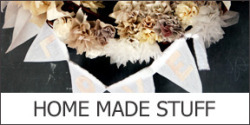
coffee filter wreathe

When I was moving recently I came across a handful of foam wreathes- leftover from a school project. Rather than find a place to store them I decided to make a few little wreathes for Spring.
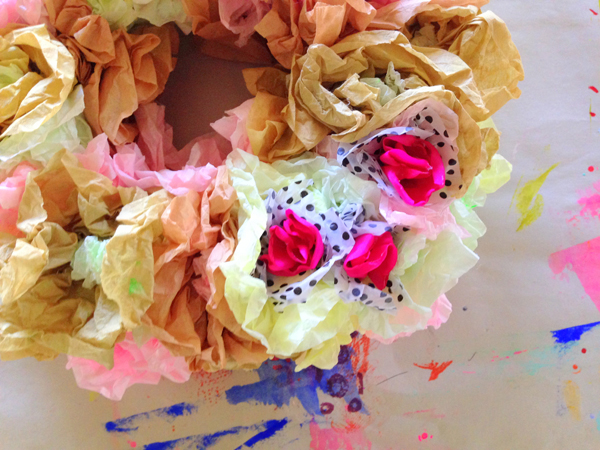
This project took just under an hour and requires only a few supplies - most of which you might have on hand.
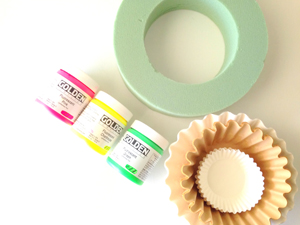
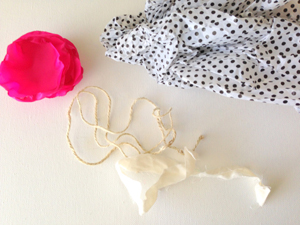
You will need: a foam wreathe (mine was 8" in diameter), assorted coffee filters, assorted paints, twine, scrap of muslin, tissue paper, and a floral embellishment. I cut up some polyester material I had on hand and shaped it into circular petals for mine. You will also need a glue gun and a glue stick or two.
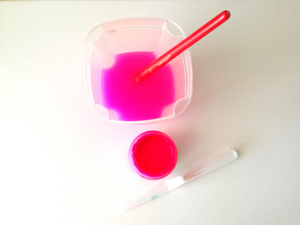
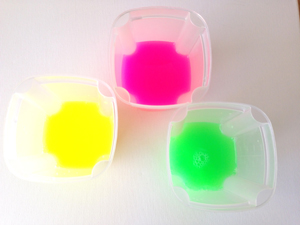
First I scooped a very small amount of Golden Heavy Body Acrylic Paint ( I used Fluorescent Pink, Fluorescent Chartreuse, and Fluorescent Green) into an old container. Next I added about two cups of water and mixed it up very well. If you are making a larger wreathe you will need to adjust the paint and water quantities accordingly.
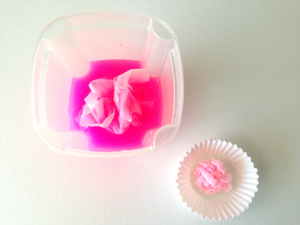
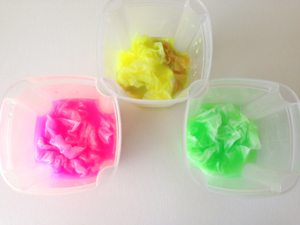
Once the paint & water were mixed well I began crumbling up the coffee filters and stuffing them into the mixture. I divided the filters up evenly and made sure they were well beneathe the surface of liquid. I let them soak for 30 minutes. For my miniature wreathe I used approximately 50 large filters, a combination of both natural and bleached, and 15 white cupcake wrappers. (Depending on how tight you crinkle them when adhereing them to the wreathe, you could use more or less)
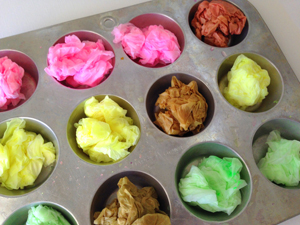
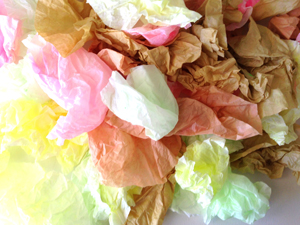
These colors apprear VERY bright while soaking, but they will be much, much lighter when dried. Adjust your color preferences accordingly. After 30 minutes I carefully (they will tear easily) wrung out each filter. You can do this with several at a time. Leaving them loosly balled up, I tossed them in the dryer on the coolest setting for about 6 minutes. Once dry I gently, and only partially, unfolded each filter.
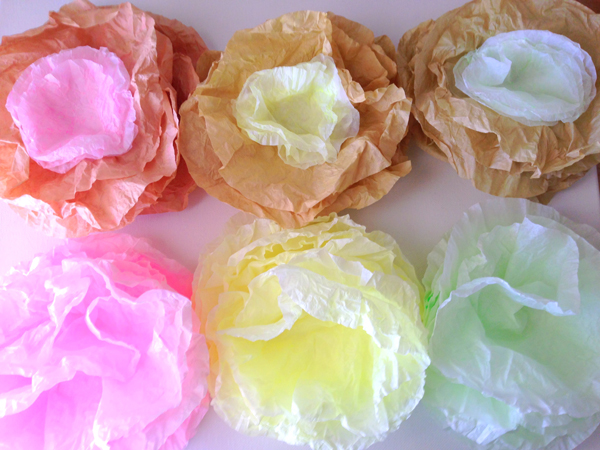
They look so yummy! ... like cotton candy peonies! I was tempted to just pin them to the wall at this point...but I went ahead and finished my wreathe. Maybe next time.
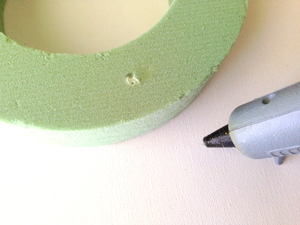
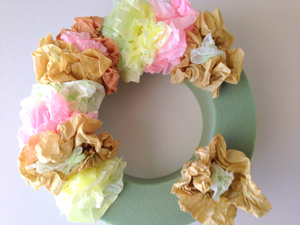
Next I began crunching and gluing my filters onto the foam wreathe. You could use straight pins too - but I wanted mine to be premanent. The glue will slightly melt the foam, but this is ok. It makes the depth different for each flower and I like it. I chose to add my filters randomly and layer the smaller cupcake liners with the larger natural ones.
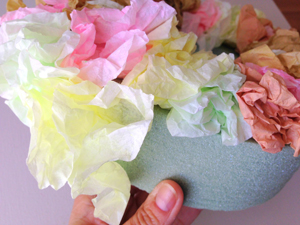
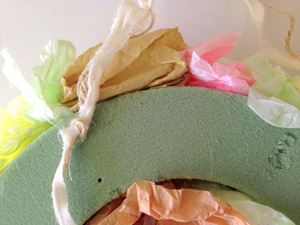
I continued to add filters on the outside of the wreathe, as well as on the inside center ring. I cut a length of twine and muslin, knotted each end and glued the ends to the back of the wreathe.
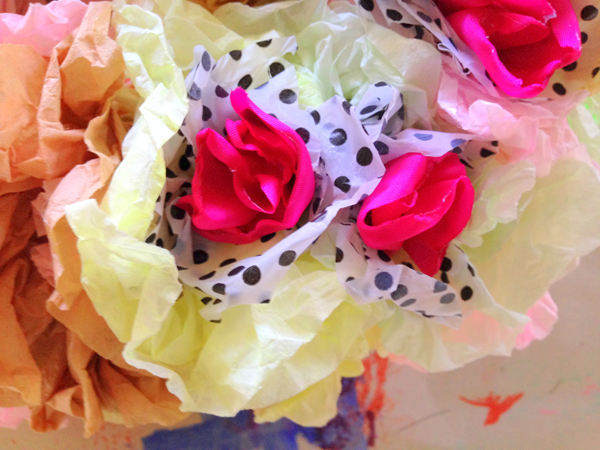
Next I added my pops of color. I am an not a big pastel person, so while I wanted my wreathe to resemble Springtime, I needed a little punch to call it mine. I began by cutting up circles of polka dot tissue paper, approximately 4 inches across. I scrunched them in the middle and glued them in a cluster on one side of my wreathe. I repeated this step with the pink silky centers.
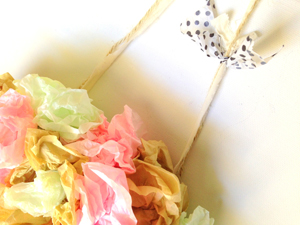
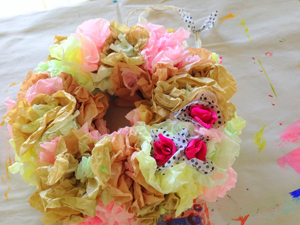
Lastly I added a piece of muslin and tissue paper to the handle. I love it. Springy and easy and fast. Perfect.
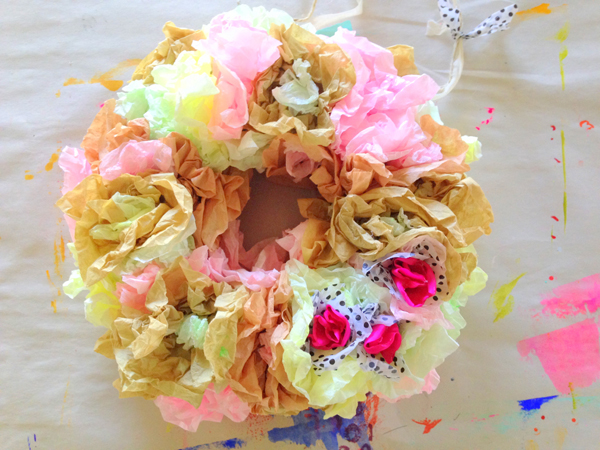
...now...where to hang it?


Enjoy the process!
Saturday
Feb082014

the documented life project: weekly challenge 7

Welcome to Week 7 of The Documented Life Project!

February 8 - Draw one Shape. Repeat. Add Color. 

I knew I would love this week's challenge! Any project that is repetitive in nature calms me. I can draw the same thing over and over again and feel myself de-stress. It is silly, but true. 

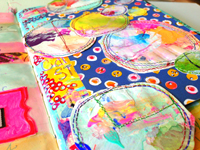
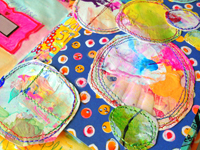
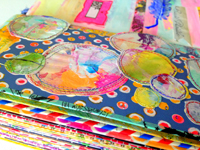
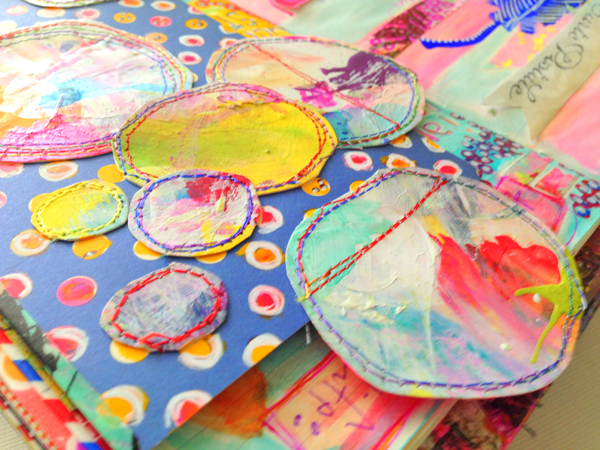
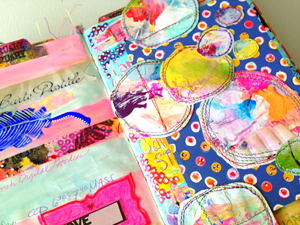
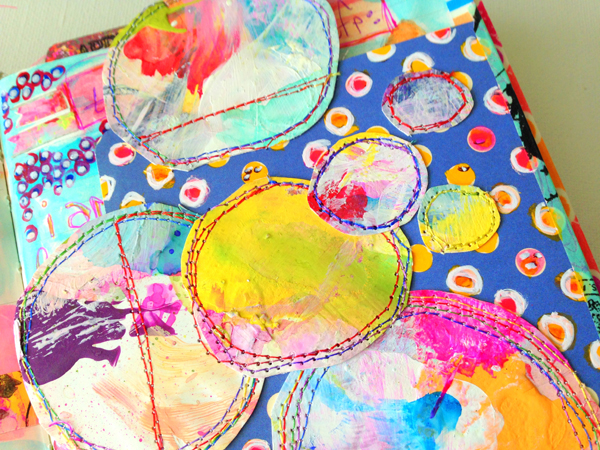
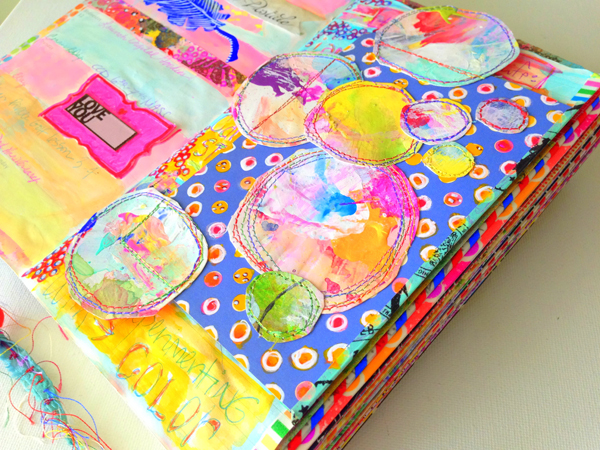
Circles are my favorite. To create my shape I took one of my homemade palettes, a paper plate, and cut several different sizes of my shape out. I stitched them to a piece of patterned cardstock that had white circles printed on it and filled them in with two bold colors.

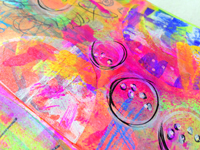
I chose to make my tip in much smaller for this week. I wanted my circle shapes to hang off of the edges so I could see more of my planner page peeking from behind. I love the way that this challenge turned out. It is bright and colorful and the paper plate circles have a lot of yummy texture. The mix of paint, gesso, ink and thread all create a painterly look- just what I wanted!
Want to stitch something to your page? You can see a quick little video here----->  STITCHING ON PAPER.


I am looking forward to seeing your interpretations of this week's challenge and I can't wait to meet you back here next week!

------------------------------------------------------------------------------------------------------------------------------------

-------> Art to the 5th Blog - Our Story

-------> List of Weekly Archived Challenges

-------> Facebook

------> Flickr

-------> Instagram - #documentedlife

-------> Our Blogs

            Rae

            Lorraine

            Sandi

            Barbara

            Roben-Marie


Tuesday
Feb042014

mailart from my art

Just making a little mail art over here. Hoping to get my act together this year and do a swap!

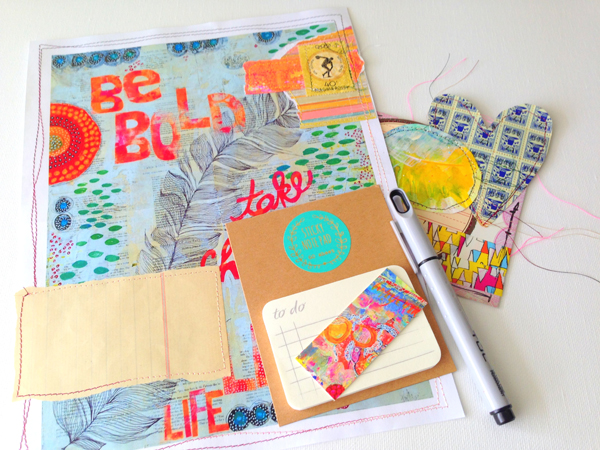
MAILART: print of my be bold canvas. vintage ledger paper. to do tab. wasi tape. vintage grocery stamps. painted paper plate circles. patterened paper scraps. vintage postage stamps.

Tuesday
Jan282014

15 minutes of mixed media

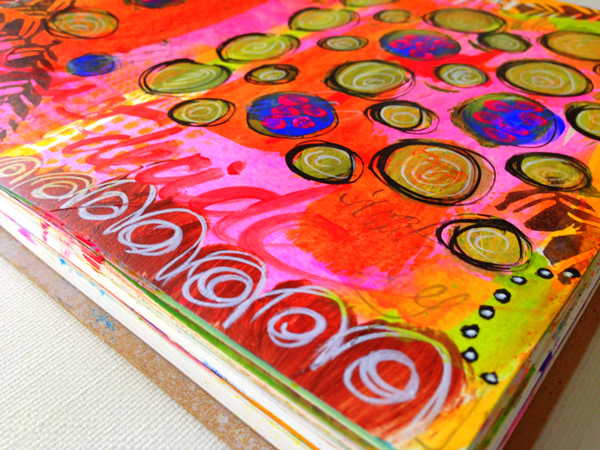
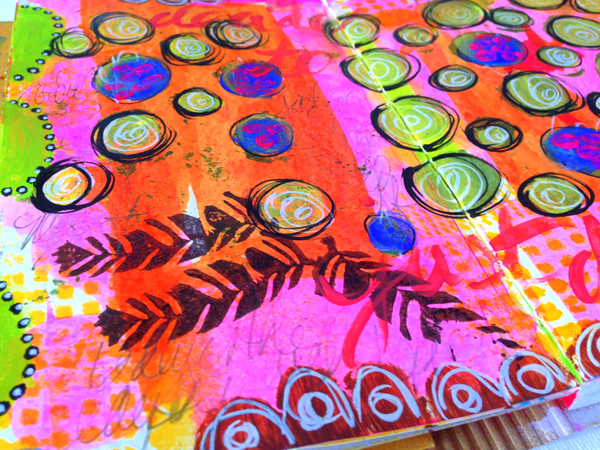
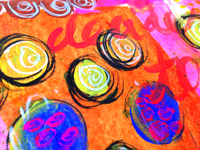
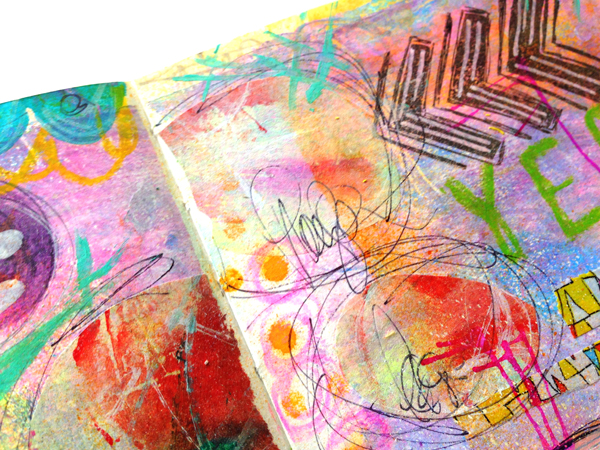
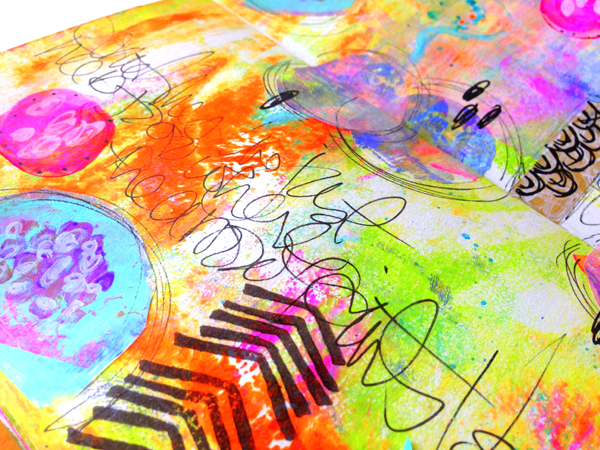
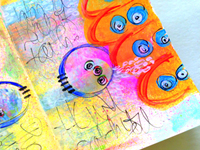
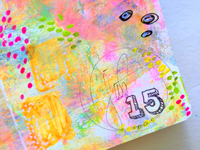
This week for my 15 minutes of mixed media I took a cue from a challenge in another project I am working on - The Documented Life Project. I wrote an entire two pages of journaling, then painted over all but what I felt like sharing.

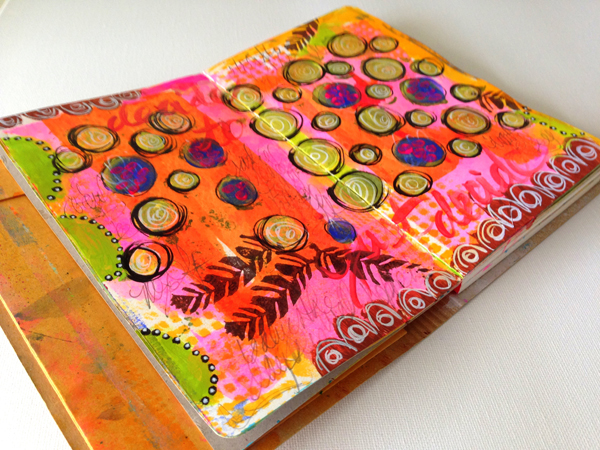
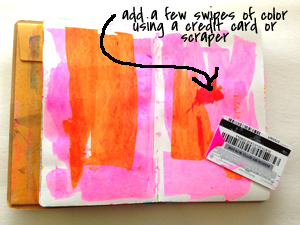
Before I set the timer this week I chose a two page layout that had been prepped with a simple background- just a few swipes of bright paint.

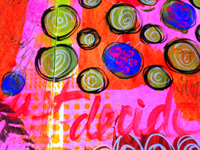
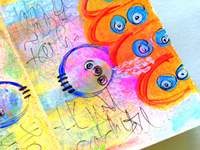
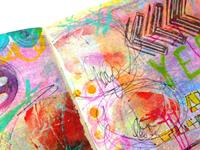
Once the clock was ticking I started writing. I wrote in pencil and paint. I had my embosser handy, as always, to dry layers more quickly, saving me lots of time. Once I finished journaling I started layering. First I painted over most of my writing with large circles of yellow and blue paint. I like to use glossy craft paints for these little pops of color.

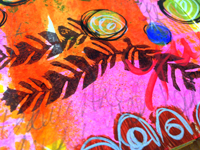
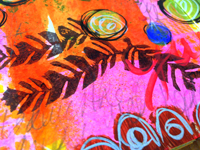
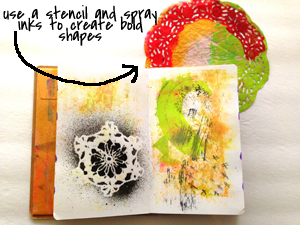
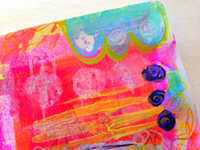
The scalloped border was created using a handcut cardstock stencil. Lots of little black and white details were added using my favorite thing ever- paints pens. Another recycled stencil, a scrap of laser cut lace paper, was used with spray inks to create lots of tiny colorful squares all over my page. I used a hand carved stamp to create feather leaves.

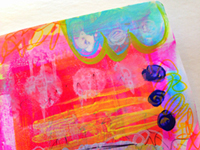
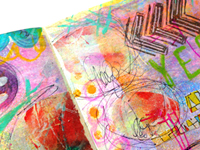
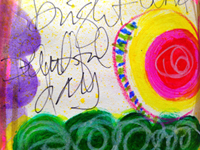
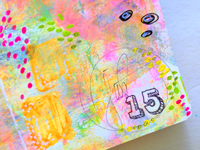
My journal layout this week is bold and bright. I am learning to be brave and let go and let the colors choose themselves. Sometimes, like this week, they are pretty wild, and not what I would usually choose- but I like it!

Supplies at the ready when the clock started ticking this week: 4 colors of craft paint, black and white paint pens, two recycled cardstock stencils, hand carved feather stamp, sunshine dylusions spray ink, brown staz on ink pad, pencil.
Want to see more simple background ideas for your art journal pages created using 15 minutes of mixed media? Read here----->

Thursday
Jan232014

sari ribbon place marker

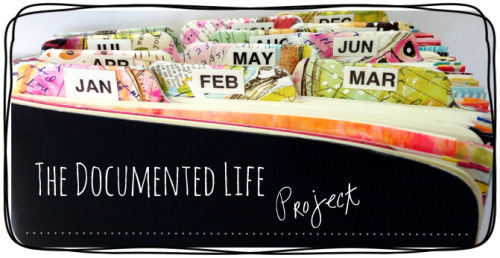
If you are participating in The Documented Life Project and are anything like me, you may be having a hard time leaving your planner or journal alone!

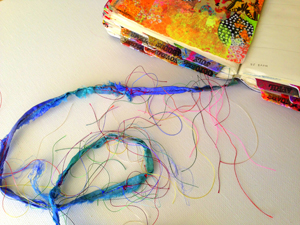
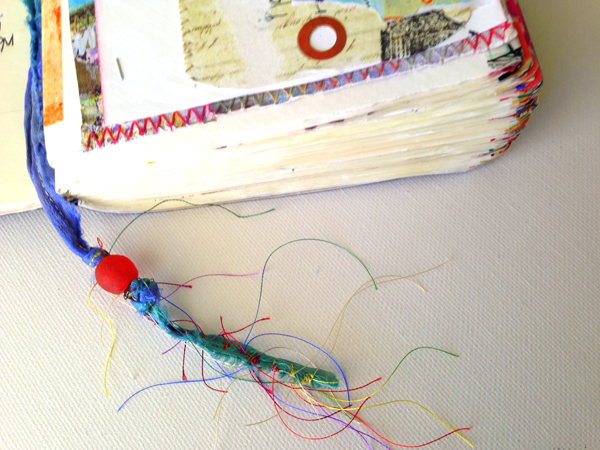
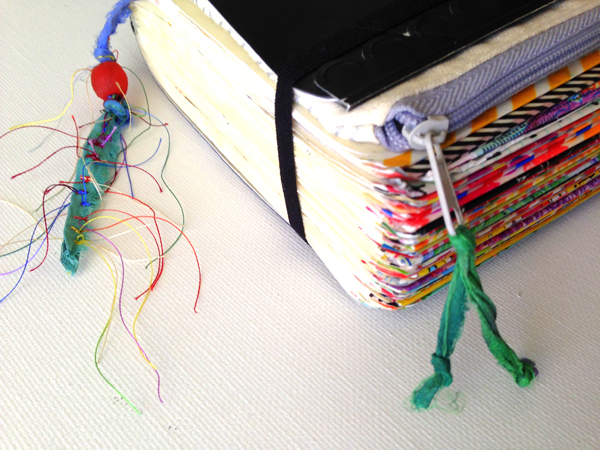
As I was creating challenges over the past few weeks, it occurred to me that I needed a longer place marker. Because my book is so chunky I knew my sewing options were limited. Here is what I came up with ----->
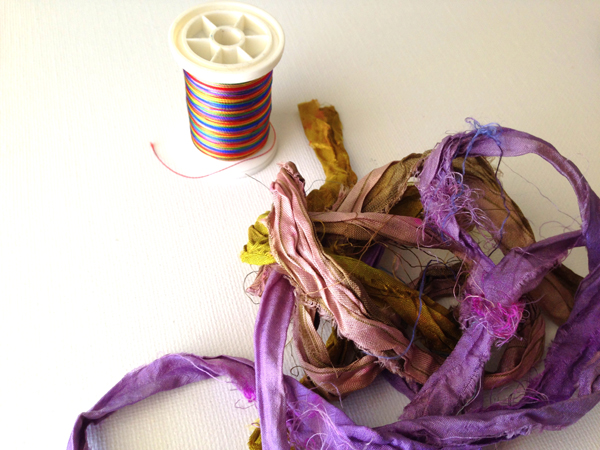
I grabbed some beautiful recycled sari ribbon a pal gifted to me, and some colorful thread.

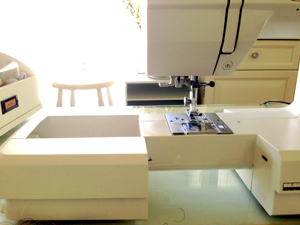
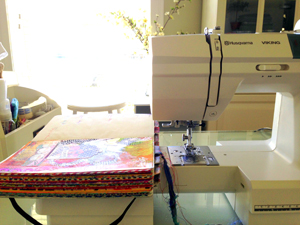
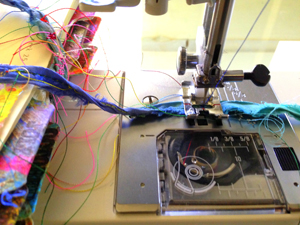
Next I moved the detachable arm piece of my sewing machine out far enough that I could rest my planner on it. I opened my planner to the center and rested it on the arm, stretching the original place marker out as far as I could.

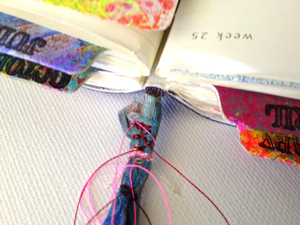
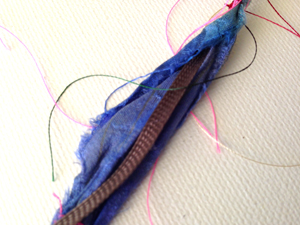
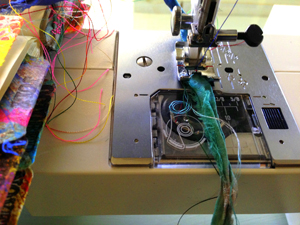
I opened the sari ribbon up and wrapped it around the end of the original place marker, getting as close to the book as possible. I secured it with a straight pin until I had it under the foot of the machine. Once under the foot (it will move a little) I lowered the foot and removed the pin. I stitched back and forth a few times to secure the two markers together. Moving downward from my stitching,  I opened the sari ribbon and wrapped it around the original marker.

Once secured, I stitched the sari ribbon, rotating from horizontal to vertical stitching every few inches.

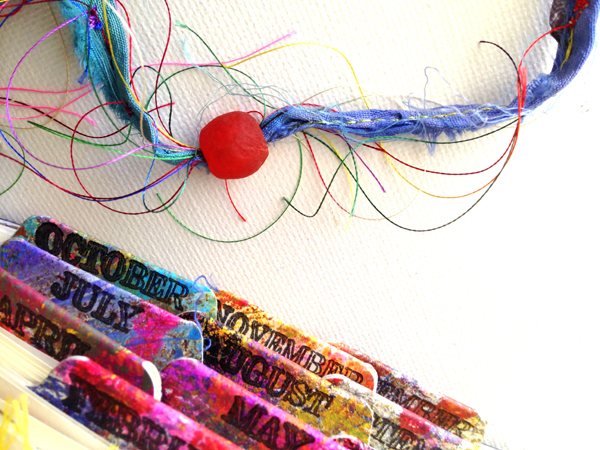
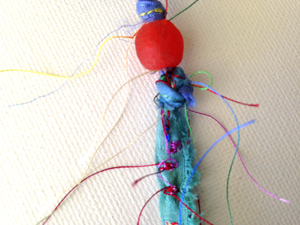
Lastly, I trimmed the ribbon and threads. I added a pretty bead,  knotting the ribbon just below it a few times until secured. If I need more length as the year goes on, I can undo one or two of the knots and easily make my marker longer.

Now my planner has a pretty place marker that can handle the bulk of my book! I love it!

Want to make your place marker longer or prettier? This was an easy and FREE project. Just dig through your stash and grab a piece of ribbon or colorful twine and stitch away. Don't sew? Use a tacky fabric glue and set aside to dry overnight!

READ HERE -----> to see how I added a removable zipper pouch (in about five minutes) to my planner here!

READ HERE TO LEARN MORE AND JOIN ME IN DOCUMENTING YOUR DAILY LIFE! Enjoy!

Thursday
Jan162014

i wanted to carve a feather stamp

Sometimes we don't always get what we want, but we might get lucky and like what we end up with.

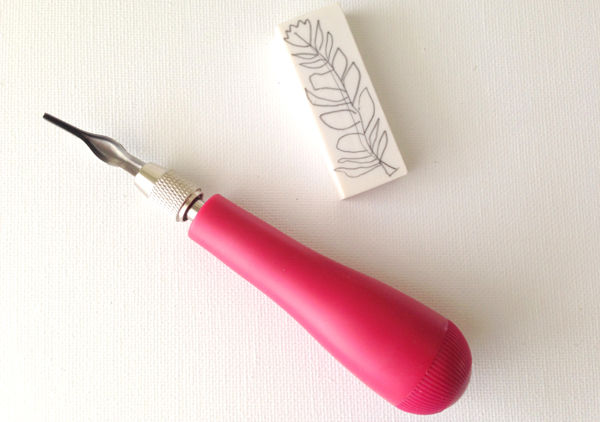
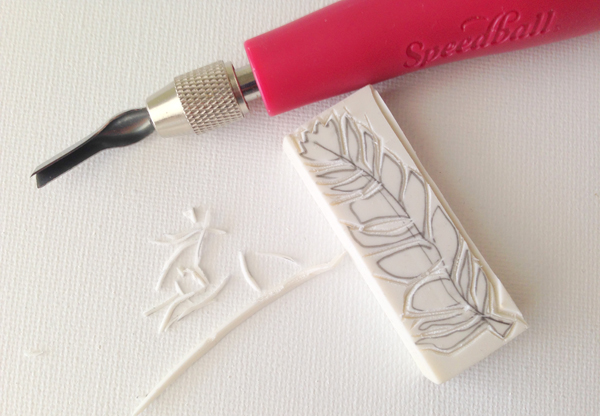
So I wanted to carve a feather stamp. Feathers are my favorite thing right now, but...but it turns out that if you don't use your stamp carving tools for months you lose your touch. What I ended up with looks more like a leaf or branch of some kind, but I like it. I like the imperfections in each feather/leaf - not unlike in nature. If you want to have your own little imperfect feather leaf here is what I did ----->

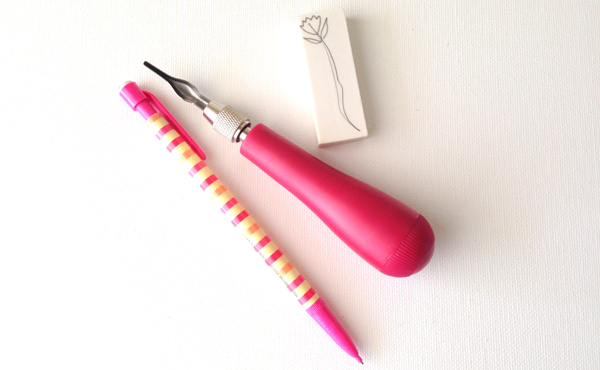
1. Grab an eraser. I like the cheap ones from The Dollar Tree if you are just starting out. They aren't the best quality, but they come in a 3 or 4 pack for a dollar and are great for beginners.  I also like how they stay rigid when you go to stamp with them. You will also need a stamp carving tool. I use this SPEEDBALL set and love it. And you will need a pencil to draw your word or design on the eraser.

2. Draw your design. Don't forget to use tracing paper if you are writing a word or special design that will need to be drawn in reverse.

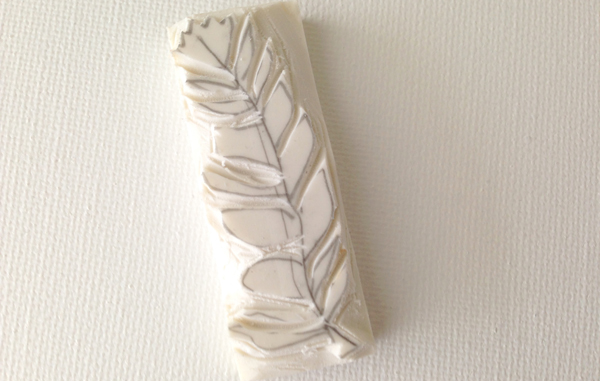
3. Start carving. Slow is key for me. This particular tool came with several cutting heads in the base of the handle. I used the smallest one for outlining my design first, then went back and carved out more with a larger, deeper cutting tool.

4. Finish off with the flat blade to smooth things out. My homemade stamps don't always look pretty when I am finished, but they stamp great!

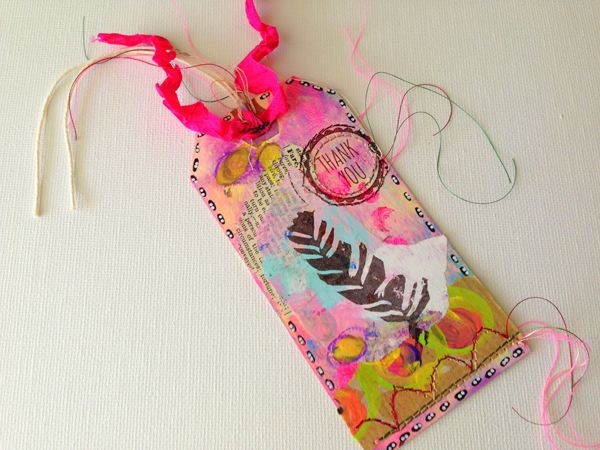
Obviously I need to brush up on my stamp carving skills some more, but I think I will keep it. I like it's quirky shape and style. Here is what it looks like on a tag card project I did. Enjoy!
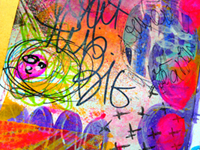
TAG CARD: gelli printed tag. painted deli paper scraps. book paper scraps. oil pastels. paint pens. machine stitching. thank you stamp from dollar bin at Target. my hand carved feather leaf stamp. recycled seam binding.

Tuesday
Jan142014

15 minutes of mixed media

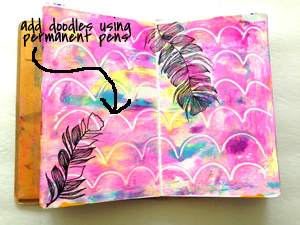
Usually I post a finished art journal layout for my weekly 15 MINUTES OF MIXED MEDIA, but this week I wanted to share something a little different. If you are setting the timer at home, this will help give you an edge when creating while the clock is ticking. The end result could be something like this --->
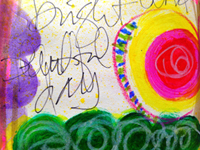
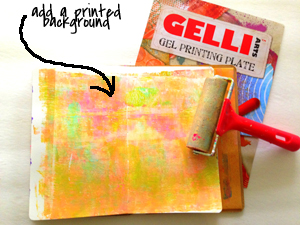
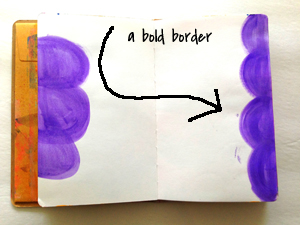
Many times when I sit down and set the clock, I start with a blank page. Other days I give myself a creative springboard in the form of a premade background. This can be as simple as a single color border or as complex as a gelli print covering the entire span of the page.

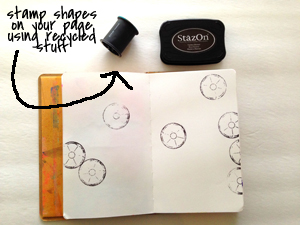
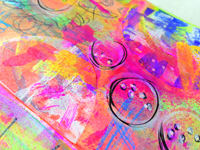
Starting with a background allows you to start building layers as soon as the clock starts ticking. Your 15 MINUTES OF MIXED MEDIA  will be more detailed when beginning this way. Here are a few backgrounds that are simple to create and will make a great starting point.

I like to have a handful of backgrounds completed in my art journal at all times. This way I can choose one that speaks to me when I sit down to create. Having premade backgrounds is also great for creating on the go! Here are some more 15 MINUTES OF MIXED MEDIA art journal pages--->


Thursday
Jan092014

recycled tip in pages

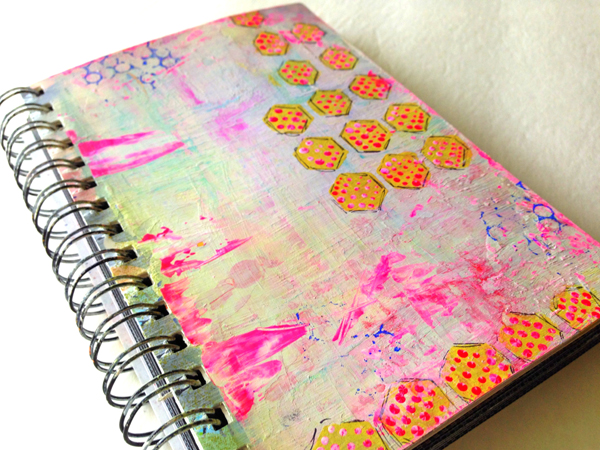
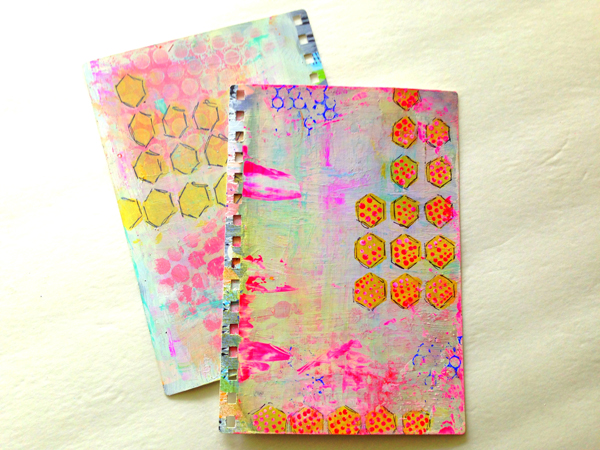
Have you read about the crazy fun DOCUMENTED LIFE PROJECT ? Chances are, if you are joining in, you have a planner or journal from last year. This is a great way to upcycle part of that agenda or book and incorporate it into this years project. Here is the planner I used in 2013.

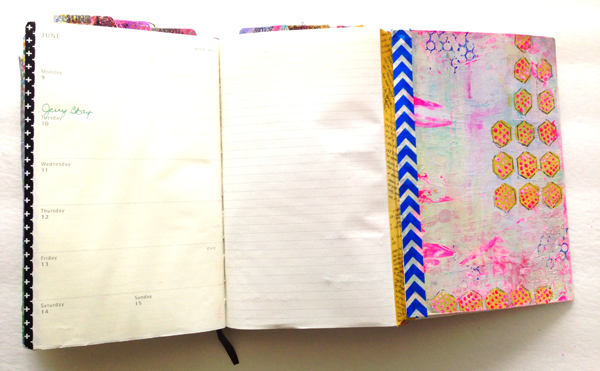
I love the painted covers and did not want to just throw this away. I decided to remove the covers and use them as tip in pages in my planner this year for the THE DOCUMENTED LIFE PROJECT. Just remove the front and back covers and trim to fit your new planne or journal.

I plan on adding these as a tip in page, meaning they will fold out. I use washi tape to attach them to an existing page in my planner.

Because these will fold out, I can use the opposite side for list making, journaling, doodling, painting and more. Yea!

See more ideas and read all the details on this FREE  year long project here and here! Enjoy!

Sunday
Jan052014

the documented life project- weekly challenge 2

Welcome to Week 2 of The Documented Life Project!

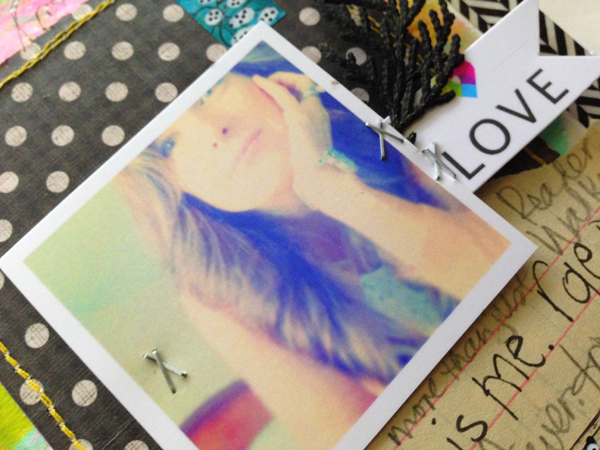
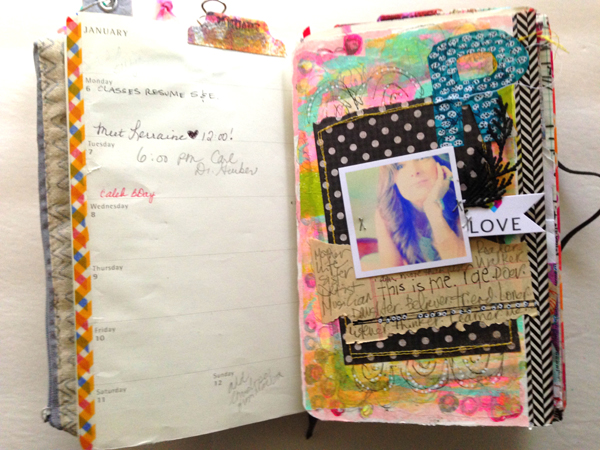
January 5 Challenge - Say Cheese! This week's challenge is to incorporate a selfie into your planner.

This can be done as simply as snapping a photo with your phone, printing it out and adding it to your planner. Dont' want to add your sweet face to your planner? No worries! Consider using words to describe yourself and add those to your planner instead. Not into the selfie scene? Remember! This challenge is totally optional! Feel free to skip right over it and wait for next week's challenge! In addition, if you are participating in One Little Word and would like to share that in your selfie or on your page, then add that in as well.

I am in full "use what I have mode" this year- especially since I am in the middle of big move. I am purging big time and finding that while I don't really WANT to use up this old stuff, it always turns out ok in the end.

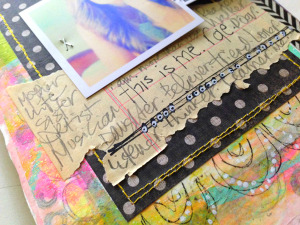
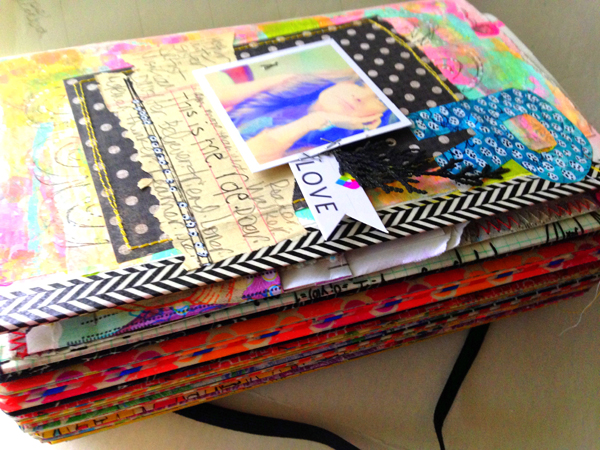
Having made up my mind to be faithful to this "green goal" I set for myself, I grabbed some old patterned paper and my sewing machine. I stitched some of that paper to a gelli print that used as a tip-in in my planner.

I listed some of the things I AM on some vintage ledger paper and tacked that to the bottom of my photo. A reminder to myself that I wear a lot of hats and that is a tough job in itself. I need to be kind to myself when I feel I am losing ground. I just layered up from there, adding a painted deli paper monogram and some painted greens from the woods behind my house. And I added my One Little Word for the year. LOVE. My word could have been a million things this year. I wanted to use LET GO. But I chose LOVE instead. I want to LOVE where I am have been. LOVE where I am going and most importantly, I want to LET GO WITH LOVE.

I can choose to be happy. I can choose to embrace the future. I can choose to LOVE what is in front of me. I welcome 2014 with LOVE. Looking forward to your interpretations of this week's challenge and can't wait to meet you back here next week! 

You can find us:
*Our Blogs


Post your challenge response to your favorite social media and upload it to our Flickr group or Facebook group to share in the community of Life Documentors!

Friday
Jan032014

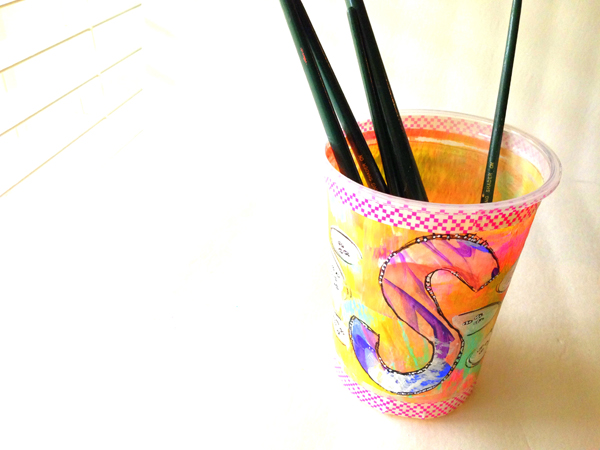
papered paint cup

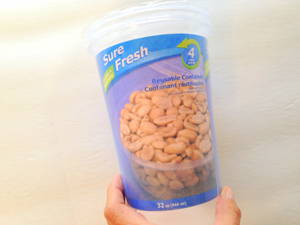
When my daughter wanted to have some friends over to paint, I ran to my local Dollar Tree and grabbed a few disposable plastic tubs to use for paint cups. That was supposed to be the end of it. Well, if you know me, you know I just couldn't leave those cups plain. Time was a factor, so I kept it really simple. Plus this way, no one's heart will be broken if you throw them away at the end of the day.

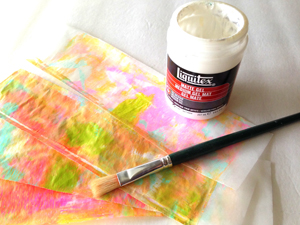
You only need a few supplies: *a disposable plastic cup or tupperware *deli paper *craft paint *paint pens *decorative tape *gel medium or adhesive OPTIONAL: *gelliplate *brayer

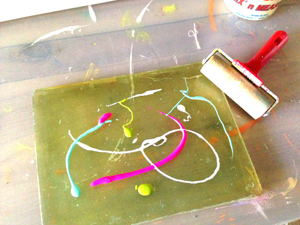
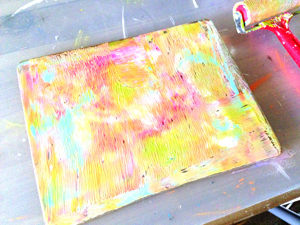
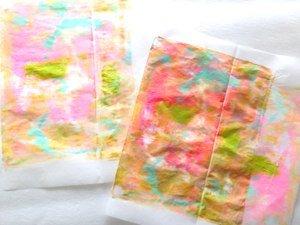
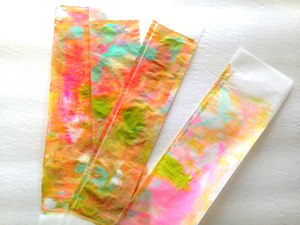
STEP 1. Choose your container and grab some deli paper. I chose to use the gelliplate to paint my deli paper, but you could paint your own design on it instead.

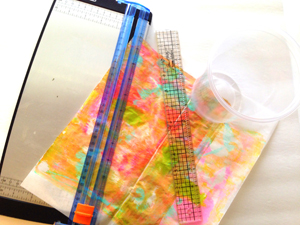
STEP 2. Once your paper is painted and completely dry, cut it in to strips. I measured the height of my cup then cut two strips just wide enough so they would overlap. I cut several more to fill in where my strips didn't meet and to use for shapes and monograms.

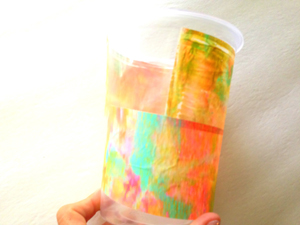
STEP 3. Adhere your strips to your container. Smooth out wrinkles as you go. Set aside to let dry completely.

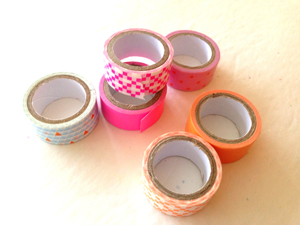
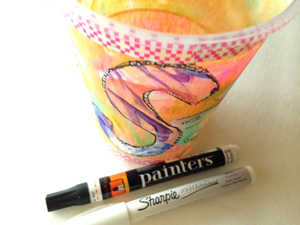
STEP 4. Once your cup is covered and dry, begin adding your layers. I started by adding some washi tape to the top and bottom borders. Then I cut a monogram from painted deli paper and glued that to the center of the cup. Once dry I added borders and pops of color with black and white paint pens.

These are easy, affordable and completely disposable. The girls were thrilled that their paint cups were pretty. I was thrilled that they were happy! Enjoy!