Roben-Marie Smith

Roben-Marie Smith


THIS AND OTHER  PRODUCTS AVAILABLE AT

       IS A REGISTERED TRADEMARK


 sandi-keene

Roben-Marie Smith

Blog Index
The journal that this archive was targeting has been deleted. Please update your configuration.

Entries in painting (10)

Saturday
Feb012014

the documented life project: weekly challenge 6

Welcome to Week 6 of The Documented Life Project!
February 1 - Open Your/A  Pinterest Board and Be Inspired!
At first I wasn't sure about this challenge. Pinterest is a tad bit overwhelming on a good day - to open a board and be inspired could easily lead to hours of surfing beautiful pages and boards. To simplify things and keep my "surfing time" to a minimum, I chose to open one of my own boards - Tutorials. This is what I found!

I loved sharing how to make this mini canvas and everything about the way it turned out- the colors, the texture and the interesting look the paint took on. I took the challenge one step further and only allowed myself to use watercolors. Watercolors are a fairly new medium for me and I am much more comfortable using acrylic paints. I thought this would push me to use the watercolors, experiment with them a little more...
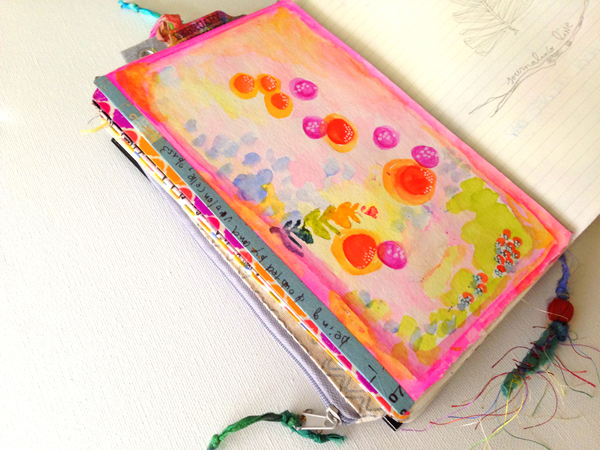
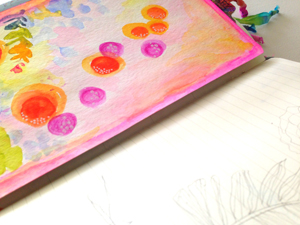
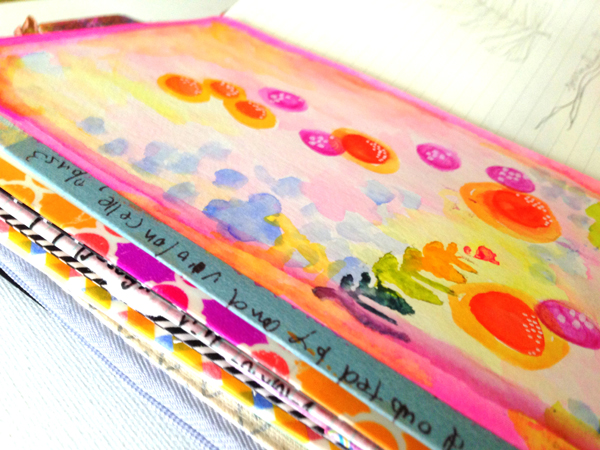
I used a piece of watercolor paper that was already collaged on the reverse side for my tip-in page this week. I chose a pretty, bright palette and following the lines of my pinterest inspiration I began painting.
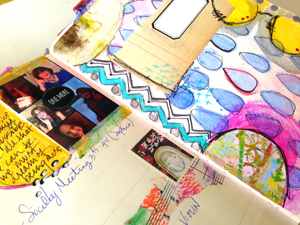
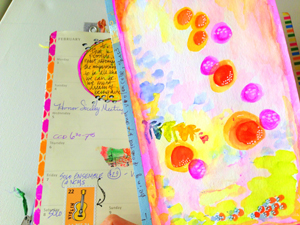
As it turned out, I taped my tip-in backwards (NOT the first time) and so I had to create my challenge on the back of my collaged paper. I could have removed the tape and started over, but I chose to leave it as is. Now I have TWO pretty pages this week.
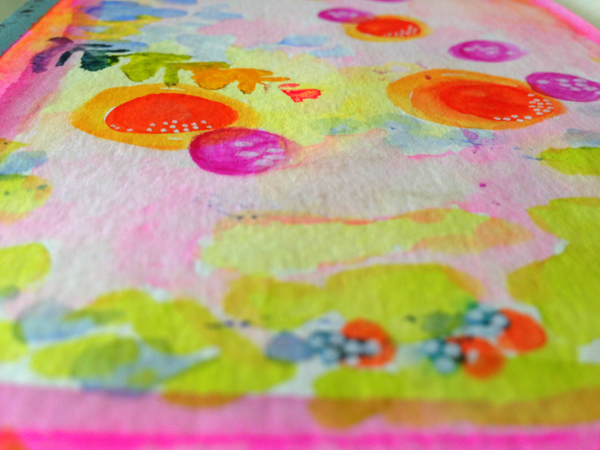
I quickly and loosely applied a bright "frame" like border to my page, followed by several large circles of color. Next I added some swathes of color to the bottom edges of the page. I applied several colors of the paint to my hand-carved feather stamp and then stamped my page. I love it! 
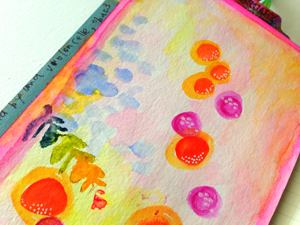
Once all the paint had been applied and dried, I added little pops of white using my favorite white pen of all time. You can see that I have a lot to learn about moving and thinning color, but overall I enjoyed the challenge. Watercolor paints leave such a beautiful fluid look to your page when applied correctly. I look forward to giving this technique some more practice!
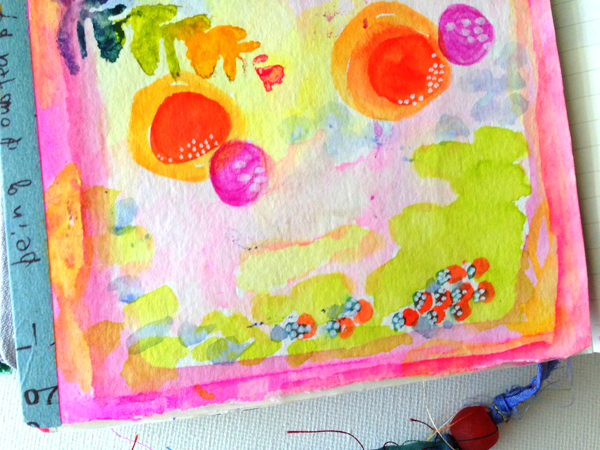
 

I am looking forward to seeing your interpretations of this week's challenge and I can't wait to meet you back here next week!

------------------------------------------------------------------------------------------------------------------------------------

-------> Art to the 5th Blog - Our Story

-------> List of Weekly Archived Challenges

-------> Facebook

------> Flickr

-------> Instagram - #documentedlife

-------> Our Blogs

            Rae

            Lorraine

            Sandi

            Barbara

            Roben-Marie


Sunday
Jan192014

go to paint and ink colors

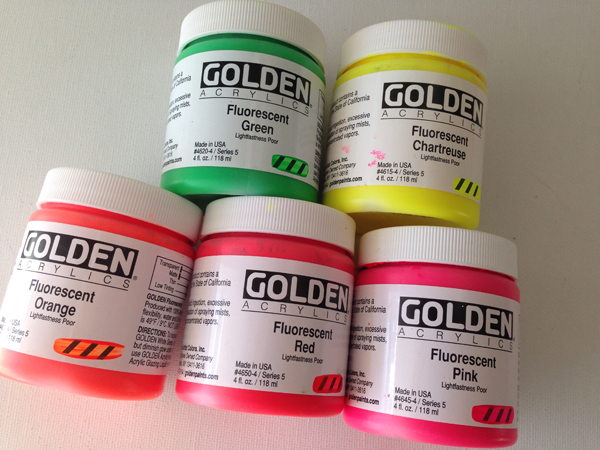
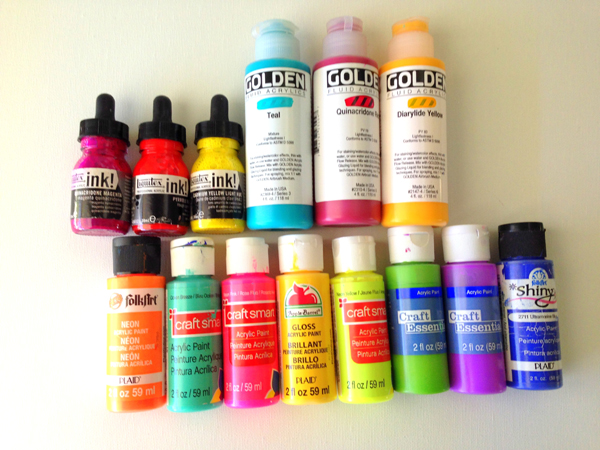
This little post is in response to the dozens of requests I have had about my favorite paint colors. I have so many - but these are the few I seem to go most often!

In order from top to bottom, left to right ------>

LIQUITEX INKS - pyrrole red. quinacridon magenta. cadium yellow light hue.

GOLDEN ACRYLIC PAINTS- teal. quinacridone red. diarylide yellow.

ASSORTED ACRYLIC CRAFT PAINTS - I like the glossy colors too!

FolkArt- neon orange. Craft Smart- ocean breeze. Craft Smart- neon pink. Apple Barrel (gloss)- dandelion yellow. Craft Smart- neon yellow. Craft Essentials- apple tart. Craft Essentials- neon purple. Plaid Shiny- ultramarine blue.

GOLDEN HEAVY BODY NEON ACRYLICS - Fluorescent Green, Fluorescent Chartreuse, Fluorescent Orange, Fluorescent Red, Fluorescent Pink.

I hope this helps. As I choose new favorites I will post them here to share with you! Happy Creating!

Friday
Jan032014

papered paint cup

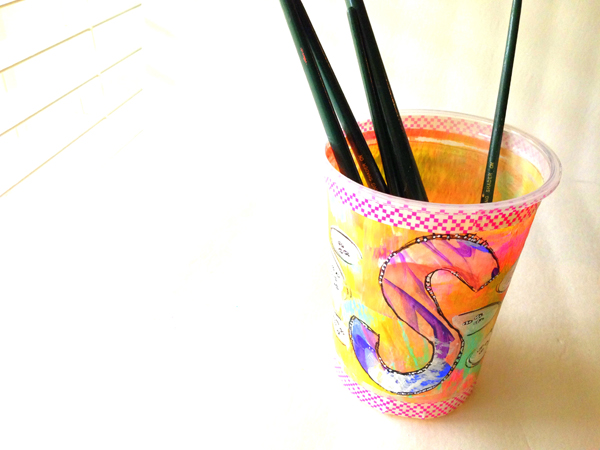
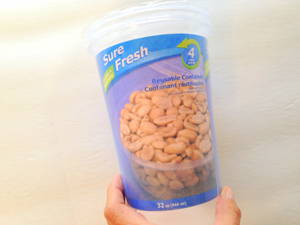
When my daughter wanted to have some friends over to paint, I ran to my local Dollar Tree and grabbed a few disposable plastic tubs to use for paint cups. That was supposed to be the end of it. Well, if you know me, you know I just couldn't leave those cups plain. Time was a factor, so I kept it really simple. Plus this way, no one's heart will be broken if you throw them away at the end of the day.

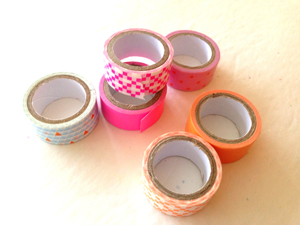
You only need a few supplies: *a disposable plastic cup or tupperware *deli paper *craft paint *paint pens *decorative tape *gel medium or adhesive OPTIONAL: *gelliplate *brayer

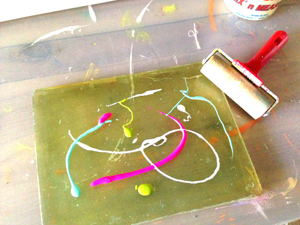
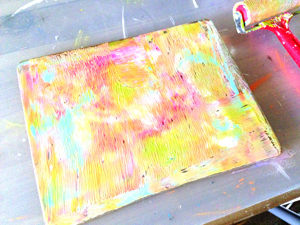
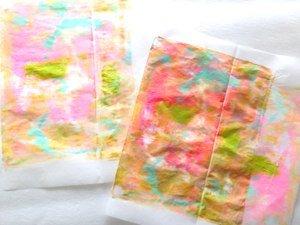
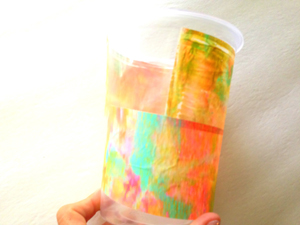
STEP 1. Choose your container and grab some deli paper. I chose to use the gelliplate to paint my deli paper, but you could paint your own design on it instead.

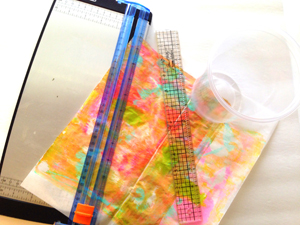
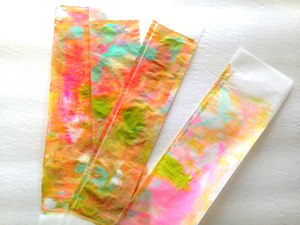
STEP 2. Once your paper is painted and completely dry, cut it in to strips. I measured the height of my cup then cut two strips just wide enough so they would overlap. I cut several more to fill in where my strips didn't meet and to use for shapes and monograms.

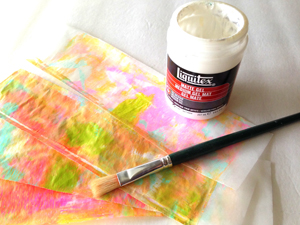
STEP 3. Adhere your strips to your container. Smooth out wrinkles as you go. Set aside to let dry completely.

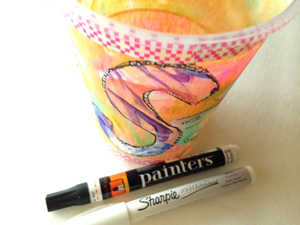
STEP 4. Once your cup is covered and dry, begin adding your layers. I started by adding some washi tape to the top and bottom borders. Then I cut a monogram from painted deli paper and glued that to the center of the cup. Once dry I added borders and pops of color with black and white paint pens.

These are easy, affordable and completely disposable. The girls were thrilled that their paint cups were pretty. I was thrilled that they were happy! Enjoy!

Thursday
Dec262013

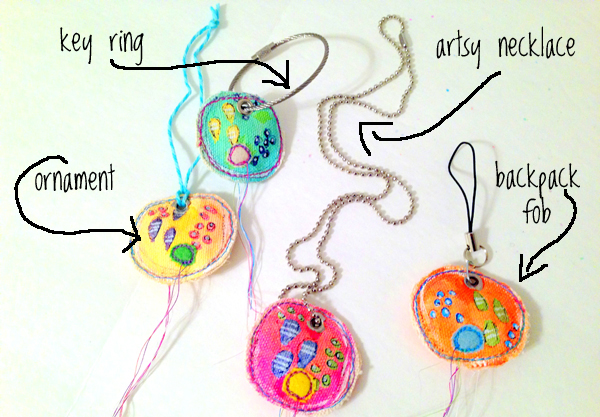
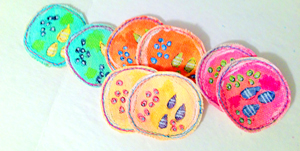
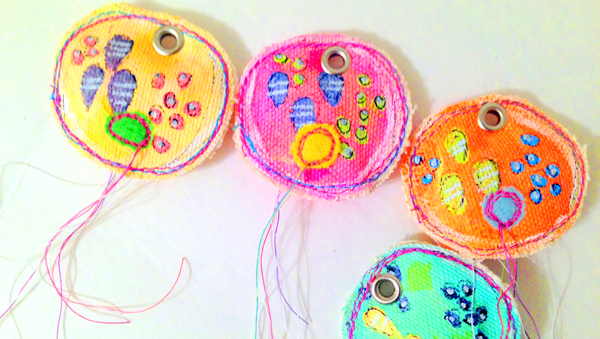
tutorial: 1 mini project, 4 mini gifts & big happy new year

I have been a little behind since the second half of this year started. Not my fault. Seriously. I never let art or meetings or appointments or shopping take precedence over family life. Never. So I am a teeny tiny bit behind in making and delivering a few of my gifts. Nothing huge. Just a few little THANK YOU's I wanted to make sure to deliver to people that matter in my life, but might not know it, like the postman, the kids teachers, and even my bank teller. I thought since I was behind anyway it might be nice to change things up a bit and surprise them with a NEW YEAR gift instead...it works for me. And the best part is you just need some scraps and a few supplies!
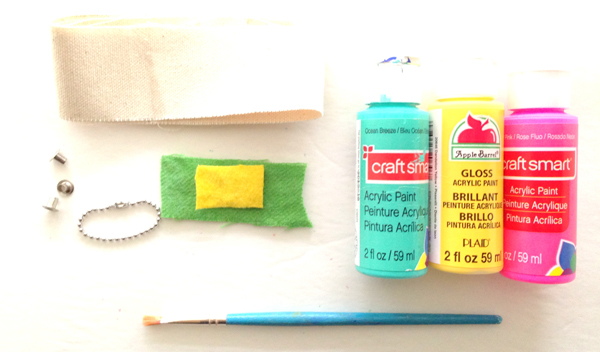
I made all four of these in just under an hour. Grab this stuff to make your own: * scrap of canvas or duck cloth. Mine was only 2 inches high by 12 inches long. * some paint *paint pens *hole punch *eyelets *scissors *sewing machine *cotton balls *bakers twine *bead ball necklace chain *bead ball key chain *aircraft cable key ring *felt or fabric scraps *glue gun *silicone finger caps

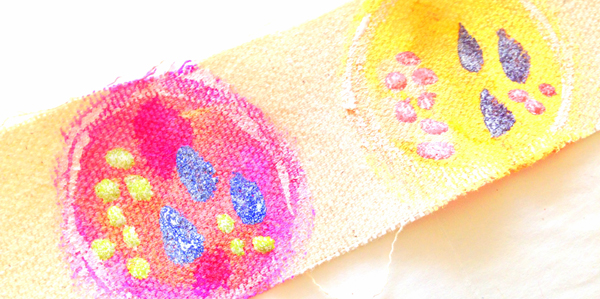
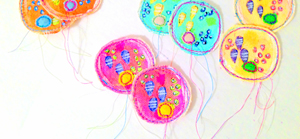
Step 1. Paint circles on your canvas scrap. **If you want both sides of your canvas pouf to be the same, you will need TWO of each color circle**I took mine all the way to the edges to allow cutting and stitching later.  Add little designs using paint and pain pens. Let dry completely.

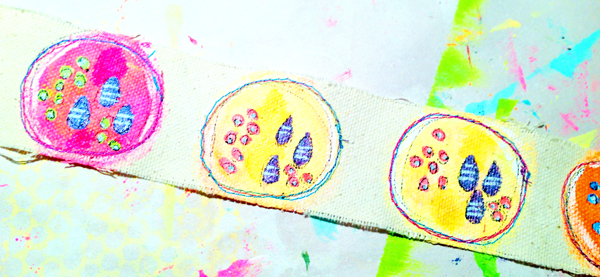
Step 2. Stitch around the edges of each circle a few times.

Step 3. Cut each circle out. You can trim your threads or leave them dangle. Cut tiny pieces of felt or fabric and stitch on for a little 3-D embellishment. Using a coordinating thread makes it pop!


Step 4. Place one of each color circle RIGHT SIDE DOWN on protected surface. Place a small dot of glue on cotton ball and lay on WRONG SIDE of circle. Run a small line of glue along outer edge of circle and place MATCHING circle on top of cotton ball RIGHT SIDE UP. Using silicone finger tip protectors, quickly press edges of circle together.


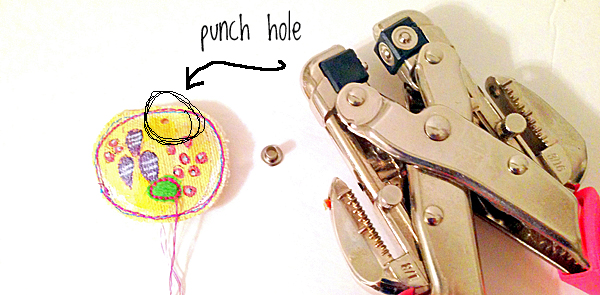
Step 5. Punch a hole near the top edge of each of your canvas poufs using a heavy duty hole punch.

Step 6. Add eyelet to hole you have punched.

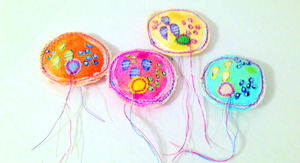
Step 7. Add twine, chain or rings to complete your canvas poufs.

Enjoy what my little girl likes to call "those jelly fish things!" Hey I see an UNDER SEA party theme somewhere in there!

Friday
Dec132013

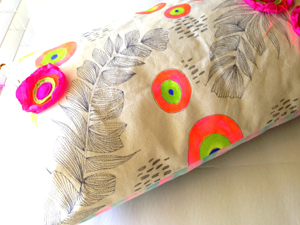
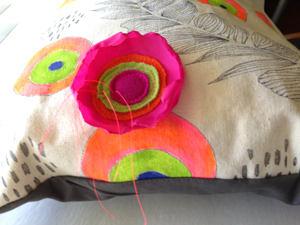
sewing stuff: she loves pretty too

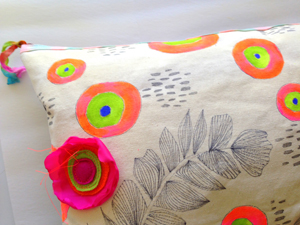
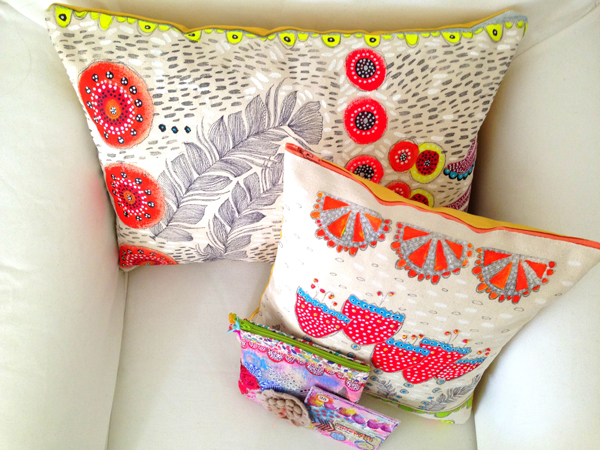
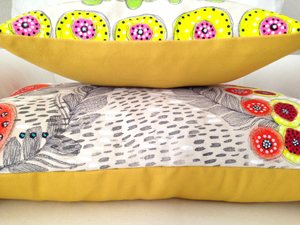
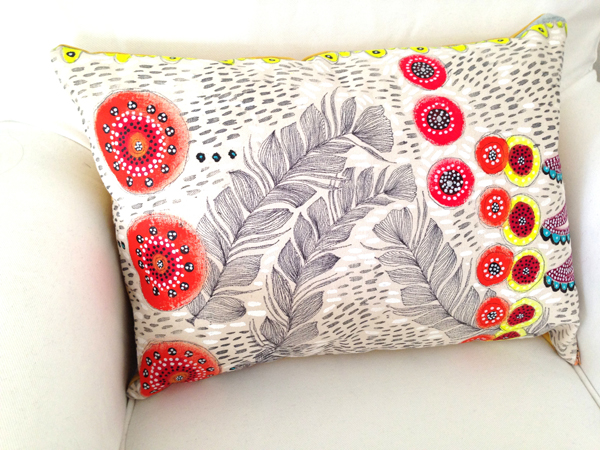
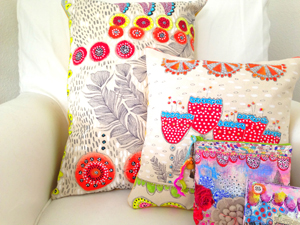
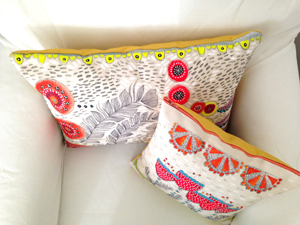
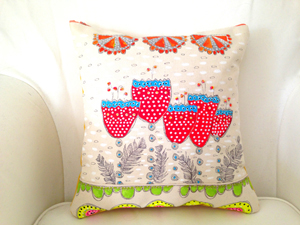
When my sweet friend, and other NO. 1 fan, Lorraine at Serendipity Studios wanted me to create a painted pillow for her I knew it had to be special. She is special. She laughed when she read this - so here you go Lo- because you loves pretty too!

Can't wait to visit her beautiful studio again- it is amazing! This will fit her bright and beautiful personality perfectly!

If you haven't stopped by here and met her - do it today! She is beautiful, kind and wickedly talented! AND SHE LOVES PRETTY TOO!

Friday
Nov152013

art stuff: she loves pretty

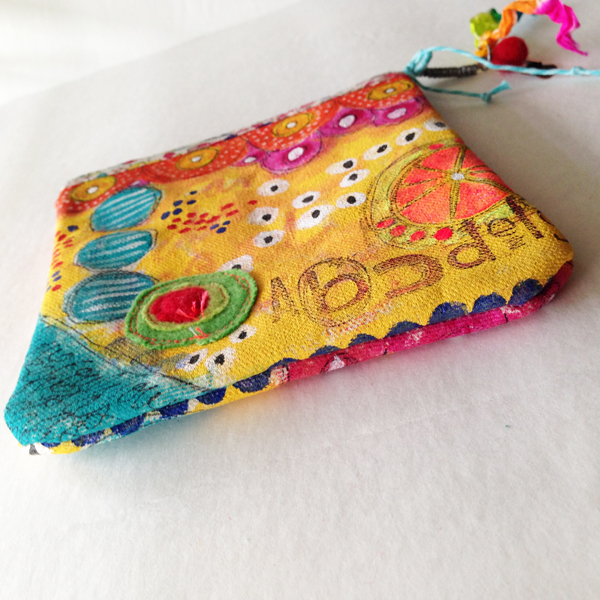
My number one fan loves PRETTY and so I always find myself creating things for her.

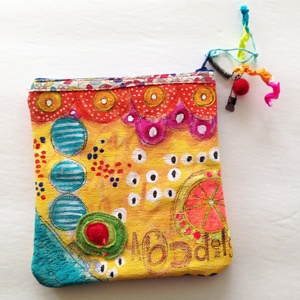
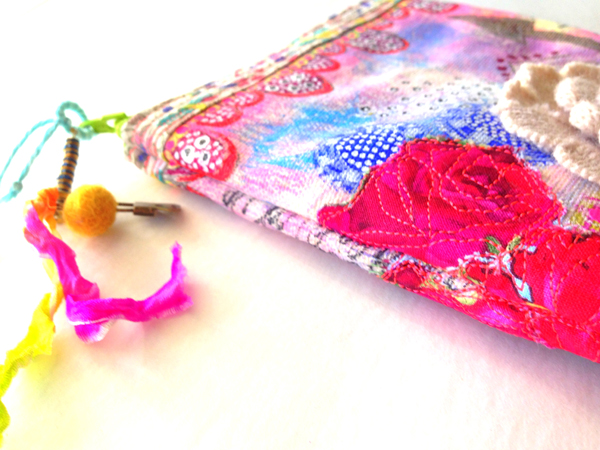
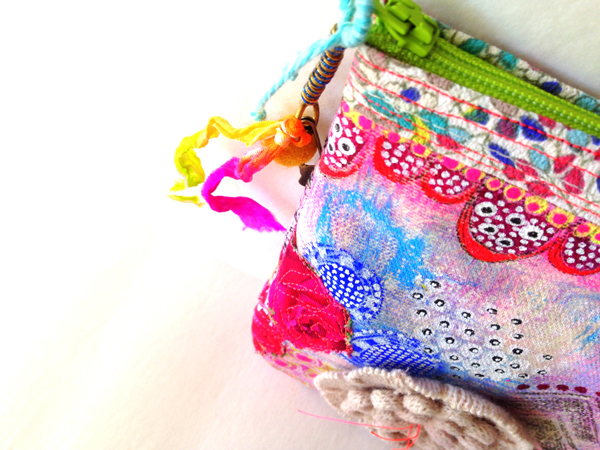
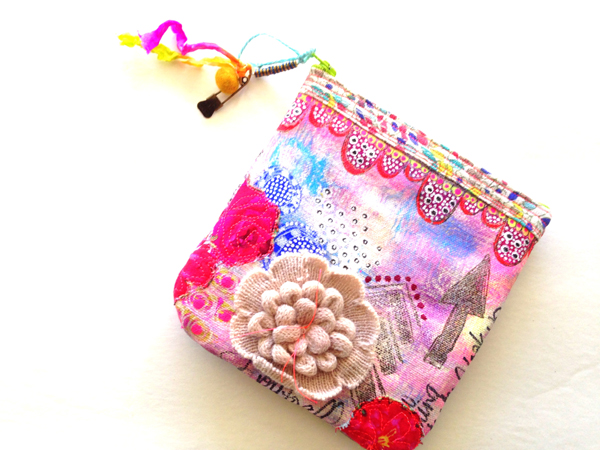
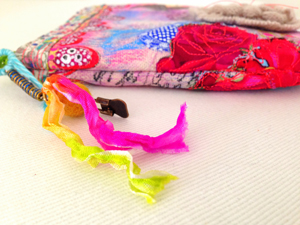
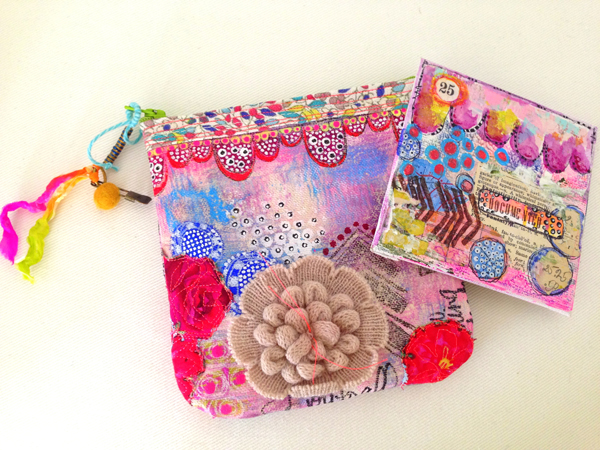
This painted pouch found it's way to her most recently and she did what she does best - applaud and drool and make me feel really, really good.

She has a gift for making someone feel like they are worth what they are doing, giving, creating. She has a gift for making someone feel cherished and loved.

I trust her judgement and I value her friendship. She is a gem and she deserves all the pretty she can get. I love you SK.

Saturday
Nov092013

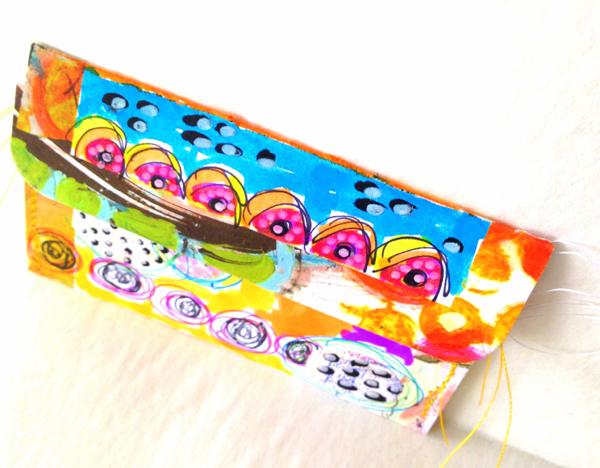
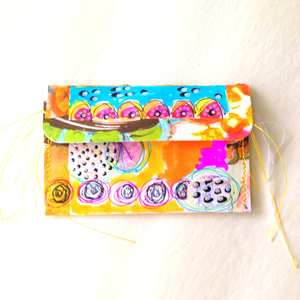
art stuff: gift card pocket with ART POPS

So you know I love these ART POPS and have already created this sketchbook and this party invitation , but I wanted to share an idea with you on how you can use just one simple card to create a pretty gift card pocket.

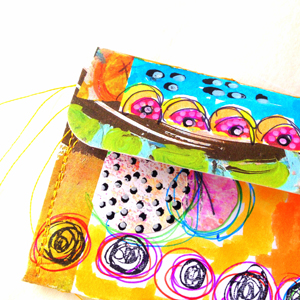
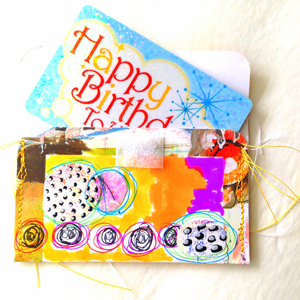
I used one of the Lo's Serendipity Cards, painted and doodled the center, folded, stitched up the sides and added a smidge of sticky velcro.

 Super easy. Super cute. LOVE!


Friday
Nov082013

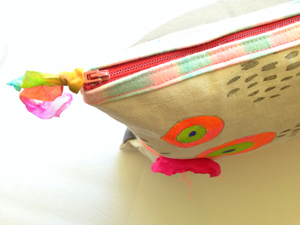
newsworthy: win this pretty painted pouch

I gave a little peek of this here, when I talked about Roben-Marie's awesome Mixed Media Essentials stamps and what I did with them, but...

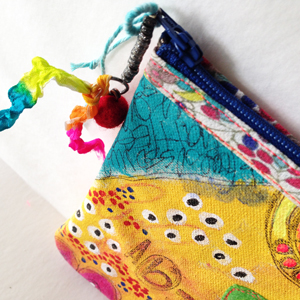
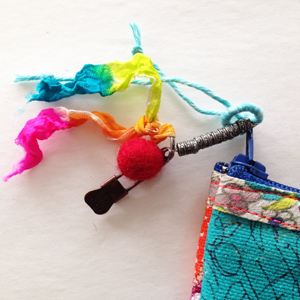
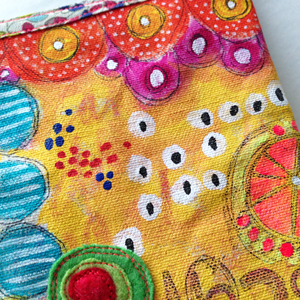
...I wanted to give you a few more shots of what this pretty painted pouch looked like.

You can win this in an auction over at Roben-Marie's blog next week, so be sure to stop over and read all about it!

Good Luck! ...But don't worry if you don't win this one - more coming to the etsy shoppe here soon!

Saturday
Nov022013

newsworthy: my artwork at society6

HERE IS SOME REALLY EXCITING NEWS PEOPLE!

One of my favorite originals - DOCUMENTED, is now available  as a print and other great prodcuts like these!


Also available as: Pillows, totebags, stationary, stretched canvas, framed art prints and more! See all my inspiring work here at Society 6.

Friday
Nov012013

art stuff: playing with these--->mixed media essentials  


I confess. It has been a long time since I really USED rubber stamps.

That is not to say I don't have any - I do, but they never really jumped off the worktable and said "play with me please!" Recently a friend of mine, Roben-Marie Smith, asked me if I would be interested in working with her new line - MIXED MEDIA ESSENTIALS. Holy Moly is all I can say!

These stamps were calling my name! I knew the minute I laid my hands on these I would be stamping on more than just paper. I had to put these puppies to fabric. WOW! They rocked!

I absolutely fell in love with all of the combinations I could create with this set. I can't say whether it is the doodled nature of this line - I love to doodle, or the whimsical feel they lend to a piece of art that I love more.

It has been great to work with such a versatile set of stamps too - you can reach for anything from a funky alphabet to a scalloped edge to a doodled dot or circle!

I stamped on fabric, paper and board canvas- each and every project turned out so awesome!

I can't wait to experiment some more with these funky and modern, MIXED MEDIA ESSENTIALS stamps! Who knows what will come off the worktable next! Stay tuned! And don't forget to visit Roben-Marie Smith here for more inspiration and to see what other artists are creating with the great set of stamps!