tutorial: 1 mini project, 4 mini gifts & big happy new year
 Thursday, December 26, 2013 at 6:00AM
 I have been a little behind since the second half of this year started. Not my fault. Seriously. I never let art or meetings or appointments or shopping take precedence over family life. Never. So I am a teeny tiny bit behind in making and delivering a few of my gifts. Nothing huge. Just a few little THANK YOU's I wanted to make sure to deliver to people that matter in my life, but might not know it, like the postman, the kids teachers, and even my bank teller. I thought since I was behind anyway it might be nice to change things up a bit and surprise them with a NEW YEAR gift instead...it works for me. And the best part is you just need some scraps and a few supplies!
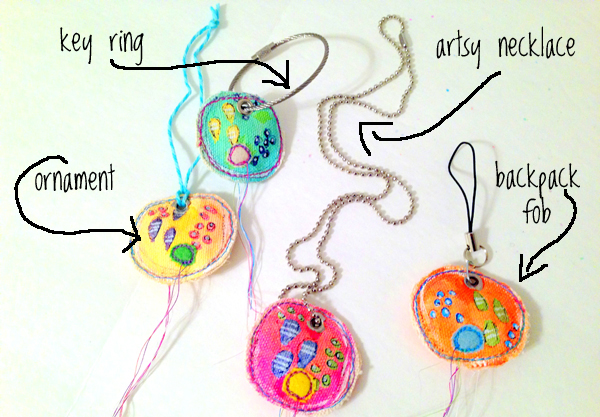
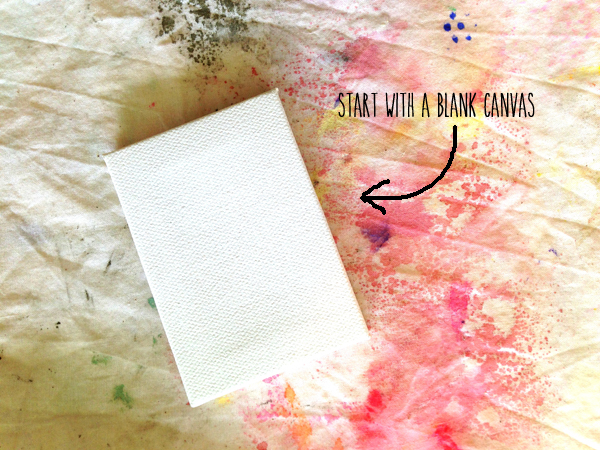
I made all four of these in just under an hour. Grab this stuff to make your own: * scrap of canvas or duck cloth. Mine was only 2 inches high by 12 inches long. * some paint *paint pens *hole punch *eyelets *scissors *sewing machine *cotton balls *bakers twine *bead ball necklace chain *bead ball key chain *aircraft cable key ring *felt or fabric scraps *glue gun *silicone finger caps
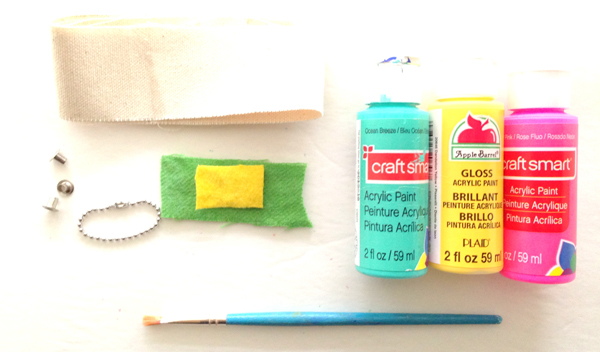
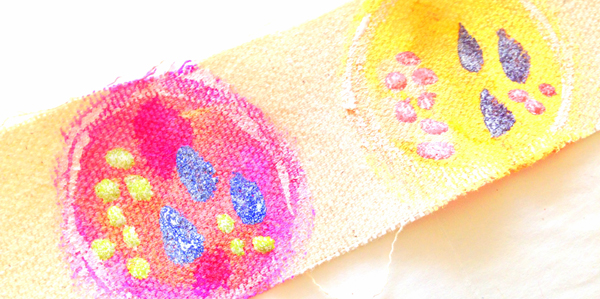
Step 1. Paint circles on your canvas scrap. **If you want both sides of your canvas pouf to be the same, you will need TWO of each color circle**I took mine all the way to the edges to allow cutting and stitching later. Add little designs using paint and pain pens. Let dry completely.
Step 2. Stitch around the edges of each circle a few times.
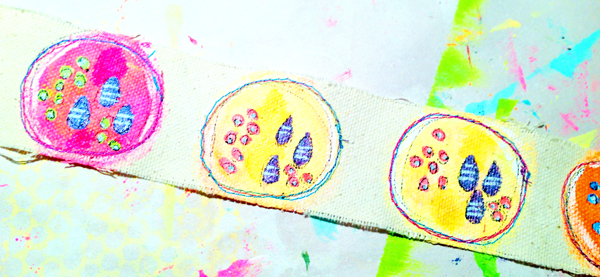
Step 3. Cut each circle out. You can trim your threads or leave them dangle. Cut tiny pieces of felt or fabric and stitch on for a little 3-D embellishment. Using a coordinating thread makes it pop!
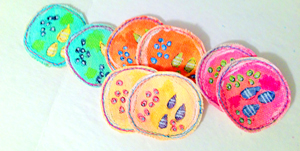
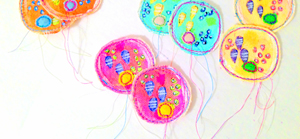
Step 4. Place one of each color circle RIGHT SIDE DOWN on protected surface. Place a small dot of glue on cotton ball and lay on WRONG SIDE of circle. Run a small line of glue along outer edge of circle and place MATCHING circle on top of cotton ball RIGHT SIDE UP. Using silicone finger tip protectors, quickly press edges of circle together.
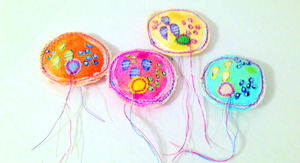
Step 5. Punch a hole near the top edge of each of your canvas poufs using a heavy duty hole punch.
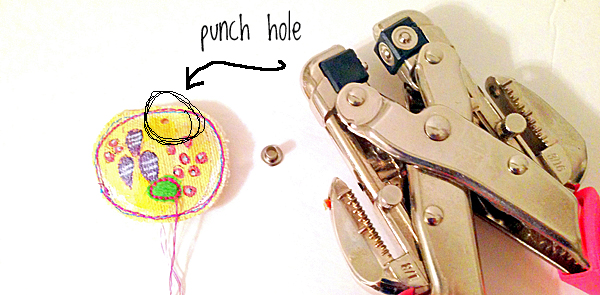
Step 6. Add eyelet to hole you have punched.
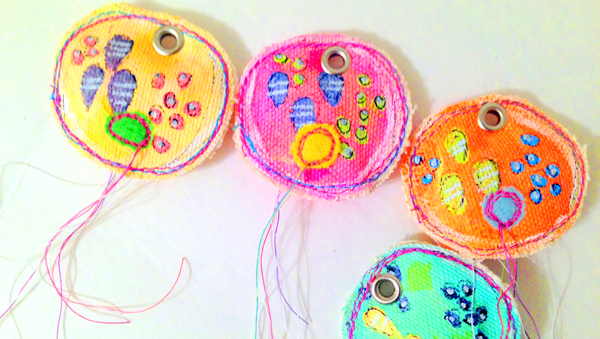
Step 7. Add twine, chain or rings to complete your canvas poufs.

Enjoy what my little girl likes to call "those jelly fish things!" Hey I see an UNDER SEA party theme somewhere in there!
