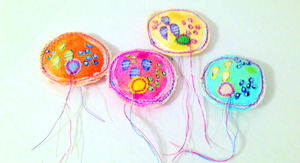
If you are participating in The Documented Life Project and are anything like me, you may be having a hard time leaving your planner or journal alone!

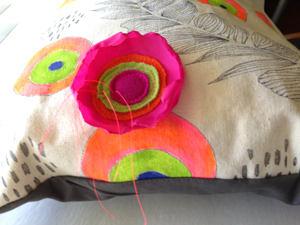
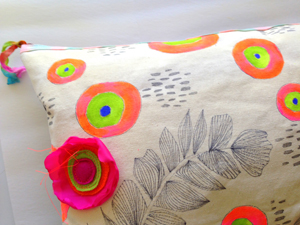
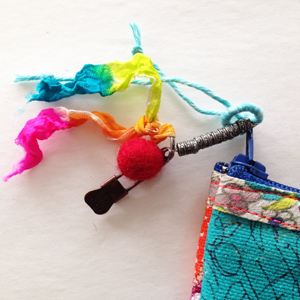
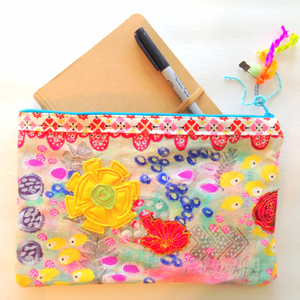
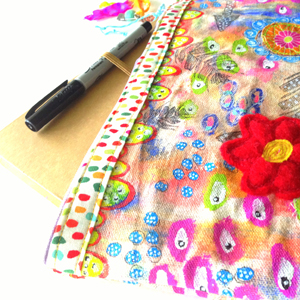
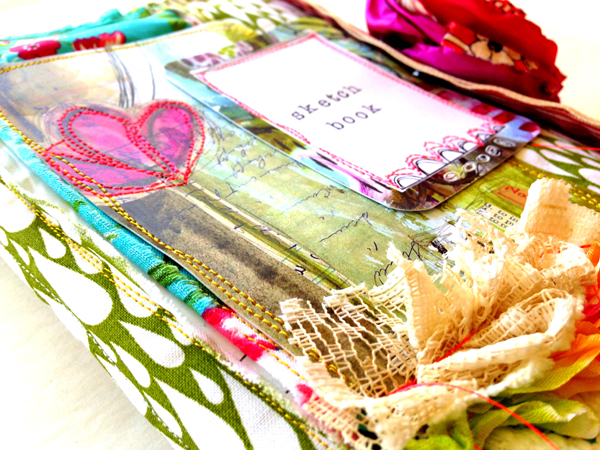
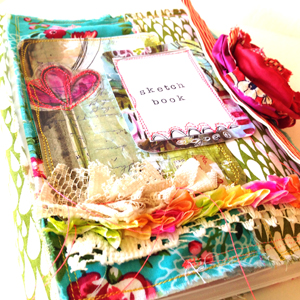
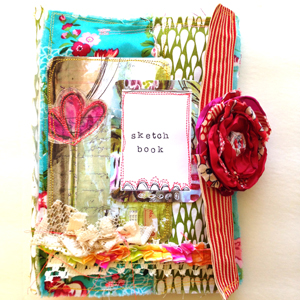
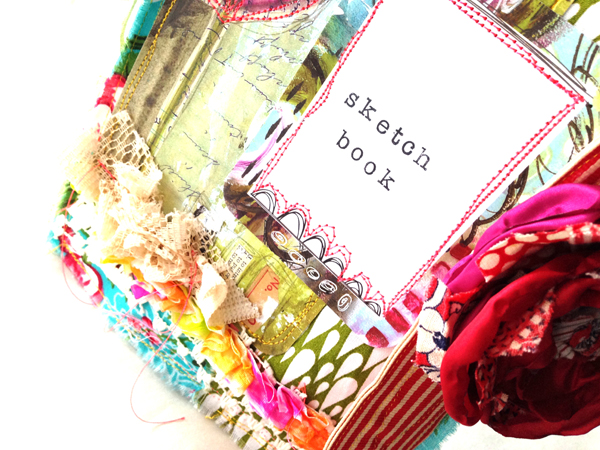
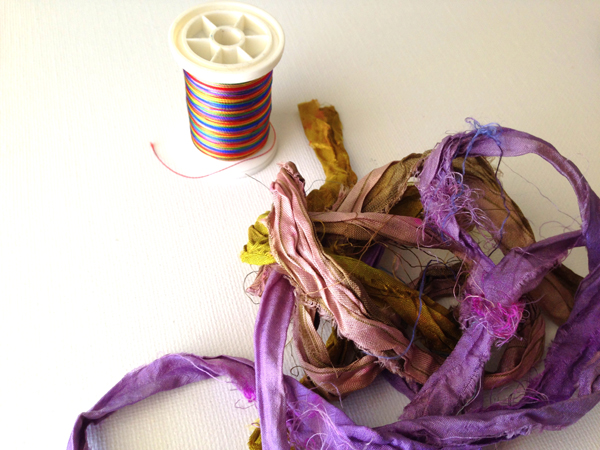
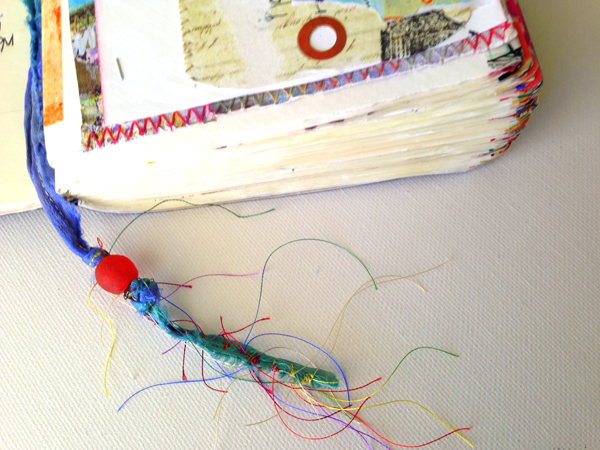
As I was creating challenges over the past few weeks, it occurred to me that I needed a longer place marker. Because my book is so chunky I knew my sewing options were limited. Here is what I came up with ----->
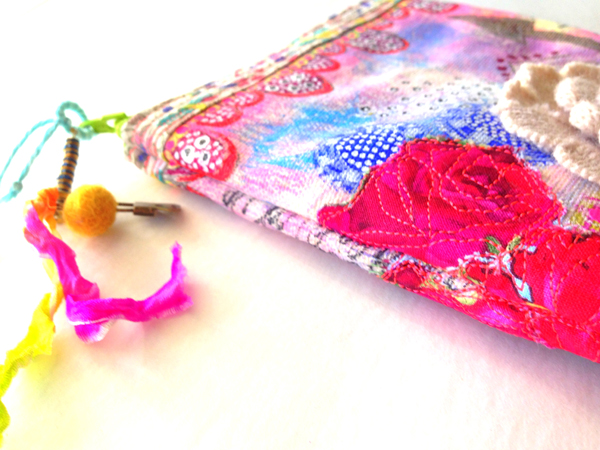
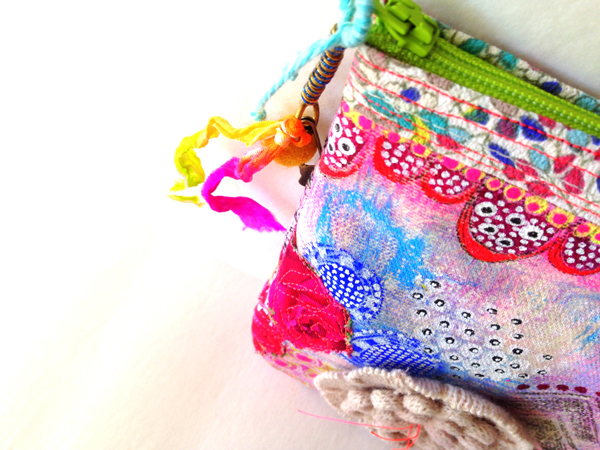
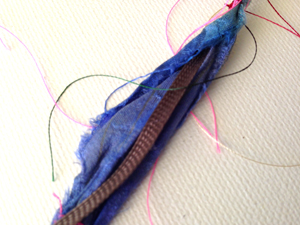
I grabbed some beautiful recycled sari ribbon a pal gifted to me, and some colorful thread.
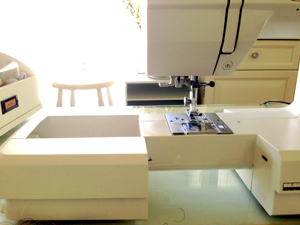
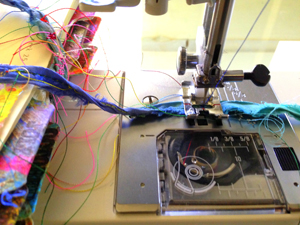
Next I moved the detachable arm piece of my sewing machine out far enough that I could rest my planner on it. I opened my planner to the center and rested it on the arm, stretching the original place marker out as far as I could.
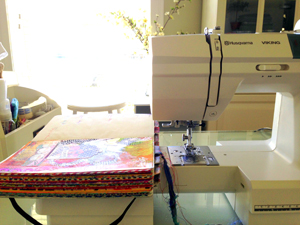
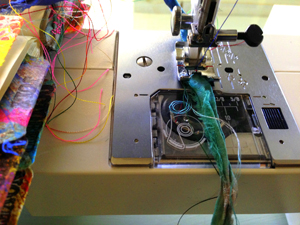
I opened the sari ribbon up and wrapped it around the end of the original place marker, getting as close to the book as possible. I secured it with a straight pin until I had it under the foot of the machine. Once under the foot (it will move a little) I lowered the foot and removed the pin. I stitched back and forth a few times to secure the two markers together. Moving downward from my stitching, I opened the sari ribbon and wrapped it around the original marker.
Once secured, I stitched the sari ribbon, rotating from horizontal to vertical stitching every few inches.
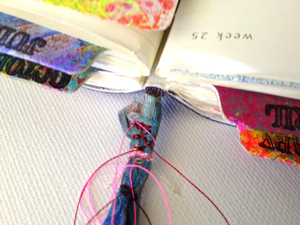
Lastly, I trimmed the ribbon and threads. I added a pretty bead, knotting the ribbon just below it a few times until secured. If I need more length as the year goes on, I can undo one or two of the knots and easily make my marker longer.
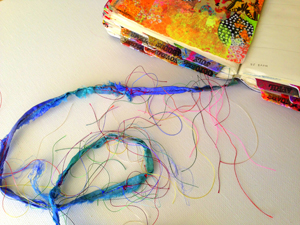

Now my planner has a pretty place marker that can handle the bulk of my book! I love it!
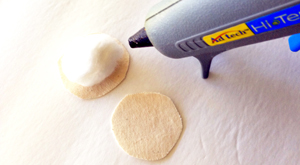
Want to make your place marker longer or prettier? This was an easy and FREE project. Just dig through your stash and grab a piece of ribbon or colorful twine and stitch away. Don't sew? Use a tacky fabric glue and set aside to dry overnight!
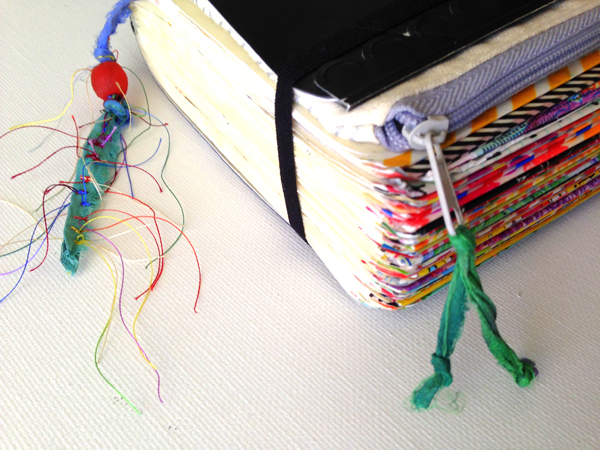
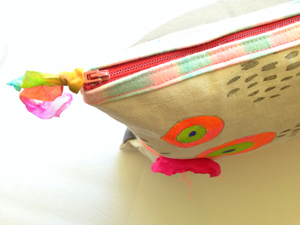
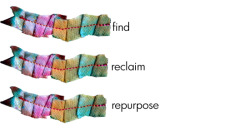
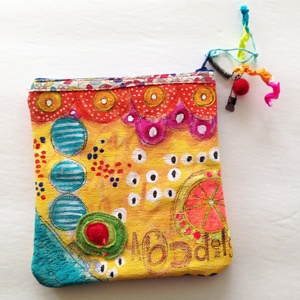
READ HERE -----> to see how I added a removable zipper pouch (in about five minutes) to my planner here!
READ HERE TO LEARN MORE AND JOIN ME IN DOCUMENTING YOUR DAILY LIFE! Enjoy!


 Rae Missigman