Roben-Marie Smith

Roben-Marie Smith


THIS AND OTHER  PRODUCTS AVAILABLE AT

       IS A REGISTERED TRADEMARK


 sandi-keene

Roben-Marie Smith

Blog Index
The journal that this archive was targeting has been deleted. Please update your configuration.

Entries in On The Worktable (80)

Saturday
Mar082014

the documented life project: weekly challenge 11

Welcome to Week 11 of The Documented Life Project!

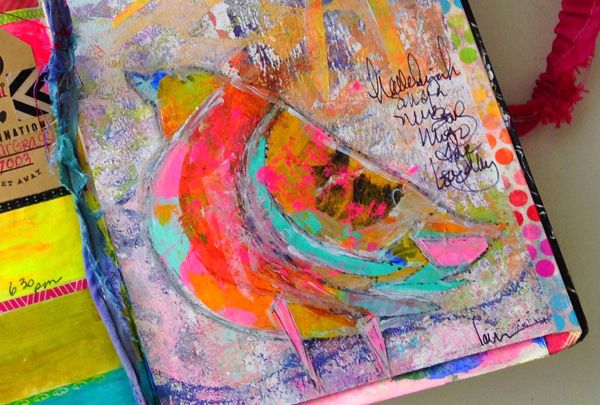
March 8 - Draw, Photograph or Collage a Bird onto your Page.

I don't mind admitting that this week's challenge scared me a little bit. If there is one thing I have not mastered, it would drawing. I could have photographed a bird, but I have said from the get go that I would push myself with this project...

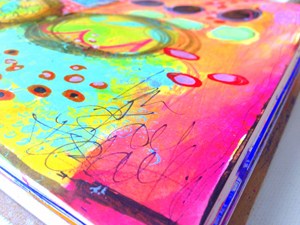
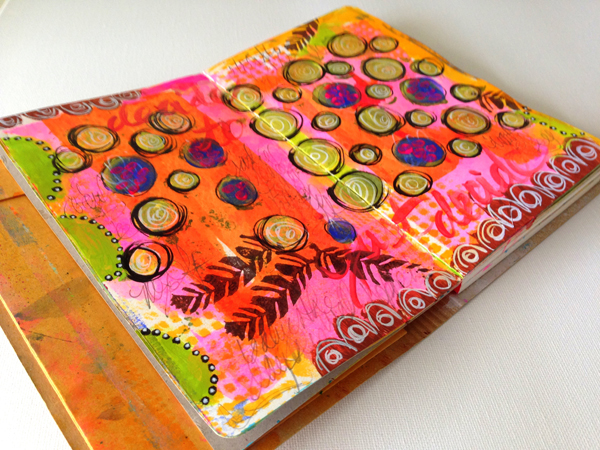
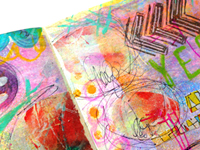
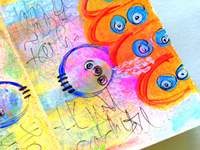
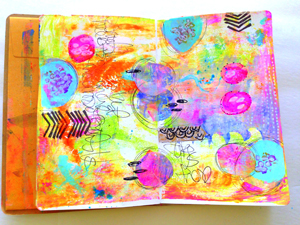
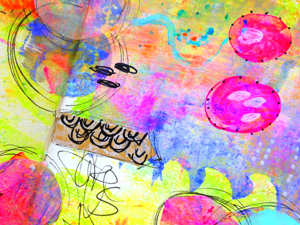
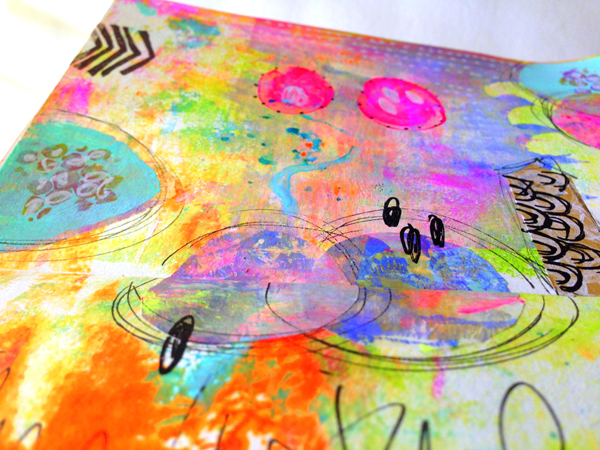
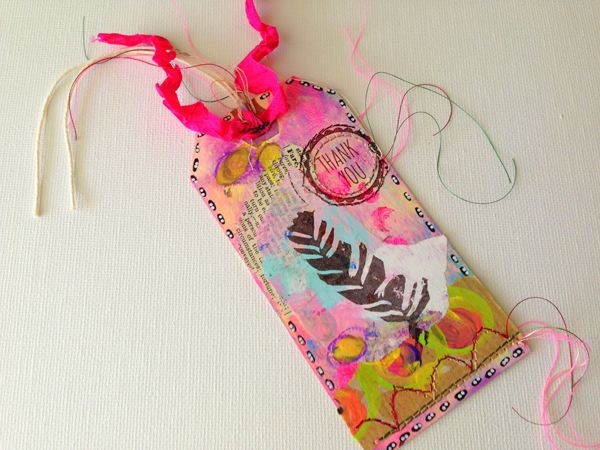
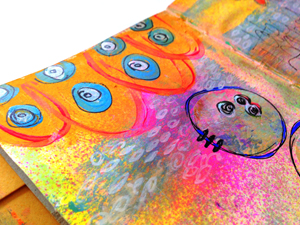
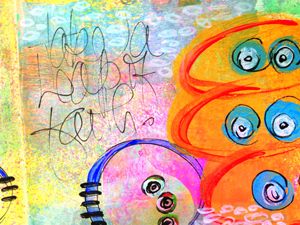
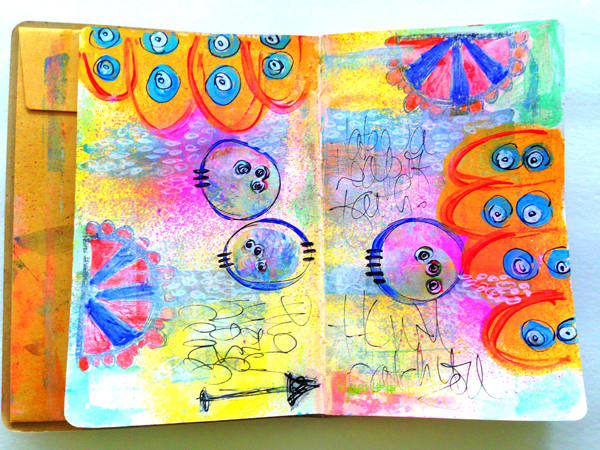
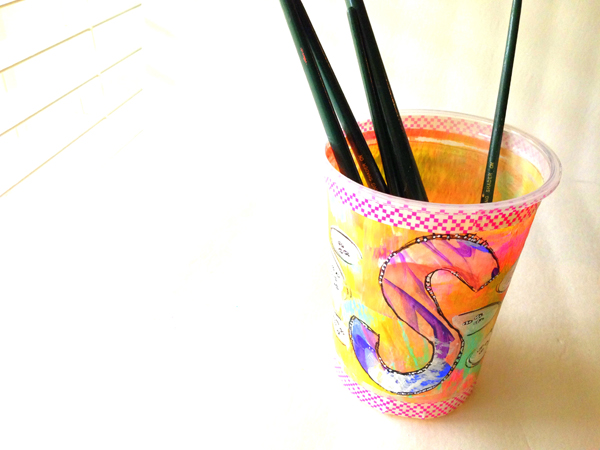
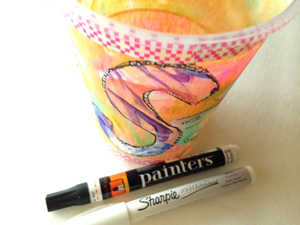
...so I sketched a little bird out onto a gelli print tip in page. I started with a pencil. Once I was happy with her shape I sketched in a quick scratchy fashion over the pencil with my favorite fine tip black pen. I like how the pen and pencil combined to give the feathers some definition. I added some hand written text - "hallelejuha-sing a new song unto the Lord today."

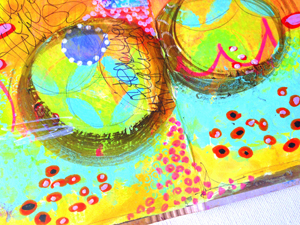
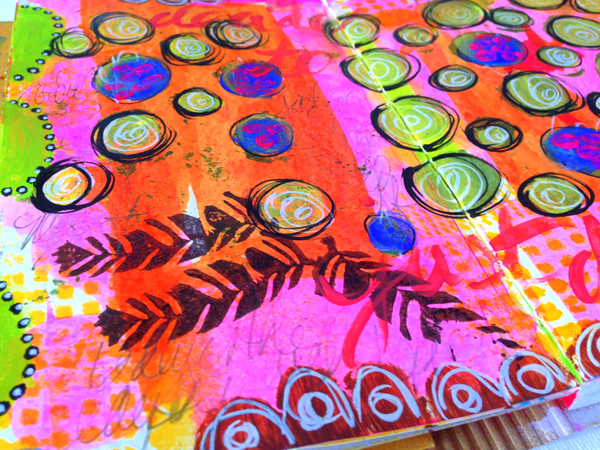
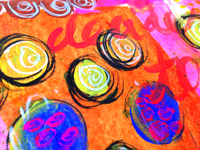
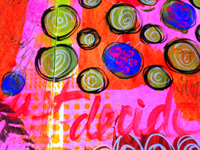
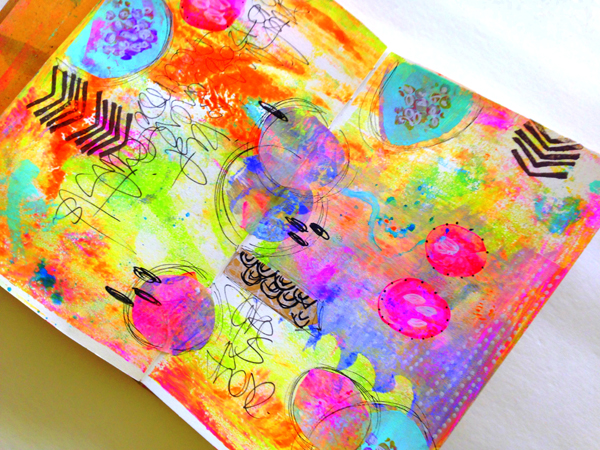
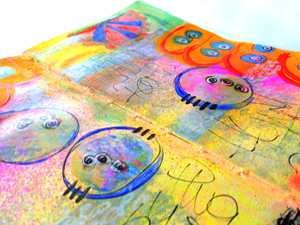
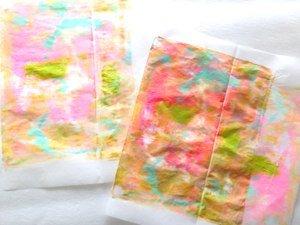
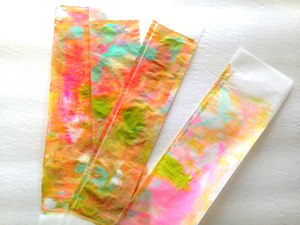
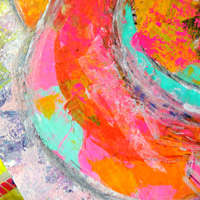
Next I grabbed some colorful painted papers and began tearing them into small pieces to collage my bird. I also used painted deli paper and inked ultra thin brown kraft paper. I love how she blends with the gelli print.

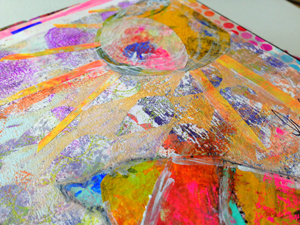
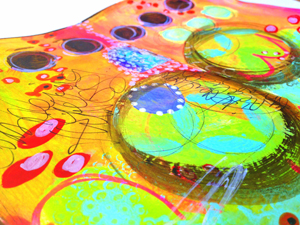
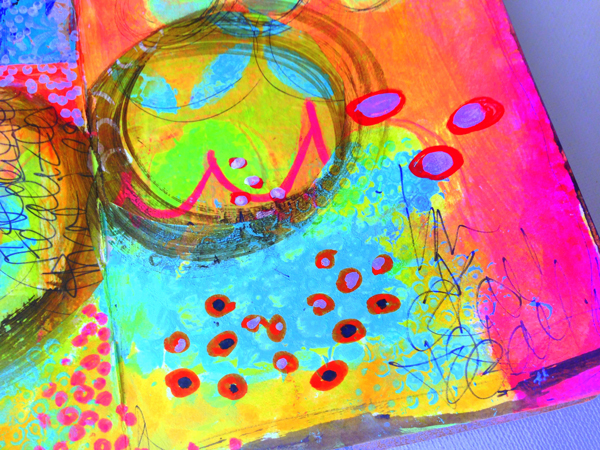
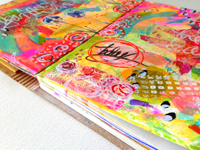
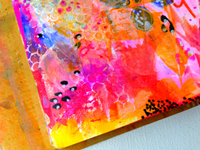
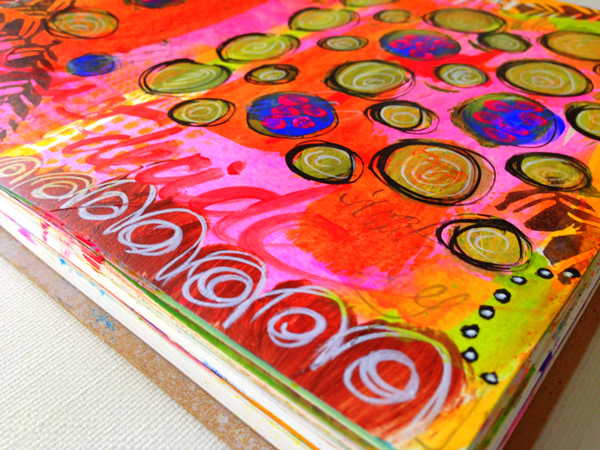
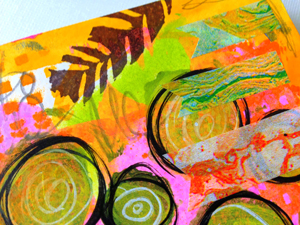
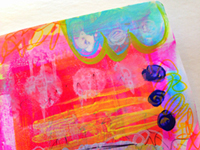
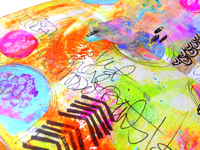
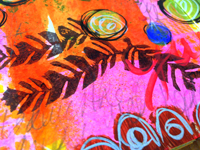
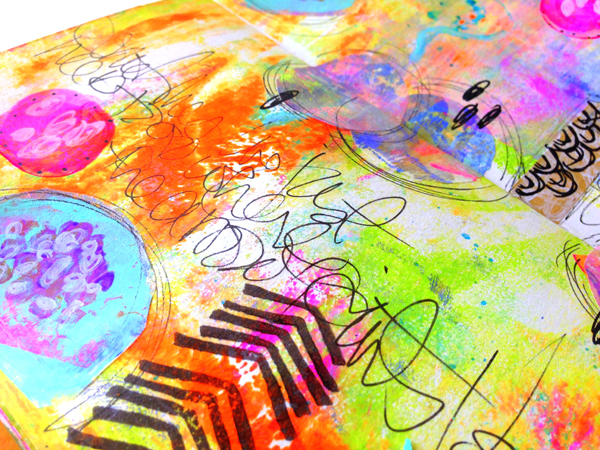
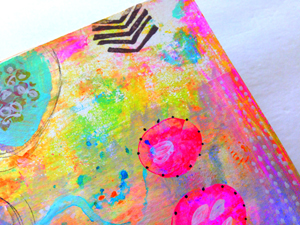
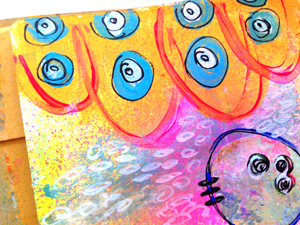
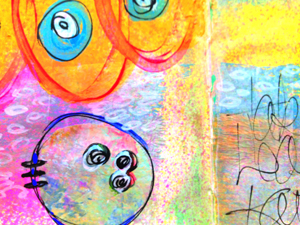
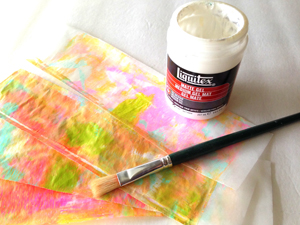
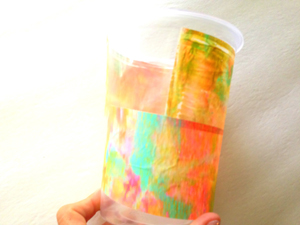
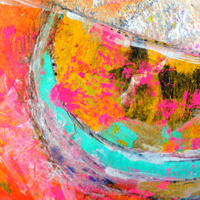
I love all the texture this process lends to the page. The gelli print I chose was the perfect foundation- using the gelli plate I added more layers of paint than I normally would, using several different stencils, giving it a cool nubbly texture.

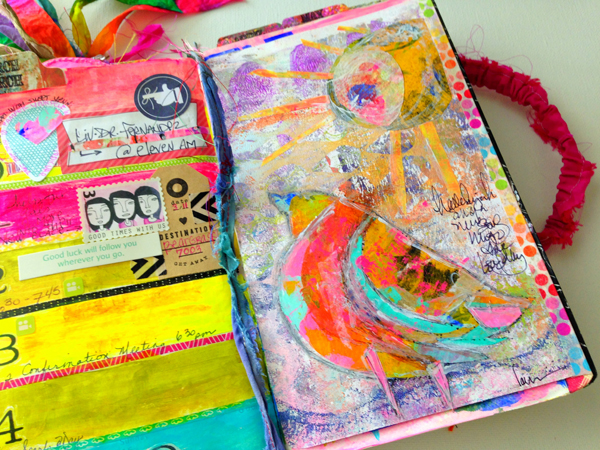
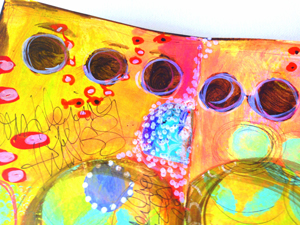
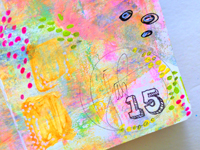
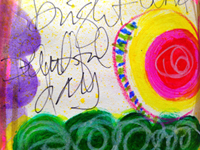
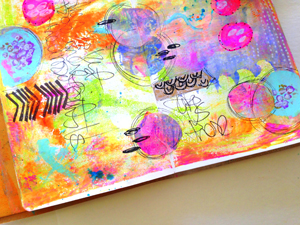
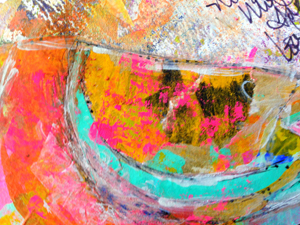
I collaged a funky sun at the top of the page and called it done. I have a hard time walking away from a page. Well, I do walk away, but I keep coming back. Again and again and again. This time I liked the simplicity of this chubby little bird and her sun and so I closed the book.

I can't wait to finish filling in the calendar side of my planner this week! Look for a peek soon!

------------------------------------------------------------------------------------------------------------------------------------

-------> Art to the 5th Blog - Our Story

-------> List of Weekly Archived Challenges

-------> Facebook

------> Flickr

-------> Instagram - #documentedlife

-------> Our Blogs

            Rae

            Lorraine

            Sandi

            Barbara

            Roben-Marie

*as an amazon affiliate, I receive a small incentive if you purchase a product through these links*

Tuesday
Feb252014

15 minutes of mixed media

Welcome to 15 minutes of mixed media. Because of the overwhelming and positive response to the film version of this exercise in time management, I thought I would share another process video for this weeks self imposed challenge.

I think it is important to create everyday. When I first made the committment to do this, I doubted it's ability to help me be creative. I was wrong. Making the time to put any medium, to any substrate, on a daily basis has done more to motivate and inspire me than I ever thought possible.

This week's supply list: Apple Barrel Acrylic craft paints in - Key West Bleu Turquoise and Sublime Lime Gloss, Craft Smart Acrylic craft paint in Neon Pink, Painters Brand paint pens in red, black white and hot pink and orange, Golden Fluid Acrylics in Van Dyke Brown Hue, UHU Glue Stick, Water Brushes filled with watered down Dylusions Inks, a few stencils, scissors, paintbrush, brayer and an old gift card.

I am working in this art journal and love it! I started this week with a blank page, as I have had a few requests to do so. I usually take a day and make backgrounds so that when I go to create I have a colorful substrate to jumpstart the creative process.

Here are a few other journal pages I created using this technique!

Click on the images below to see how these journal pages were created using 15 minutes of mixed media.


*as an amazon affiliate, I receive a small incentive if you purchase a product through these links*

Tuesday
Feb042014

mailart from my art

Just making a little mail art over here. Hoping to get my act together this year and do a swap!

MAILART: print of my be bold canvas. vintage ledger paper. to do tab. wasi tape. vintage grocery stamps. painted paper plate circles. patterened paper scraps. vintage postage stamps.

Tuesday
Jan282014

15 minutes of mixed media

This week for my 15 minutes of mixed media I took a cue from a challenge in another project I am working on - The Documented Life Project. I wrote an entire two pages of journaling, then painted over all but what I felt like sharing.

Before I set the timer this week I chose a two page layout that had been prepped with a simple background- just a few swipes of bright paint.

Once the clock was ticking I started writing. I wrote in pencil and paint. I had my embosser handy, as always, to dry layers more quickly, saving me lots of time. Once I finished journaling I started layering. First I painted over most of my writing with large circles of yellow and blue paint. I like to use glossy craft paints for these little pops of color.

The scalloped border was created using a handcut cardstock stencil. Lots of little black and white details were added using my favorite thing ever- paints pens. Another recycled stencil, a scrap of laser cut lace paper, was used with spray inks to create lots of tiny colorful squares all over my page. I used a hand carved stamp to create feather leaves.

My journal layout this week is bold and bright. I am learning to be brave and let go and let the colors choose themselves. Sometimes, like this week, they are pretty wild, and not what I would usually choose- but I like it!

Supplies at the ready when the clock started ticking this week: 4 colors of craft paint, black and white paint pens, two recycled cardstock stencils, hand carved feather stamp, sunshine dylusions spray ink, brown staz on ink pad, pencil.

Want to see more simple background ideas for your art journal pages created using 15 minutes of mixed media? Read here----->

Thursday
Jan232014

sari ribbon place marker

If you are participating in The Documented Life Project and are anything like me, you may be having a hard time leaving your planner or journal alone!

As I was creating challenges over the past few weeks, it occurred to me that I needed a longer place marker. Because my book is so chunky I knew my sewing options were limited. Here is what I came up with ----->

I grabbed some beautiful recycled sari ribbon a pal gifted to me, and some colorful thread.

Next I moved the detachable arm piece of my sewing machine out far enough that I could rest my planner on it. I opened my planner to the center and rested it on the arm, stretching the original place marker out as far as I could.

I opened the sari ribbon up and wrapped it around the end of the original place marker, getting as close to the book as possible. I secured it with a straight pin until I had it under the foot of the machine. Once under the foot (it will move a little) I lowered the foot and removed the pin. I stitched back and forth a few times to secure the two markers together. Moving downward from my stitching,  I opened the sari ribbon and wrapped it around the original marker.

Once secured, I stitched the sari ribbon, rotating from horizontal to vertical stitching every few inches.

Lastly, I trimmed the ribbon and threads. I added a pretty bead,  knotting the ribbon just below it a few times until secured. If I need more length as the year goes on, I can undo one or two of the knots and easily make my marker longer.

Now my planner has a pretty place marker that can handle the bulk of my book! I love it!

Want to make your place marker longer or prettier? This was an easy and FREE project. Just dig through your stash and grab a piece of ribbon or colorful twine and stitch away. Don't sew? Use a tacky fabric glue and set aside to dry overnight!

READ HERE -----> to see how I added a removable zipper pouch (in about five minutes) to my planner here!

READ HERE TO LEARN MORE AND JOIN ME IN DOCUMENTING YOUR DAILY LIFE! Enjoy!

Tuesday
Jan212014

15 minutes of mixed media

This week's 15 minutes of mixed media challenge turned out even better than I had hoped. I love the colors.

This week I started with a ghost print of a gelli print. This was a print that was already in my art journal. It gave me a slight edge, as starting with a back ground will do. I like it. Sometimes it is a great springboard for color and definition on a page.

Having backgrounds at the ready in your journal is a simple way to add layers to your 15 minute challenge as well as perserve supplies. I never wipe my gelli plate to clean it. I always keep printing until all the paint is depleted. This makes beautiful ghost (or light) prints. I also like to take extra paint off of the palette and swipe it on the page, smearing it out from the center as I go. To do this I like to use an old credit card or a scraper.

Here is the short list of supplies that I had on hand before I started the timer. Remember, having just a few supplies at the ready saves valuable time when the clock is ticking! *5 paint colors (just run of the mill cheap craft paints. I would list the colors, but most of them are so old the labels are worn off) *sticky note tabs *permanent marker *black and white paint pens *glue stick *scraps of painted deli paper *stamp *stamp pad *embosser (to speed up the drying process in between layers) *dylusions blue spray ink

Setting the timer is certainly a challenge on most days, but it gets my creative mind racing. I usually begin a bit harried, but by the time the buzzer rings I am in a flow. Remember- if you are joining in on this challenge and setting the timer- THIS IS YOUR ART JOURNAL. Depending on your schedule and what goals you have set for yourself, YOU DON'T HAVE TO STOP THERE. Keep creating. If nothing else, you will have spent 15 minutes setting up a base for your layout. I choose to stick to the 15 minutes so that I can post honest to goodness 15 MINUTES OF MIXED MEDIA ART JOURNAL PAGES.

If you have started playing along I would love to hear about it. Love how your art is turning out when you set the timer? Send me a few photos via the contact page- I would love to see them! Enjoy!

Thursday
Jan162014

i wanted to carve a feather stamp

Sometimes we don't always get what we want, but we might get lucky and like what we end up with.

So I wanted to carve a feather stamp. Feathers are my favorite thing right now, but...but it turns out that if you don't use your stamp carving tools for months you lose your touch. What I ended up with looks more like a leaf or branch of some kind, but I like it. I like the imperfections in each feather/leaf - not unlike in nature. If you want to have your own little imperfect feather leaf here is what I did ----->

1. Grab an eraser. I like the cheap ones from The Dollar Tree if you are just starting out. They aren't the best quality, but they come in a 3 or 4 pack for a dollar and are great for beginners.  I also like how they stay rigid when you go to stamp with them. You will also need a stamp carving tool. I use this SPEEDBALL set and love it. And you will need a pencil to draw your word or design on the eraser.

2. Draw your design. Don't forget to use tracing paper if you are writing a word or special design that will need to be drawn in reverse.

3. Start carving. Slow is key for me. This particular tool came with several cutting heads in the base of the handle. I used the smallest one for outlining my design first, then went back and carved out more with a larger, deeper cutting tool.

4. Finish off with the flat blade to smooth things out. My homemade stamps don't always look pretty when I am finished, but they stamp great!

Obviously I need to brush up on my stamp carving skills some more, but I think I will keep it. I like it's quirky shape and style. Here is what it looks like on a tag card project I did. Enjoy!

TAG CARD: gelli printed tag. painted deli paper scraps. book paper scraps. oil pastels. paint pens. machine stitching. thank you stamp from dollar bin at Target. my hand carved feather leaf stamp. recycled seam binding.

Tuesday
Jan072014

15 minutes of mixed media

So this week my 15 MINUTES OF MIXED MEDIA challenge resembles a carnival ride. Not what I intended, but bright and colorful all the same.

I struggled this week. My base had no background, which always proves harder when the clock is ticking. I hurried and ended up with a bit muddier collection of colors than I wanted, so I overcompensated with bold stamps and bright colors in my second layer. Definitely a week I needed the embosser.

I did, however, remind myself to add some journaling this week. This is my weak spot. I like to keep the words inside, so writing them on a page of art is tough for me, and something I am working on.

I took a leap of faith on this page. I wanted to TURN the page on this one and I didn't. I let the clock tick and I kept working. I like the happy colors and bold shapes.

Here is my supply list for the week- things that were on the table when I started the timer. *yellow and pink dylusions spray inks *4 paint colors (the little acrylic craft paints) *black and white paint pens *permanent marker *scraps of deli paper *glue stick *scraper *embosser (to dry the layers) *paintbrush *stamp *stamp pad.

Sometimes we find in a challenge that even though it is not what we wanted or expected, we like it. Kind of like going to a carnival and getting on that scary ride. Sometimes it was worth the leap of faith.

Here are some more 15 minutes of mixed media art journal pages--->


Friday
Jan032014

papered paint cup

When my daughter wanted to have some friends over to paint, I ran to my local Dollar Tree and grabbed a few disposable plastic tubs to use for paint cups. That was supposed to be the end of it. Well, if you know me, you know I just couldn't leave those cups plain. Time was a factor, so I kept it really simple. Plus this way, no one's heart will be broken if you throw them away at the end of the day.

You only need a few supplies: *a disposable plastic cup or tupperware *deli paper *craft paint *paint pens *decorative tape *gel medium or adhesive OPTIONAL: *gelliplate *brayer

STEP 1. Choose your container and grab some deli paper. I chose to use the gelliplate to paint my deli paper, but you could paint your own design on it instead.

STEP 2. Once your paper is painted and completely dry, cut it in to strips. I measured the height of my cup then cut two strips just wide enough so they would overlap. I cut several more to fill in where my strips didn't meet and to use for shapes and monograms.

STEP 3. Adhere your strips to your container. Smooth out wrinkles as you go. Set aside to let dry completely.

STEP 4. Once your cup is covered and dry, begin adding your layers. I started by adding some washi tape to the top and bottom borders. Then I cut a monogram from painted deli paper and glued that to the center of the cup. Once dry I added borders and pops of color with black and white paint pens.

These are easy, affordable and completely disposable. The girls were thrilled that their paint cups were pretty. I was thrilled that they were happy! Enjoy!

Thursday
Dec262013

tutorial: 1 mini project, 4 mini gifts & big happy new year

I have been a little behind since the second half of this year started. Not my fault. Seriously. I never let art or meetings or appointments or shopping take precedence over family life. Never. So I am a teeny tiny bit behind in making and delivering a few of my gifts. Nothing huge. Just a few little THANK YOU's I wanted to make sure to deliver to people that matter in my life, but might not know it, like the postman, the kids teachers, and even my bank teller. I thought since I was behind anyway it might be nice to change things up a bit and surprise them with a NEW YEAR gift instead...it works for me. And the best part is you just need some scraps and a few supplies!

I made all four of these in just under an hour. Grab this stuff to make your own: * scrap of canvas or duck cloth. Mine was only 2 inches high by 12 inches long. * some paint *paint pens *hole punch *eyelets *scissors *sewing machine *cotton balls *bakers twine *bead ball necklace chain *bead ball key chain *aircraft cable key ring *felt or fabric scraps *glue gun *silicone finger caps

Step 1. Paint circles on your canvas scrap. **If you want both sides of your canvas pouf to be the same, you will need TWO of each color circle**I took mine all the way to the edges to allow cutting and stitching later.  Add little designs using paint and pain pens. Let dry completely.

Step 2. Stitch around the edges of each circle a few times.

Step 3. Cut each circle out. You can trim your threads or leave them dangle. Cut tiny pieces of felt or fabric and stitch on for a little 3-D embellishment. Using a coordinating thread makes it pop!


Step 4. Place one of each color circle RIGHT SIDE DOWN on protected surface. Place a small dot of glue on cotton ball and lay on WRONG SIDE of circle. Run a small line of glue along outer edge of circle and place MATCHING circle on top of cotton ball RIGHT SIDE UP. Using silicone finger tip protectors, quickly press edges of circle together.


Step 5. Punch a hole near the top edge of each of your canvas poufs using a heavy duty hole punch.

Step 6. Add eyelet to hole you have punched.

Step 7. Add twine, chain or rings to complete your canvas poufs.

Enjoy what my little girl likes to call "those jelly fish things!" Hey I see an UNDER SEA party theme somewhere in there!