sari ribbon place marker
 Thursday, January 23, 2014 at 5:00AM
 If you are participating in The Documented Life Project and are anything like me, you may be having a hard time leaving your planner or journal alone!
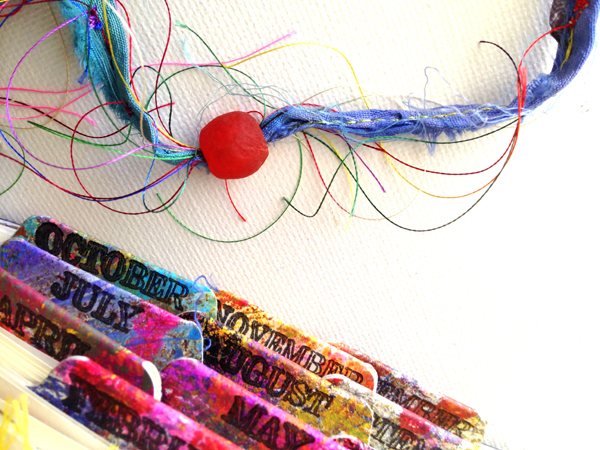
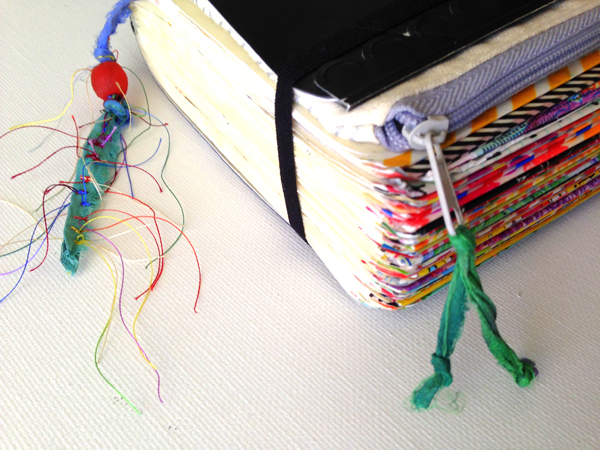
As I was creating challenges over the past few weeks, it occurred to me that I needed a longer place marker. Because my book is so chunky I knew my sewing options were limited. Here is what I came up with ----->
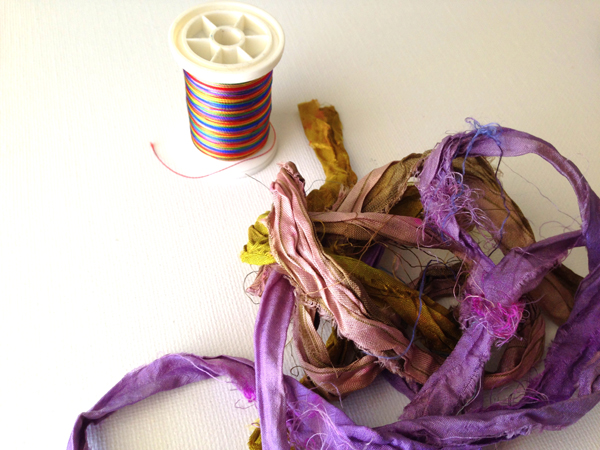
I grabbed some beautiful recycled sari ribbon a pal gifted to me, and some colorful thread.
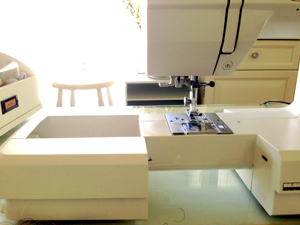
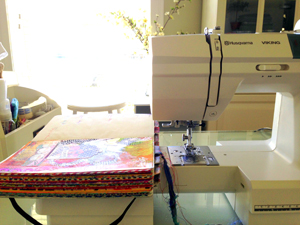
Next I moved the detachable arm piece of my sewing machine out far enough that I could rest my planner on it. I opened my planner to the center and rested it on the arm, stretching the original place marker out as far as I could.
I opened the sari ribbon up and wrapped it around the end of the original place marker, getting as close to the book as possible. I secured it with a straight pin until I had it under the foot of the machine. Once under the foot (it will move a little) I lowered the foot and removed the pin. I stitched back and forth a few times to secure the two markers together. Moving downward from my stitching, I opened the sari ribbon and wrapped it around the original marker.
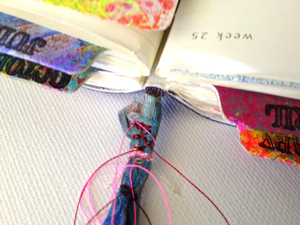
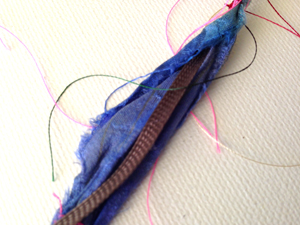
Once secured, I stitched the sari ribbon, rotating from horizontal to vertical stitching every few inches.
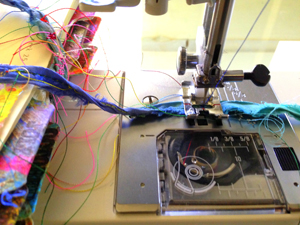
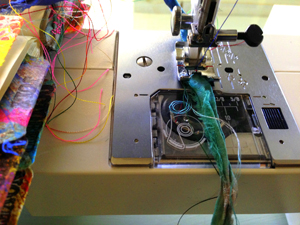
Lastly, I trimmed the ribbon and threads. I added a pretty bead, knotting the ribbon just below it a few times until secured. If I need more length as the year goes on, I can undo one or two of the knots and easily make my marker longer.
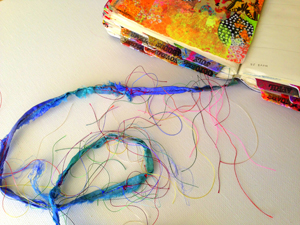
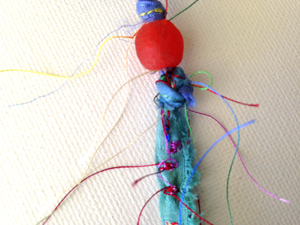
Now my planner has a pretty place marker that can handle the bulk of my book! I love it!
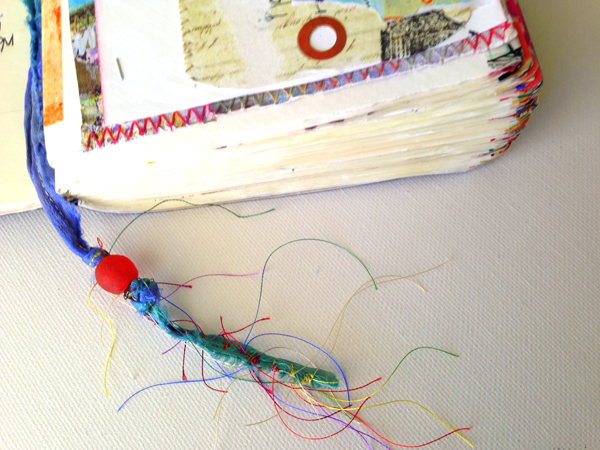
Want to make your place marker longer or prettier? This was an easy and FREE project. Just dig through your stash and grab a piece of ribbon or colorful twine and stitch away. Don't sew? Use a tacky fabric glue and set aside to dry overnight!
READ HERE -----> to see how I added a removable zipper pouch (in about five minutes) to my planner here!
READ HERE TO LEARN MORE AND JOIN ME IN DOCUMENTING YOUR DAILY LIFE! Enjoy!
 The Documented Life Project,
  agenda,
  art stuff,
  arttothe5th,
  documented life,
  mini tutorial,
  mixed media,
  moleskine planner,
  planner,
  sewing stuff,
  the process | in
  Art To The 5th,
  On The Worktable,
  Repurposed Life,
  The Documented Life Project,
  art stuff,
  live the repurposed life,
  mini tutorial,
  mixed media,
  sewing stuff,
  studio stuff,
  the process,
  tutorials |
  Email Article |
  Permalink








Reader Comments (4)
Love it! I can't wait to see the zipper pouch tutorial!
Thanks Julie! You might be disappointed when you see how SIMPLE the pouch idea is- hahaha! Thanks for stopping by and reading- made my day! xx
Great idea, Rae!! I purchased some sari ribbon at a Fiber Festival and was looking for a way to use it in my art. Also appreciate the idea about extending the machine arm. I received a Janome 7330 for Christmas and need all the tips I can get-yay!
What a great idea! My place marker always is to short. I will make my longer hopefully this weekend.
Greetings from Germany