Roben-Marie Smith

Roben-Marie Smith


THIS AND OTHER  PRODUCTS AVAILABLE AT

       IS A REGISTERED TRADEMARK


 sandi-keene

Roben-Marie Smith

Blog Index
The journal that this archive was targeting has been deleted. Please update your configuration.

Entries in Home Made (24)

Thursday
Mar132014

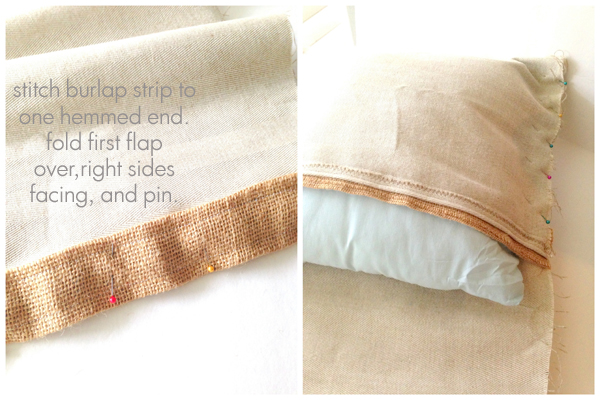
coffee filter wreathe

When I was moving recently I came across a handful of foam wreathes- leftover from a school project. Rather than find a place to store them I decided to make a few little wreathes for Spring.

This project took just under an hour and requires only a few supplies - most of which you might have on hand.

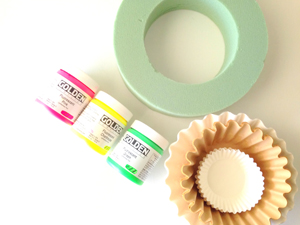
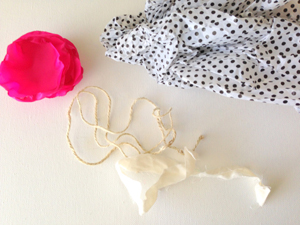
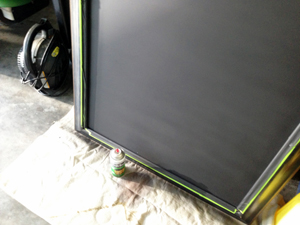
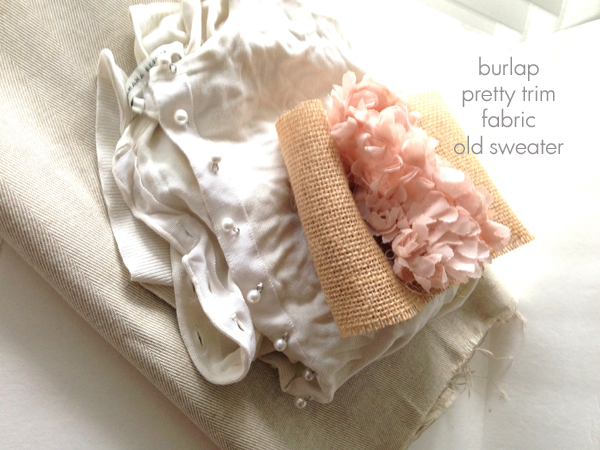
You will need: a foam wreathe (mine was 8" in diameter), assorted coffee filters, assorted paints, twine, scrap of muslin, tissue paper, and a floral embellishment. I cut up some polyester material I had on hand and shaped it into circular petals for mine. You will also need a glue gun and a glue stick or two.

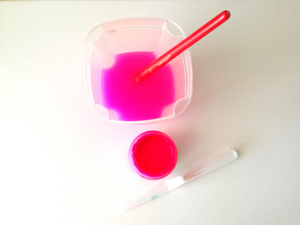
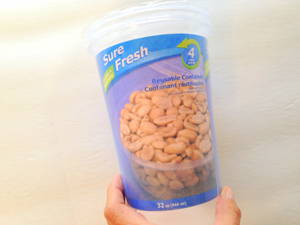
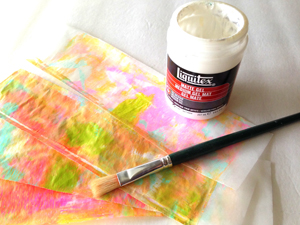
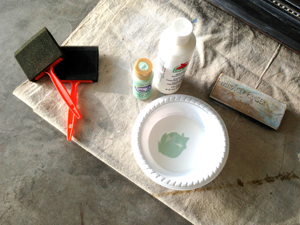
First I scooped a very small amount of Golden Heavy Body Acrylic Paint ( I used Fluorescent Pink, Fluorescent Chartreuse, and Fluorescent Green) into an old container. Next I added about two cups of water and mixed it up very well. If you are making a larger wreathe you will need to adjust the paint and water quantities accordingly.

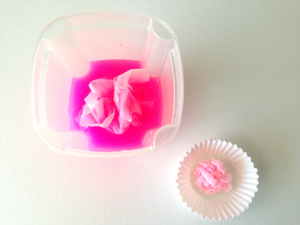
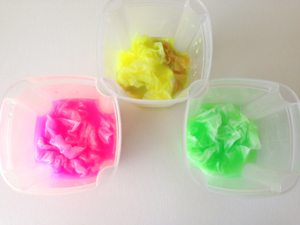
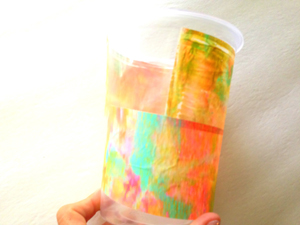
Once the paint & water were mixed well I began crumbling up the coffee filters and stuffing them into the mixture. I divided the filters up evenly and made sure they were well beneathe the surface of liquid. I let them soak for 30 minutes. For my miniature wreathe I used approximately 50 large filters, a combination of both natural and bleached, and 15 white cupcake wrappers. (Depending on how tight you crinkle them when adhereing them to the wreathe, you could use more or less)

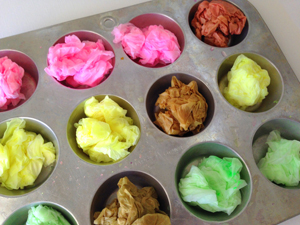
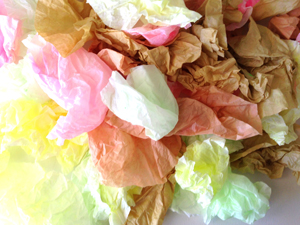
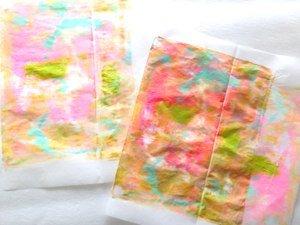
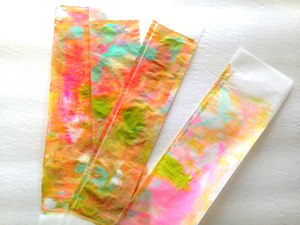
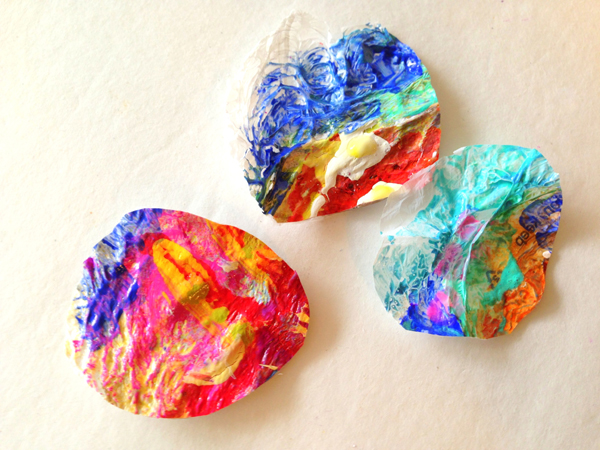
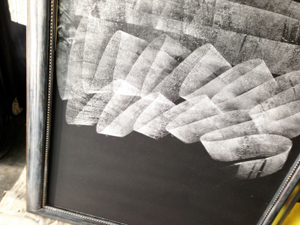
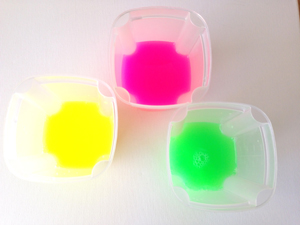
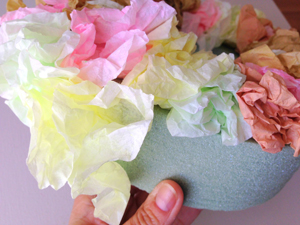
These colors apprear VERY bright while soaking, but they will be much, much lighter when dried. Adjust your color preferences accordingly. After 30 minutes I carefully (they will tear easily) wrung out each filter. You can do this with several at a time. Leaving them loosly balled up, I tossed them in the dryer on the coolest setting for about 6 minutes. Once dry I gently, and only partially, unfolded each filter.

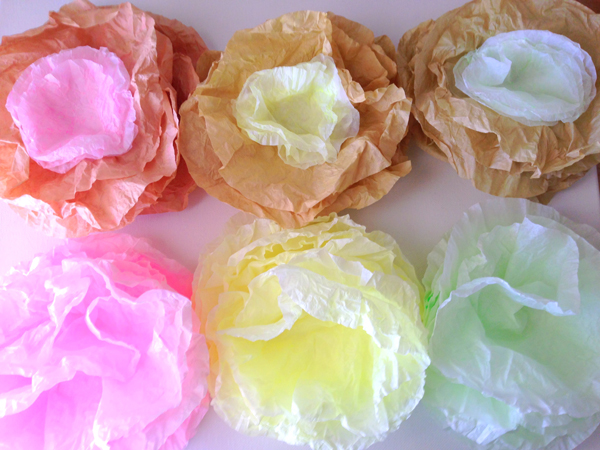
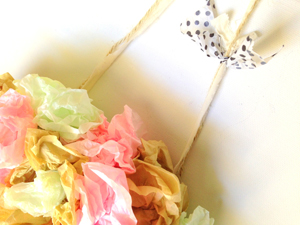
They look so yummy! ... like cotton candy peonies! I was tempted to just pin them to the wall at this point...but I went ahead and finished my wreathe. Maybe next time.

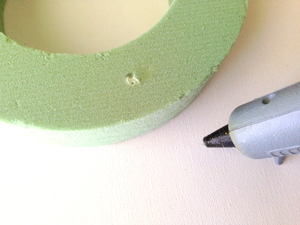
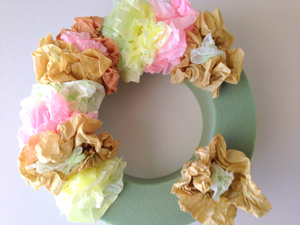
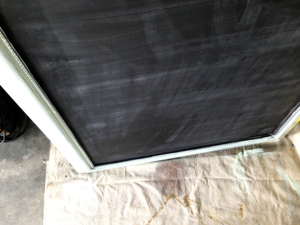
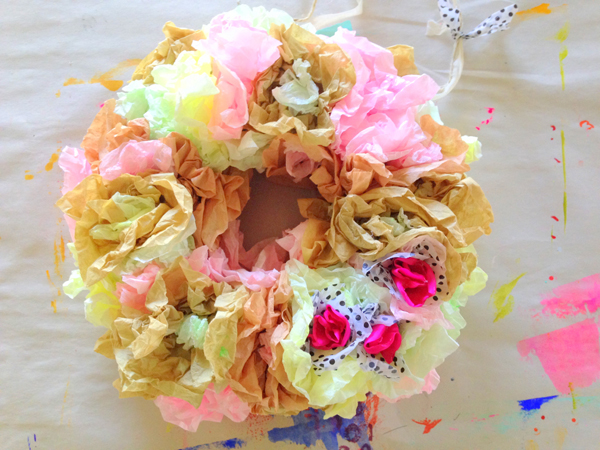
Next I began crunching and gluing my filters onto the foam wreathe. You could use straight pins too - but I wanted mine to be premanent. The glue will slightly melt the foam, but this is ok. It makes the depth different for each flower and I like it. I chose to add my filters randomly and layer the smaller cupcake liners with the larger natural ones.

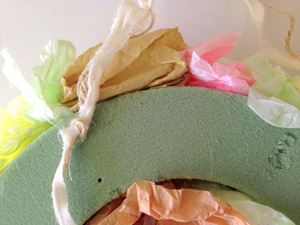
I continued to add filters on the outside of the wreathe, as well as on the inside center ring. I cut a length of twine and muslin, knotted each end and glued the ends to the back of the wreathe.

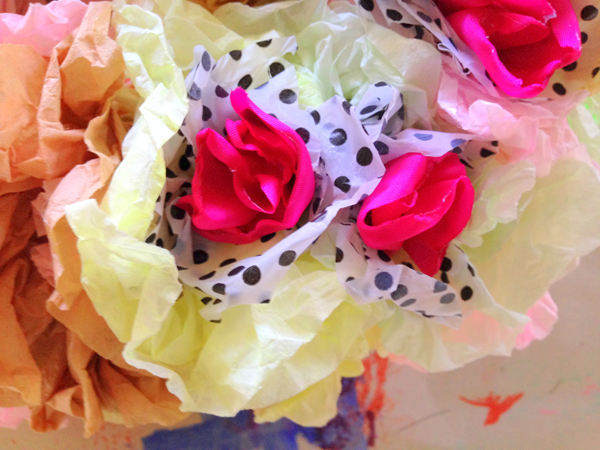
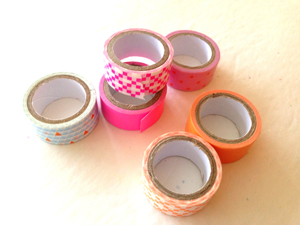
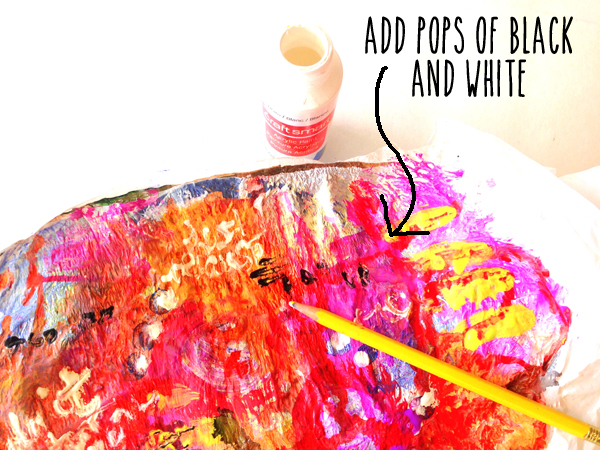
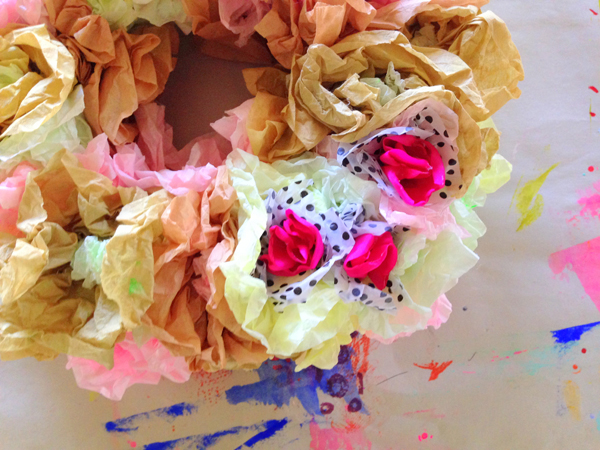
Next I added my pops of color. I am an not a big pastel person, so while I wanted my wreathe to resemble Springtime, I needed a little punch to call it mine. I began by cutting up circles of polka dot tissue paper, approximately 4 inches across. I scrunched them in the middle and glued them in a cluster on one side of my wreathe. I repeated this step with the pink silky centers.

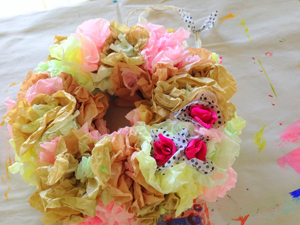
Lastly I added a piece of muslin and tissue paper to the handle. I love it. Springy and easy and fast. Perfect.

...now...where to hang it?


Enjoy the process!

Thursday
Jan162014

i wanted to carve a feather stamp

Sometimes we don't always get what we want, but we might get lucky and like what we end up with.

So I wanted to carve a feather stamp. Feathers are my favorite thing right now, but...but it turns out that if you don't use your stamp carving tools for months you lose your touch. What I ended up with looks more like a leaf or branch of some kind, but I like it. I like the imperfections in each feather/leaf - not unlike in nature. If you want to have your own little imperfect feather leaf here is what I did ----->

1. Grab an eraser. I like the cheap ones from The Dollar Tree if you are just starting out. They aren't the best quality, but they come in a 3 or 4 pack for a dollar and are great for beginners.  I also like how they stay rigid when you go to stamp with them. You will also need a stamp carving tool. I use this SPEEDBALL set and love it. And you will need a pencil to draw your word or design on the eraser.

2. Draw your design. Don't forget to use tracing paper if you are writing a word or special design that will need to be drawn in reverse.

3. Start carving. Slow is key for me. This particular tool came with several cutting heads in the base of the handle. I used the smallest one for outlining my design first, then went back and carved out more with a larger, deeper cutting tool.

4. Finish off with the flat blade to smooth things out. My homemade stamps don't always look pretty when I am finished, but they stamp great!

Obviously I need to brush up on my stamp carving skills some more, but I think I will keep it. I like it's quirky shape and style. Here is what it looks like on a tag card project I did. Enjoy!

TAG CARD: gelli printed tag. painted deli paper scraps. book paper scraps. oil pastels. paint pens. machine stitching. thank you stamp from dollar bin at Target. my hand carved feather leaf stamp. recycled seam binding.

Friday
Jan032014

papered paint cup

When my daughter wanted to have some friends over to paint, I ran to my local Dollar Tree and grabbed a few disposable plastic tubs to use for paint cups. That was supposed to be the end of it. Well, if you know me, you know I just couldn't leave those cups plain. Time was a factor, so I kept it really simple. Plus this way, no one's heart will be broken if you throw them away at the end of the day.

You only need a few supplies: *a disposable plastic cup or tupperware *deli paper *craft paint *paint pens *decorative tape *gel medium or adhesive OPTIONAL: *gelliplate *brayer

STEP 1. Choose your container and grab some deli paper. I chose to use the gelliplate to paint my deli paper, but you could paint your own design on it instead.

STEP 2. Once your paper is painted and completely dry, cut it in to strips. I measured the height of my cup then cut two strips just wide enough so they would overlap. I cut several more to fill in where my strips didn't meet and to use for shapes and monograms.

STEP 3. Adhere your strips to your container. Smooth out wrinkles as you go. Set aside to let dry completely.

STEP 4. Once your cup is covered and dry, begin adding your layers. I started by adding some washi tape to the top and bottom borders. Then I cut a monogram from painted deli paper and glued that to the center of the cup. Once dry I added borders and pops of color with black and white paint pens.

These are easy, affordable and completely disposable. The girls were thrilled that their paint cups were pretty. I was thrilled that they were happy! Enjoy!

Thursday
Dec192013

last years christmas projects revisited 

Time was not on my side this year when it came to creating ten tons of christmas crafts. Luckily for me I had whipped up a few quick and easy ones last year that I could revisit. If you need a few last minute homemade holiday gifts just click on the images to find quick and easy tutorials!


Enjoy and happy holidays to you all!


Friday
Sep132013

mini tutorial: homemade flower stencil

I have been wanting to try to make my own stencils for awhile now and when I stumbled across this plastic at my local Wal-Mart I had to give it a try. I also needed a sharp knife, a cutting mat and a permanent marker. This is what I did if you want to give it a try yourself.

Step One: Draw a template with a permanent marker on cardstock. (you could use tracing paper too, but I had trouble with the pencil smearing as I was cutting) Place template under piece of stencil plastic and staple or tape the edges to hold in place.


Step Two: Place on cutting mat and slowly and carefully cut away all the parts you wanted REMOVED from your stencil.

Keeping the flowers all connected was a bit tricky so I actually ended up with two seperate stencils. One with two flowers and one with three. I sprayed it heavily so you could see the detail better.

Here I used the same stencil, rubbing paint over it instead of spraying it with ink.

This really wasn't as difficult as I thought it would be. I think I might give it another go this week.

Sunday
Aug182013

art stuff: carving some stamps

A talented and sweet friend of mine showed me how to do this at her lovely retreat a few years ago and I have been hooked ever since. Have I perfected it? Hek no! But I love them and their bold imperfections.


I think it's time for a new ink pad, but you get the idea. NOT perfect, but perfectly chunky.

I love using them in my art journal and on pretty mail art. Like this ----->

Funky and chunky. I love it!

Tuesday
Aug062013

tutorials: plastic fused notebook

Today I have another tutorial for you using the same simple steps we used to make THIS PRETTY PLASTIC FUSED CANVAS AND COLLAGE PIECES.

If you had fun making your PLASTIC CANVAS COLLAGE PIECES I think you will enjoy making the easy pocket notebook. JUST GO HERE TO MAKE A PLASTIC FUSED CANVAS. Once you have your  CANVAS hop back over here and follow a few more easy steps to create this pretty, recycled pocket notebook.

STEP ONE:  Trim your plastic canvas to the desired size and shape, using your paper pad as a template. Be sure to allow for a half inch seam allowance around the edges of your paper pad. Stitch all the way around the edges of your canvas a few times with pretty thread. I added some zig zag stitching at the last minute too!


STEP TWO:  Grab some notebook paper or a small tablet- a sticky note pad works great. If you are using note book paper you will need to trim it to size, allowing for folding to create a signature.

STEP THREE:  Stack your trimmed paper, creating a signature. Fold in half and score. Now stitch down the score line with pretty thread. ( If you are using a ready made tablet you can skip this step! )

STEP FOUR: Once your signature is stitched, position it slightly off center on the wrong side of your PLASTIC FUSED CANVAS. Check that both sides will fold in toward center of notebook, overlapping. If positioned correctly, open to middle of signature and restitch down the center. Double back for added strength.

STEP FIVE:  Fold in your notebook flaps and mark both sides where you will need to punch a hole for your ribbon tie and button.

STEP SIX: Attach your ribbon and knot. Add a button or bauble on second flap. Fold & Wrap!

What a pretty little notebook to pull out of your bag for all those LITTLE NOTES AND LISTS. And the best part? It is recycled!


Enjoy!

Friday
Aug022013

tutorials: plastic fused canvas = pretty collage pieces

I make a lot of collage pieces to use in my art journals, but lately I am hooked on these pretty pieces. They are so full of wonderful texture and color. Since I have had so many questions about them I decided to do a little tutorial.

SUPPLIES YOU WILL NEED:

<--- plastic bags and wax paper
<--- towel to protect your surface
<--- iron and ironging board or flat surface
<--- inks paints and gesso 

STEP ONE:  Cut bottom seams and handles off of your plastic bags. Lay a towel on ironing surface to protect it, followed by a piece of wax paper that is larger than your plastic bag. Next, lay out one plastic bag ( print side in to protect your iron ) followed by another sheet of wax paper. Iron. Continue layering and ironing until you have a four to eight ply stack. Add a final piece of wax paper to your stack and iron one last time.

STEP TWO:  Apply a layer of gesso to your finished plastic canvas. Use an old credit card to move the gesso around. Let dry completely.

STEP THREE:  Start layering your canvas with inks and paints. Spray, brush or dab on your colors to create dimension and color, making sure to let each coat dry completely before adding another layer.

You can mix a little glossy mod podge with your favorite acrylic paints to create a beautiful color that dries with a shine.

STEP FOUR:  Add pops of white and black using a fine tipped brush or the end of a pencil. Add inspiring words or phrases.

STEP FIVE: After your PLASTIC FUSED CANVAS has dried completely, add a final coat of glossy gel medium or mod podge. Let dry. Now your canvas is ready to cut into shapes.

They look so pretty stitched to your favorite card or journal page.

Look for another cool way to use your PLASTIC FUSED CANVAS soon!

Friday
Jul052013

tutorials: chalkboard wall art

I am sharing an easy tutorial today! Chalkboard Wall Art.

This pretty chalkboard is so easy you can make it in just a few hours. To start with, just shop your home for a piece of framed wall art that you are not using or are ready to change up. Tape off the frame and grab some chalkboard spray paint. I like to use Rust-Oleum because it covers so well and doesn't seem to drip.

Next I spray the glass of the wall art according to the directions on the paint you are using. The hardest part for me was waiting in between coats, but it is important to follow this step. I sprayed two coats. Once your final coat is dry you will need to season your chalkboard. To do this you simply rub the entire surface with the a piece of chalk and then erase it.

After I seasoned my chalkboard I took the painters tape off and mixed up some craft paint to spruce up my frame. I mixed white and mint green to get a pretty coppery green color. After I finished painting, I immediately sanded the entire frame lightly.

Waaalaaa- you are done! This is a super easy way to change up your wall art while only spending a few pennies on supplies.

Easy, cheap and re-purposed!

Monday
Jun172013

tutorial: sweater band pillow

I know I have been absent lately, but summer is here and that means the kids are home and projects are in motion. You might have read here that I am in the middle of a bedroom makeover - part of decorating on a dime, shopping your home. In keeping with that I am making some new pillows for part of the redo. This one  is my favorite so far!

By the way - this is a sneak peek at part of the bedroom redo in progress...more to come soon. This pillow was super easy and fast. Here's how you can make one. Gather your supplies.

How much you need of each fabric will vary according to your pillow insert. Mine was 14" square. This was a quick and unorthodox way to make a pillow cover so tweak it to your needs as you see fit. You will need a long rectangle of fabric. One that will fold over and cover your pillow, twice. HEM SHORT ENDS OF FABRIC FIRST. Next, lay out your long rectangle of fabric and place your pillow just off center. Fold fabric over and line up sides and pin. Your pillow now looks as if you stuffed it into an envelope. Fold second end of fabric over, line up sides and pin almost all the way to the top, leaving just enough room to slip pillow out. This is an extra step to ensure our pillow flaps look good. Feel free to skip it if you have made one like this before.

Don't sew yet. Next grab your burlap and fold a rectangular piece in half once and then again. This piece will need to be as long as your outside facing pillow flap. Pin and stitch down each side.

Carefully remove pins (you will have to repin later, but this ensures are flaps are positioned correctly) and pin your finished burlap strip to one short hemmed end of your fabric. Next reposition your pillow and repin with RIGHT SIDES FACING. It should look like this so far.

Fold second flap over (this one should have no burlap edge) and line edges up. Pin one side and carefully remove pillow insert. Pin second side and stitch up both sides, being careful to reinforce where your two flaps overlap.  Turn right side out. This is what you should have now.

Next take your sweater and cut the bottom band off, keeping it as wide as you would like. My sweater had a ribbed band and so I had a nice guideline to follow, making it approximately 5 inches wide. Be careful when cutting to cut the exact amount of buttons and buttonholes that line up.

Now stuff your pillow insert into your new pillow cover and button your sweater band around it. I used the burlap as a guide, leaving that showing on the back for contrast.

All done! You can add an embellishment if you like. I made a little brooch out of leftover scraps of duckcloth, linen and lace. Lovely!

Once again, a pretty re-purposed project. AND we are decorating on a dime! Yea! Oh! And if you want to make one of these sweet crocheted baskets you can find a pattern here!