I know I have been absent lately, but summer is here and that means the kids are home and projects are in motion. You might have read here that I am in the middle of a bedroom makeover - part of decorating on a dime, shopping your home. In keeping with that I am making some new pillows for part of the redo. This one is my favorite so far!
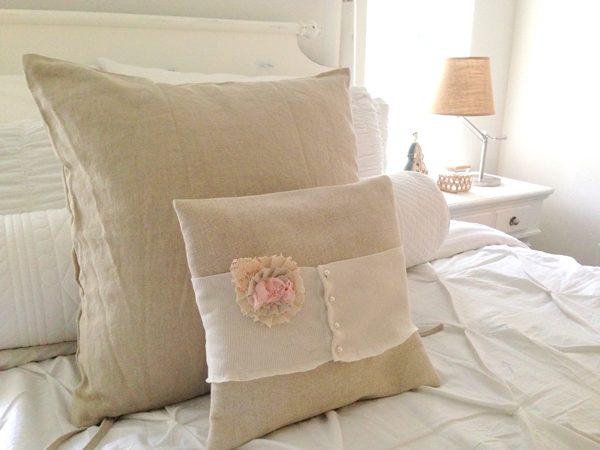
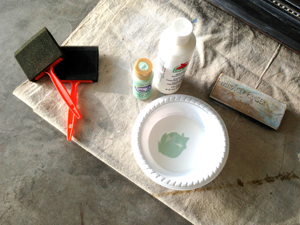
By the way - this is a sneak peek at part of the bedroom redo in progress...more to come soon. This pillow was super easy and fast. Here's how you can make one. Gather your supplies.
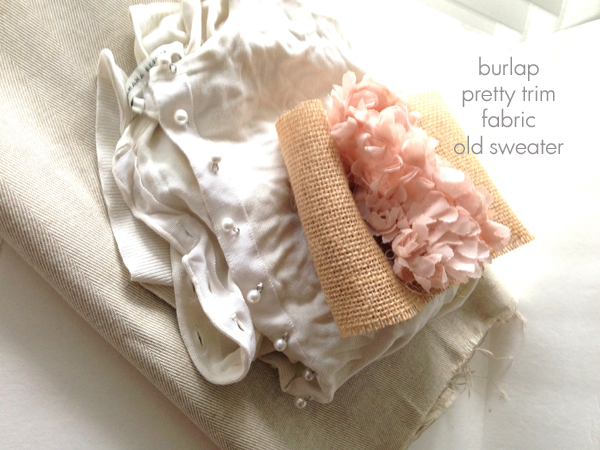
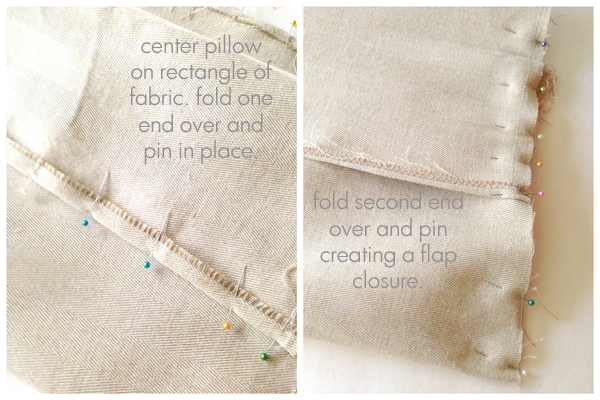
How much you need of each fabric will vary according to your pillow insert. Mine was 14" square. This was a quick and unorthodox way to make a pillow cover so tweak it to your needs as you see fit. You will need a long rectangle of fabric. One that will fold over and cover your pillow, twice. HEM SHORT ENDS OF FABRIC FIRST. Next, lay out your long rectangle of fabric and place your pillow just off center. Fold fabric over and line up sides and pin. Your pillow now looks as if you stuffed it into an envelope. Fold second end of fabric over, line up sides and pin almost all the way to the top, leaving just enough room to slip pillow out. This is an extra step to ensure our pillow flaps look good. Feel free to skip it if you have made one like this before.
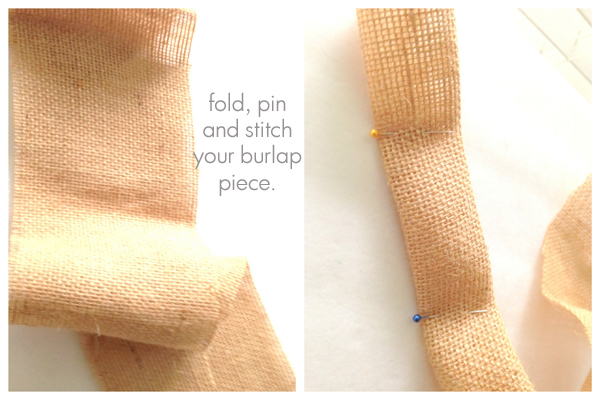
Don't sew yet. Next grab your burlap and fold a rectangular piece in half once and then again. This piece will need to be as long as your outside facing pillow flap. Pin and stitch down each side.
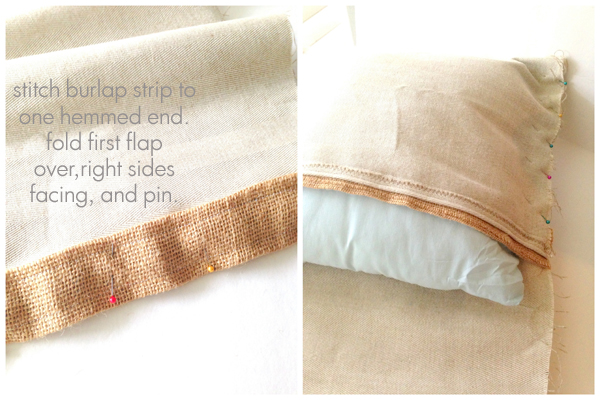
Carefully remove pins (you will have to repin later, but this ensures are flaps are positioned correctly) and pin your finished burlap strip to one short hemmed end of your fabric. Next reposition your pillow and repin with RIGHT SIDES FACING. It should look like this so far.
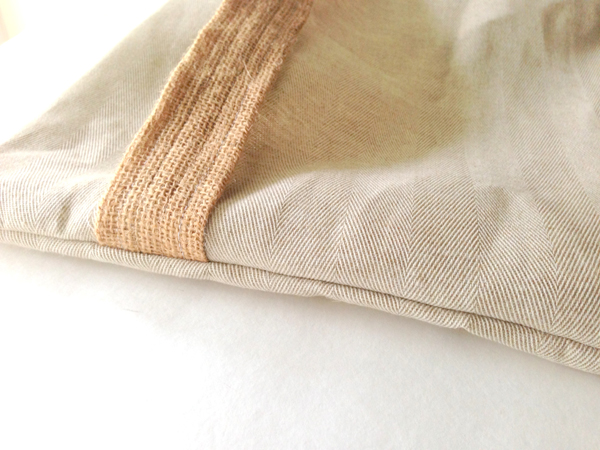
Fold second flap over (this one should have no burlap edge) and line edges up. Pin one side and carefully remove pillow insert. Pin second side and stitch up both sides, being careful to reinforce where your two flaps overlap. Turn right side out. This is what you should have now.
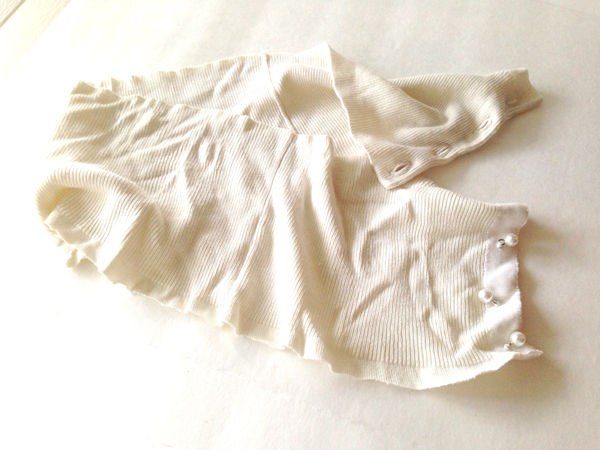
Next take your sweater and cut the bottom band off, keeping it as wide as you would like. My sweater had a ribbed band and so I had a nice guideline to follow, making it approximately 5 inches wide. Be careful when cutting to cut the exact amount of buttons and buttonholes that line up.
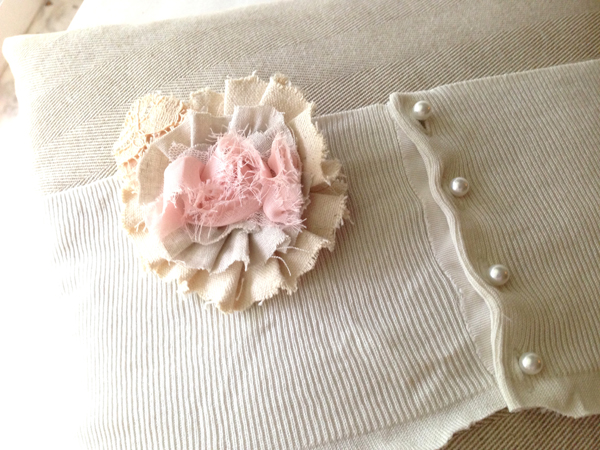
Now stuff your pillow insert into your new pillow cover and button your sweater band around it. I used the burlap as a guide, leaving that showing on the back for contrast.
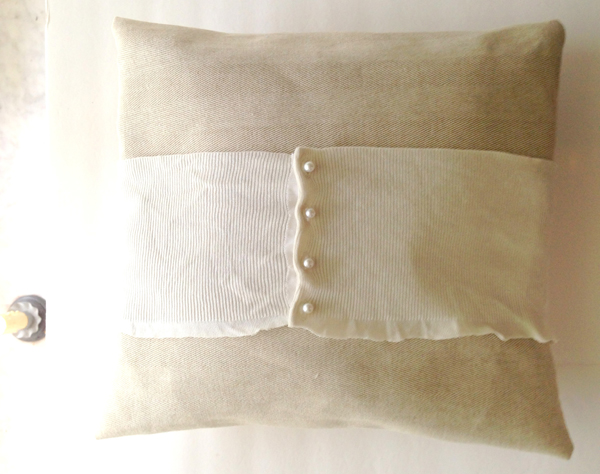
All done! You can add an embellishment if you like. I made a little brooch out of leftover scraps of duckcloth, linen and lace. Lovely!

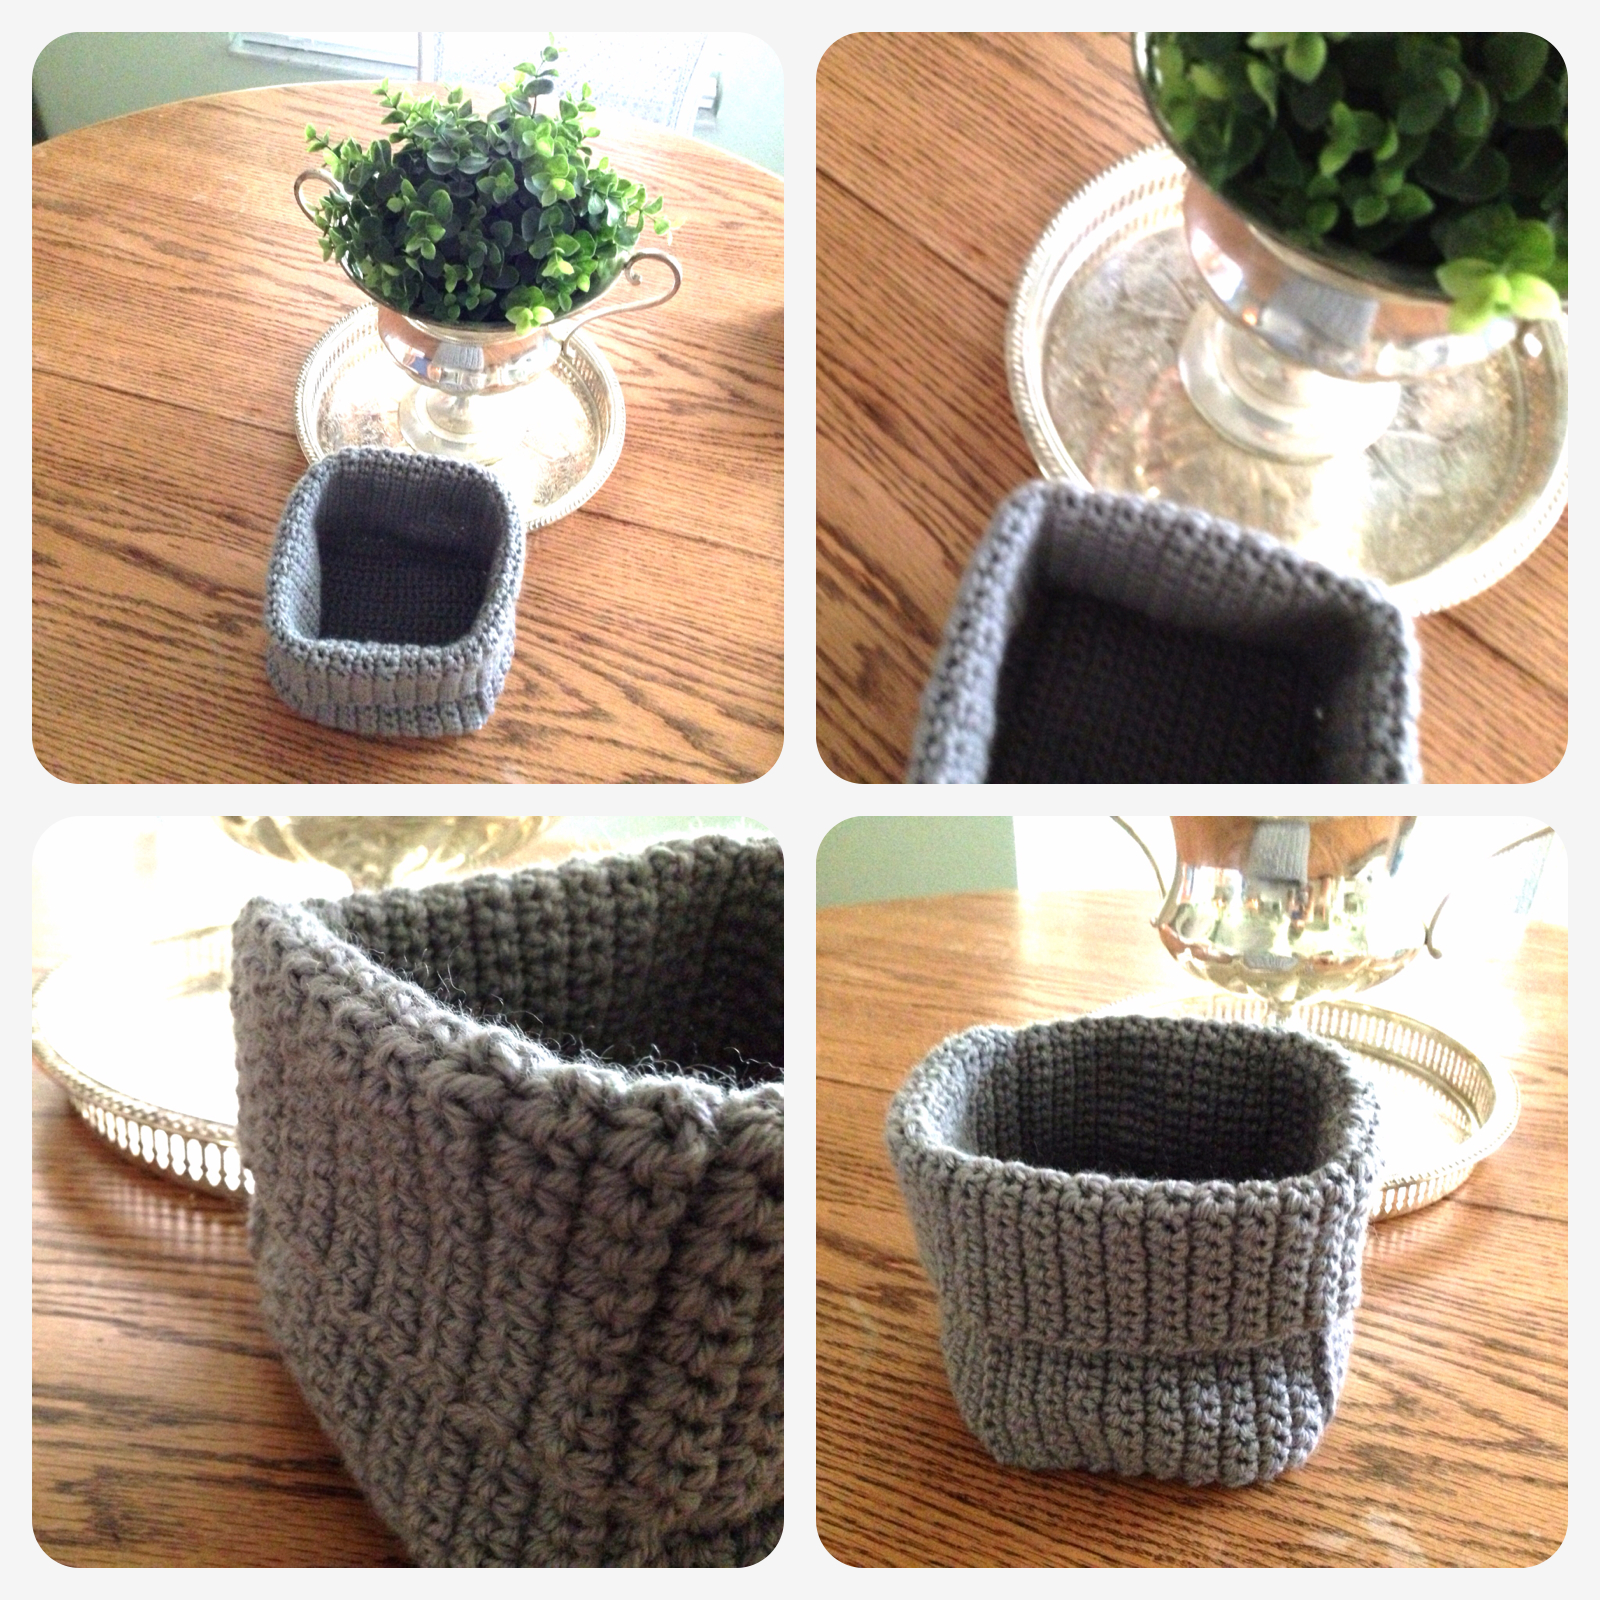
Once again, a pretty re-purposed project. AND we are decorating on a dime! Yea! Oh! And if you want to make one of these sweet crocheted baskets you can find a pattern here!

 Friday, July 5, 2013 at 1:00AM