Roben-Marie Smith

Roben-Marie Smith


THIS AND OTHER  PRODUCTS AVAILABLE AT

       IS A REGISTERED TRADEMARK


 sandi-keene

Roben-Marie Smith

Blog Index
The journal that this archive was targeting has been deleted. Please update your configuration.

Entries in Repurposed Life (21)

Thursday
Mar132014

coffee filter wreathe

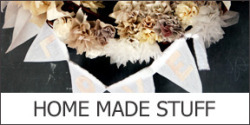
When I was moving recently I came across a handful of foam wreathes- leftover from a school project. Rather than find a place to store them I decided to make a few little wreathes for Spring.
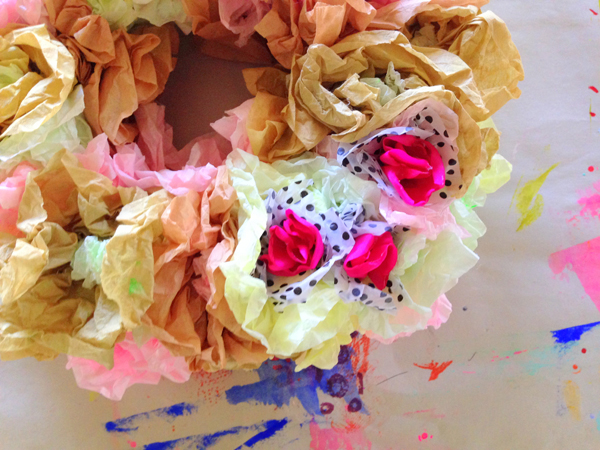
This project took just under an hour and requires only a few supplies - most of which you might have on hand.
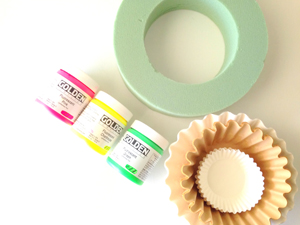
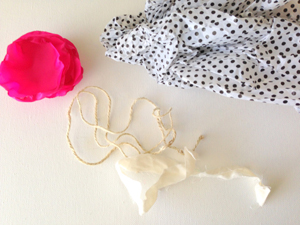
You will need: a foam wreathe (mine was 8" in diameter), assorted coffee filters, assorted paints, twine, scrap of muslin, tissue paper, and a floral embellishment. I cut up some polyester material I had on hand and shaped it into circular petals for mine. You will also need a glue gun and a glue stick or two.
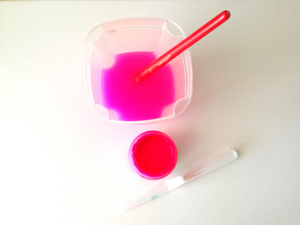
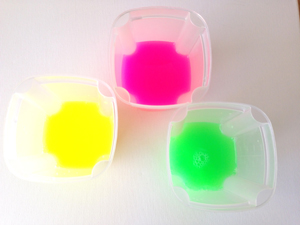
First I scooped a very small amount of Golden Heavy Body Acrylic Paint ( I used Fluorescent Pink, Fluorescent Chartreuse, and Fluorescent Green) into an old container. Next I added about two cups of water and mixed it up very well. If you are making a larger wreathe you will need to adjust the paint and water quantities accordingly.
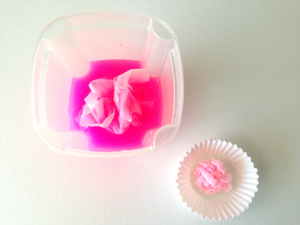
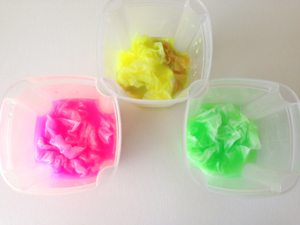
Once the paint & water were mixed well I began crumbling up the coffee filters and stuffing them into the mixture. I divided the filters up evenly and made sure they were well beneathe the surface of liquid. I let them soak for 30 minutes. For my miniature wreathe I used approximately 50 large filters, a combination of both natural and bleached, and 15 white cupcake wrappers. (Depending on how tight you crinkle them when adhereing them to the wreathe, you could use more or less)
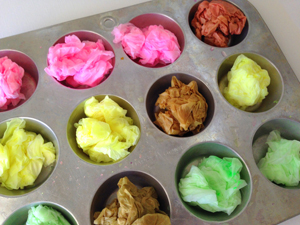
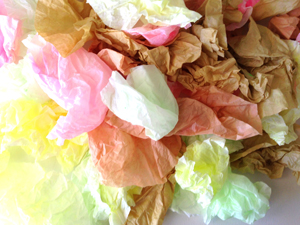
These colors apprear VERY bright while soaking, but they will be much, much lighter when dried. Adjust your color preferences accordingly. After 30 minutes I carefully (they will tear easily) wrung out each filter. You can do this with several at a time. Leaving them loosly balled up, I tossed them in the dryer on the coolest setting for about 6 minutes. Once dry I gently, and only partially, unfolded each filter.
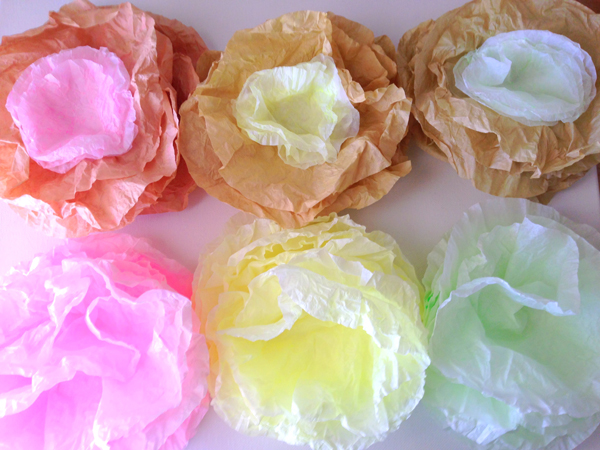
They look so yummy! ... like cotton candy peonies! I was tempted to just pin them to the wall at this point...but I went ahead and finished my wreathe. Maybe next time.
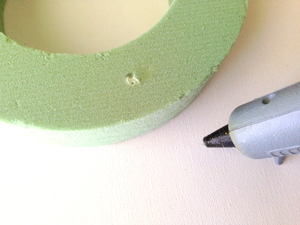
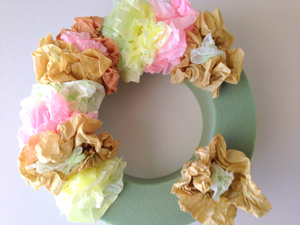
Next I began crunching and gluing my filters onto the foam wreathe. You could use straight pins too - but I wanted mine to be premanent. The glue will slightly melt the foam, but this is ok. It makes the depth different for each flower and I like it. I chose to add my filters randomly and layer the smaller cupcake liners with the larger natural ones.
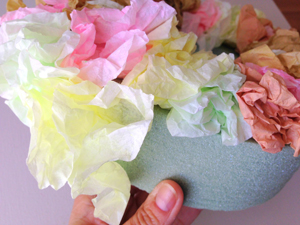
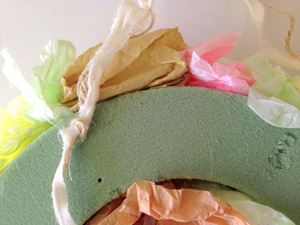
I continued to add filters on the outside of the wreathe, as well as on the inside center ring. I cut a length of twine and muslin, knotted each end and glued the ends to the back of the wreathe.
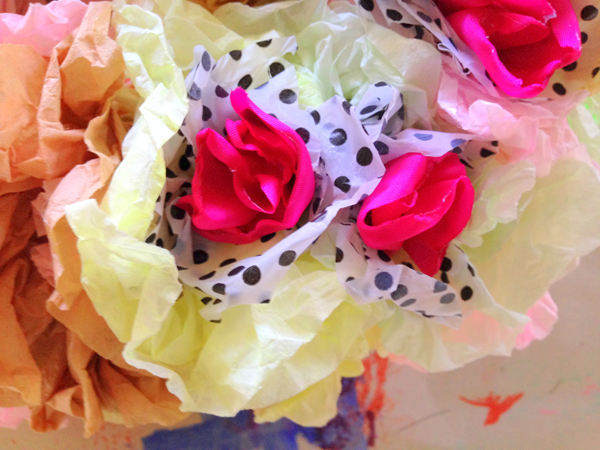
Next I added my pops of color. I am an not a big pastel person, so while I wanted my wreathe to resemble Springtime, I needed a little punch to call it mine. I began by cutting up circles of polka dot tissue paper, approximately 4 inches across. I scrunched them in the middle and glued them in a cluster on one side of my wreathe. I repeated this step with the pink silky centers.
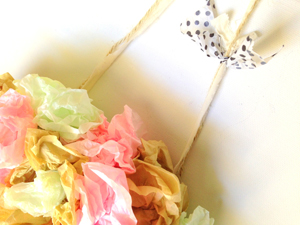
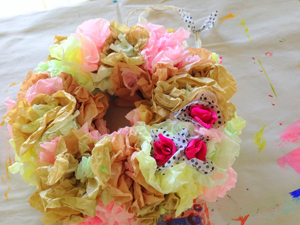
Lastly I added a piece of muslin and tissue paper to the handle. I love it. Springy and easy and fast. Perfect.
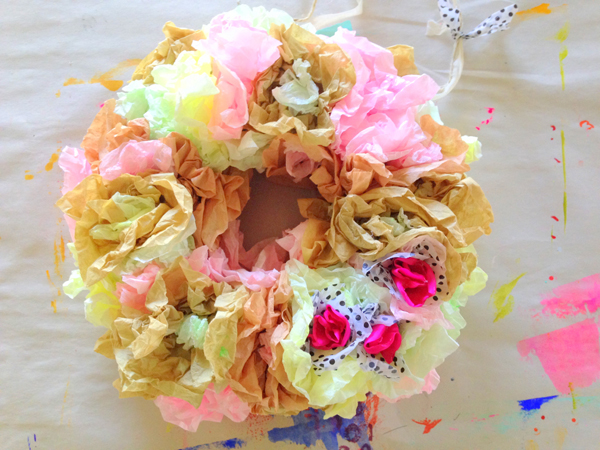
...now...where to hang it?


Enjoy the process!
Thursday
Jan232014

sari ribbon place marker

If you are participating in The Documented Life Project and are anything like me, you may be having a hard time leaving your planner or journal alone!

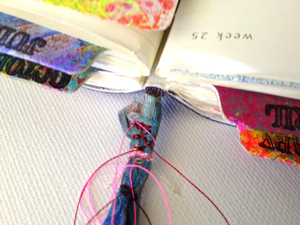
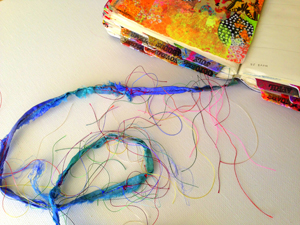
As I was creating challenges over the past few weeks, it occurred to me that I needed a longer place marker. Because my book is so chunky I knew my sewing options were limited. Here is what I came up with ----->

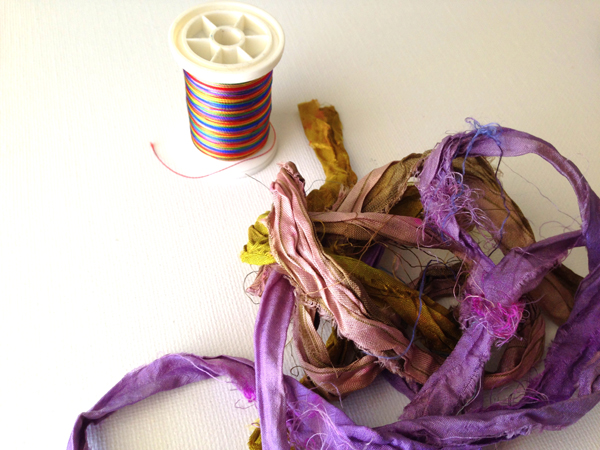
I grabbed some beautiful recycled sari ribbon a pal gifted to me, and some colorful thread.

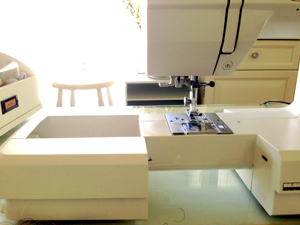
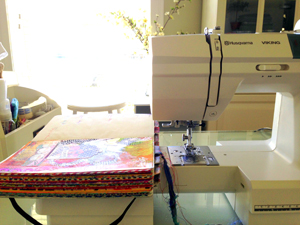
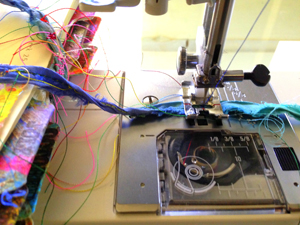
Next I moved the detachable arm piece of my sewing machine out far enough that I could rest my planner on it. I opened my planner to the center and rested it on the arm, stretching the original place marker out as far as I could.

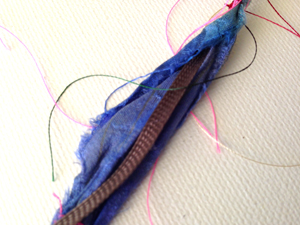
I opened the sari ribbon up and wrapped it around the end of the original place marker, getting as close to the book as possible. I secured it with a straight pin until I had it under the foot of the machine. Once under the foot (it will move a little) I lowered the foot and removed the pin. I stitched back and forth a few times to secure the two markers together. Moving downward from my stitching,  I opened the sari ribbon and wrapped it around the original marker.

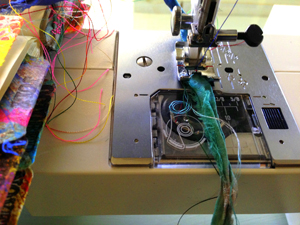
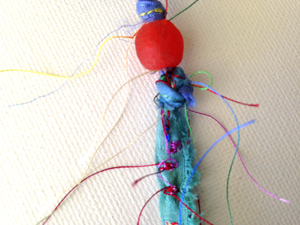
Once secured, I stitched the sari ribbon, rotating from horizontal to vertical stitching every few inches.

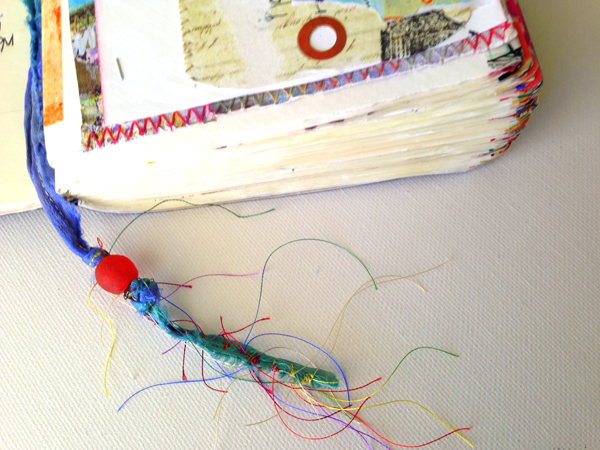
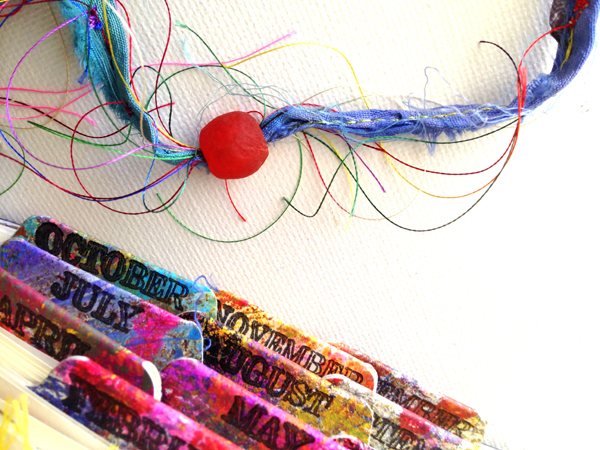
Lastly, I trimmed the ribbon and threads. I added a pretty bead,  knotting the ribbon just below it a few times until secured. If I need more length as the year goes on, I can undo one or two of the knots and easily make my marker longer.

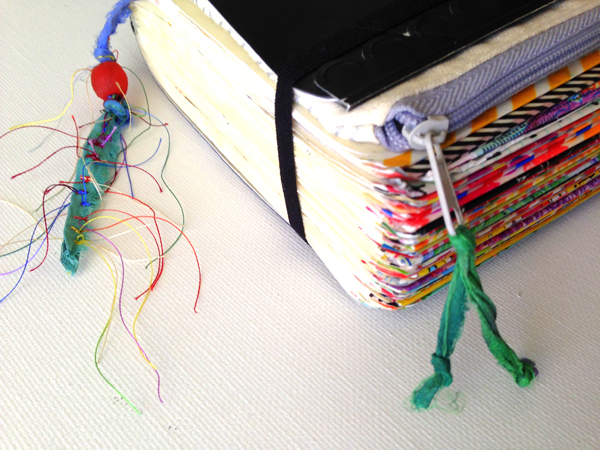
Now my planner has a pretty place marker that can handle the bulk of my book! I love it!

Want to make your place marker longer or prettier? This was an easy and FREE project. Just dig through your stash and grab a piece of ribbon or colorful twine and stitch away. Don't sew? Use a tacky fabric glue and set aside to dry overnight!

READ HERE -----> to see how I added a removable zipper pouch (in about five minutes) to my planner here!

READ HERE TO LEARN MORE AND JOIN ME IN DOCUMENTING YOUR DAILY LIFE! Enjoy!

Tuesday
Jan142014

15 minutes of mixed media

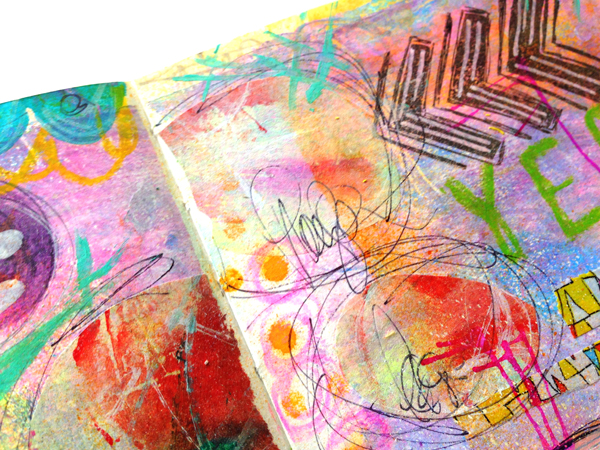
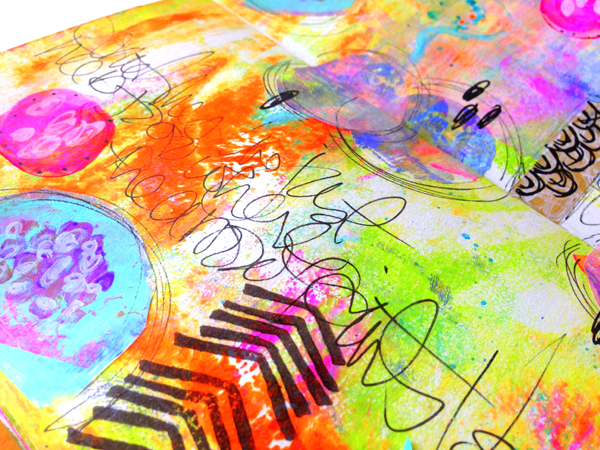
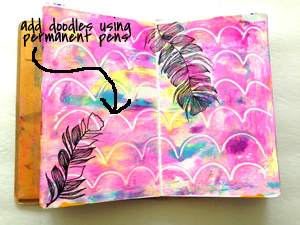
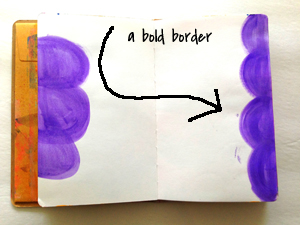
Usually I post a finished art journal layout for my weekly 15 MINUTES OF MIXED MEDIA, but this week I wanted to share something a little different. If you are setting the timer at home, this will help give you an edge when creating while the clock is ticking. The end result could be something like this --->

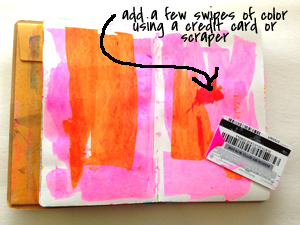
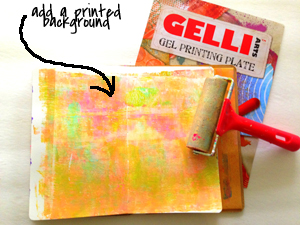
Many times when I sit down and set the clock, I start with a blank page. Other days I give myself a creative springboard in the form of a premade background. This can be as simple as a single color border or as complex as a gelli print covering the entire span of the page.

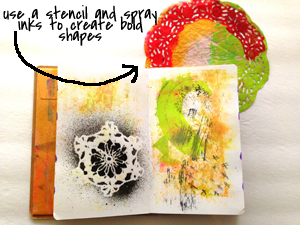
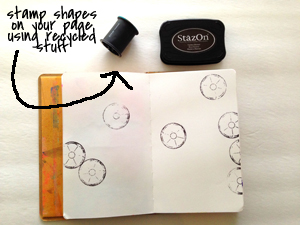
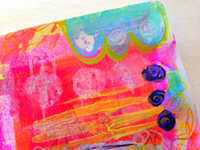
Starting with a background allows you to start building layers as soon as the clock starts ticking. Your 15 MINUTES OF MIXED MEDIA  will be more detailed when beginning this way. Here are a few backgrounds that are simple to create and will make a great starting point.

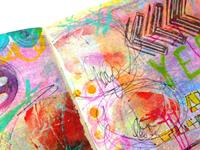
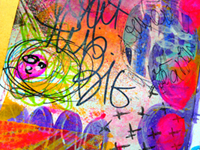
I like to have a handful of backgrounds completed in my art journal at all times. This way I can choose one that speaks to me when I sit down to create. Having premade backgrounds is also great for creating on the go! Here are some more 15 MINUTES OF MIXED MEDIA art journal pages--->


Thursday
Jan092014

recycled tip in pages

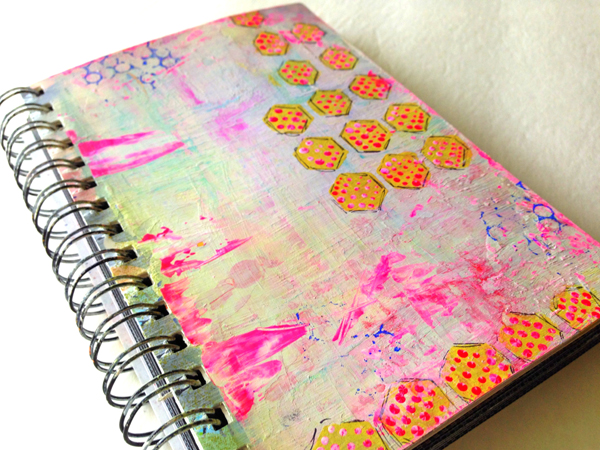
Have you read about the crazy fun DOCUMENTED LIFE PROJECT ? Chances are, if you are joining in, you have a planner or journal from last year. This is a great way to upcycle part of that agenda or book and incorporate it into this years project. Here is the planner I used in 2013.

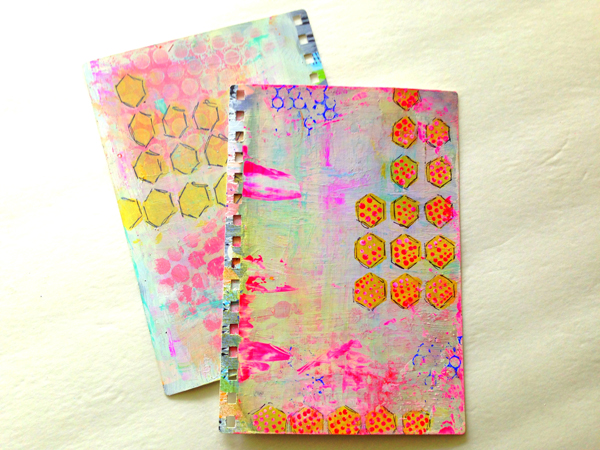
I love the painted covers and did not want to just throw this away. I decided to remove the covers and use them as tip in pages in my planner this year for the THE DOCUMENTED LIFE PROJECT. Just remove the front and back covers and trim to fit your new planne or journal.

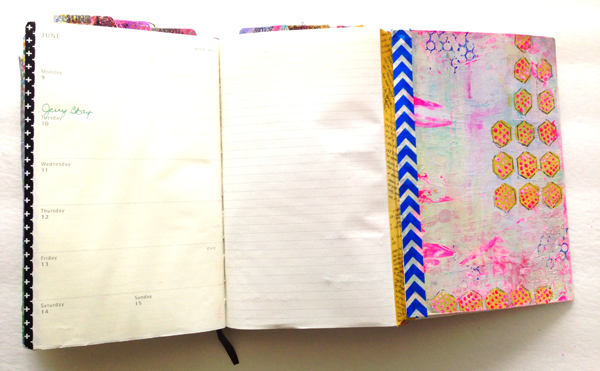
I plan on adding these as a tip in page, meaning they will fold out. I use washi tape to attach them to an existing page in my planner.

Because these will fold out, I can use the opposite side for list making, journaling, doodling, painting and more. Yea!

See more ideas and read all the details on this FREE  year long project here and here! Enjoy!

Monday
Dec232013

december daily: re-purposing & catching up

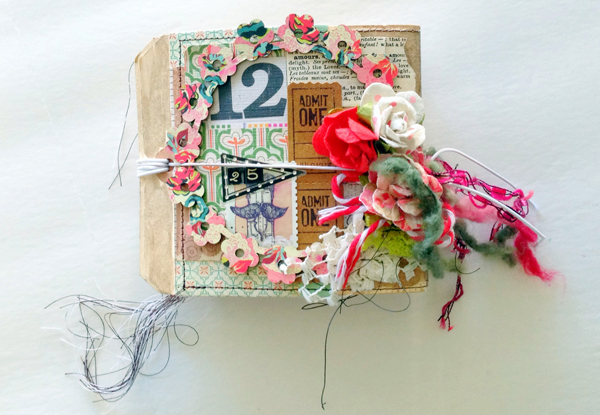
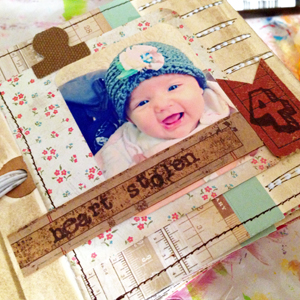
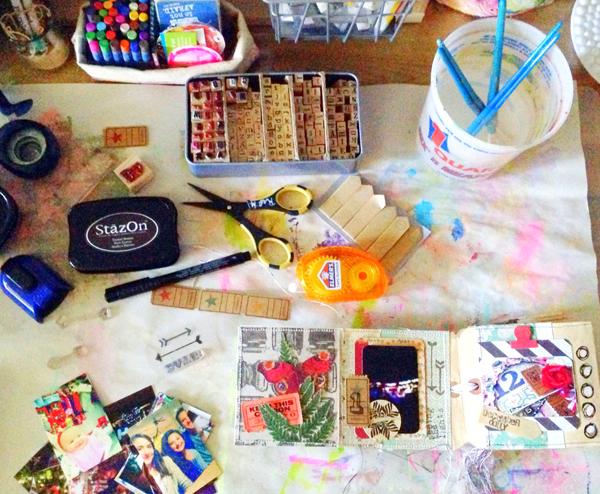
December Daily, with Ali Edwards. I decided to play along this year thanks to the friendly nudging of my pal Sandi. She has been playing for years and has the most awesome collection of memory books to prove it. There are a million different way artists, scrapbookers and journalers are interpreting this project. I chose to keep it real. No buying new pretty stuff. No staging photos. Just good ole' daily life in December and a whole lotta leftover papers and trims from projects past.

I didn't want anything too big either. In my mind I was thinking coffee table book. SMALL coffee table book. MINI coffee table book. Short, squat and chunky. I love the way this book feels so much I decided to create a quick mini workshop on how to make one. It will be available sometime after the New Year.

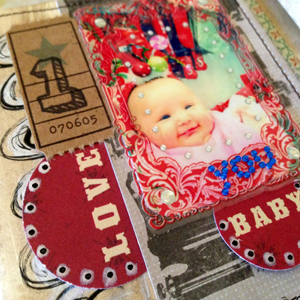
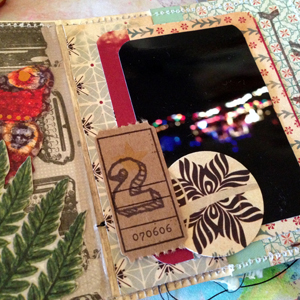
I stitched vintage style papers the base of each page of my book and added nature cut outs, stamped tags, fabric tabs and punched words. A little bit of doodling and paint plus some sparkle made it more "me" and less "scrapbooky."

I have to admit. I jumped on board for this project with more than a little skepticism. I just wasn't sure I would stick with it. What I should have been more worried about was actually STARTING the project. In all honesty I didn't start it on the 1st, but I DID start it and am now playing catch up.

I have enjoyed working in a small format, with everyday photos of "us" AND re-purposing the art supplies I had in the studio. As far as catching up- well I will be there soon! But the very best part of this project of all is the VIEW!

I will post more page peeks soon. Hopefully in December, wink wink! Have a very Happy Christmas and a Merry Merry New Year! Enjoy!
Thursday
Dec192013

last years christmas projects revisited 

Time was not on my side this year when it came to creating ten tons of christmas crafts. Luckily for me I had whipped up a few quick and easy ones last year that I could revisit. If you need a few last minute homemade holiday gifts just click on the images to find quick and easy tutorials!


Enjoy and happy holidays to you all!


Tuesday
Nov052013

art stuff: more fun with ART POPS

I continue to play with Roben-Marie Smith's new ART POPS! These pretty little cards are so inspiring and fun to create with...just look and see--->

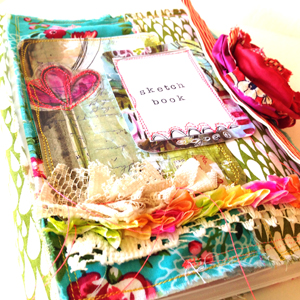
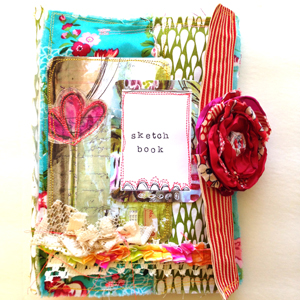
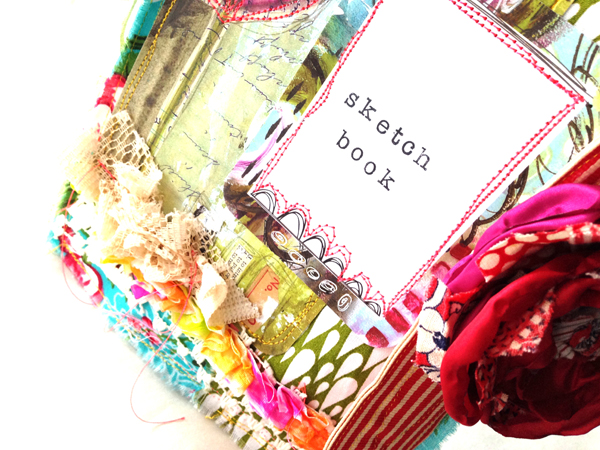
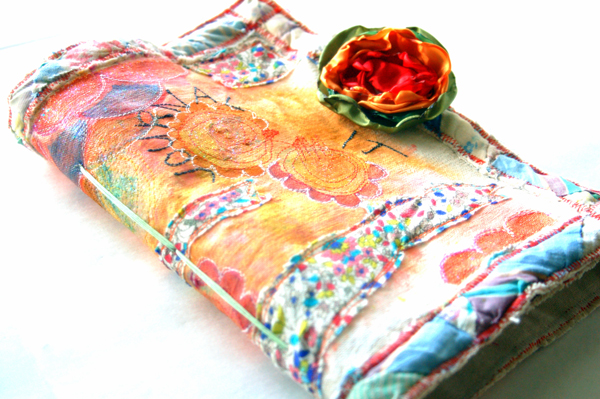
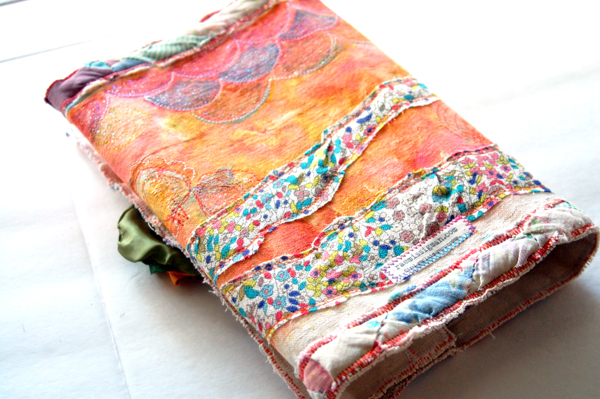
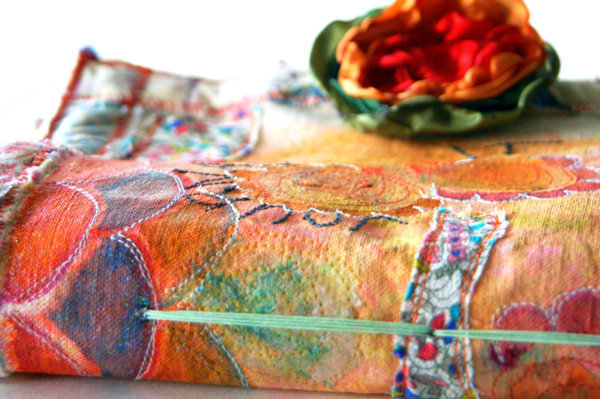
ART POPS allowed me to journal over the fabric on my cover. I am in love. Here are a few more peeks at this yummy journal.

More of these recycled beauties coming to my ETSY SHOPPE soon! Just another way to make old junk pretty.
To read more about the new ART POPS and see my first project click here! Want to play with ART POPS in your next project? Get them HERE!
 

Friday
Jul052013

tutorials: chalkboard wall art

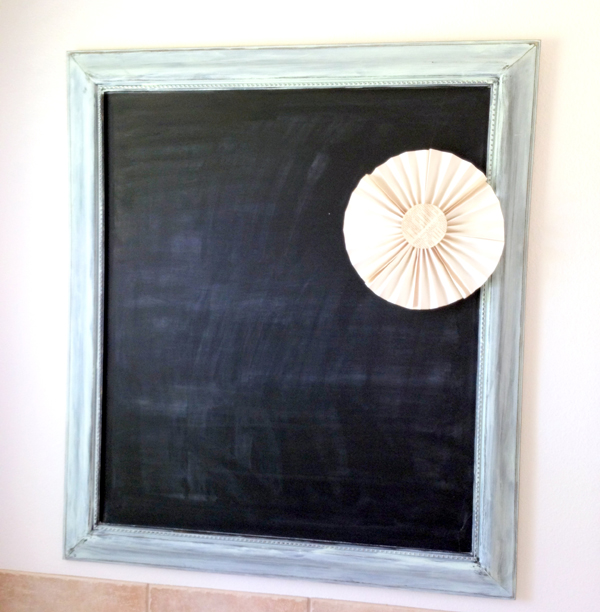
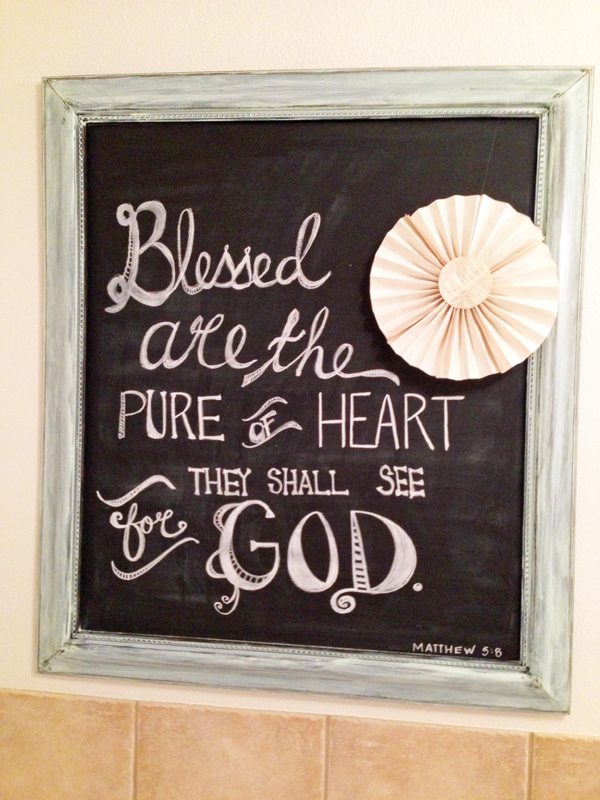
I am sharing an easy tutorial today! Chalkboard Wall Art.

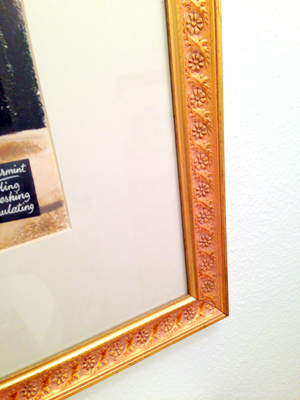
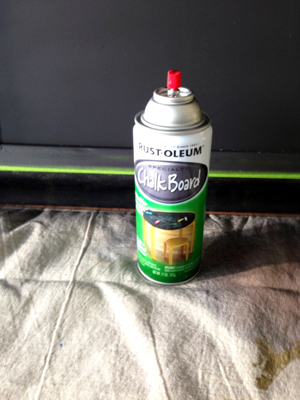
This pretty chalkboard is so easy you can make it in just a few hours. To start with, just shop your home for a piece of framed wall art that you are not using or are ready to change up. Tape off the frame and grab some chalkboard spray paint. I like to use Rust-Oleum because it covers so well and doesn't seem to drip.

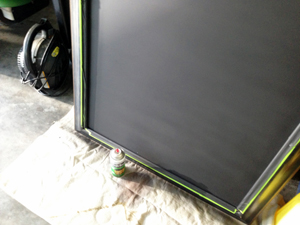
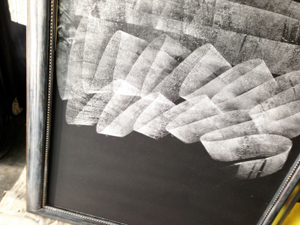
Next I spray the glass of the wall art according to the directions on the paint you are using. The hardest part for me was waiting in between coats, but it is important to follow this step. I sprayed two coats. Once your final coat is dry you will need to season your chalkboard. To do this you simply rub the entire surface with the a piece of chalk and then erase it.
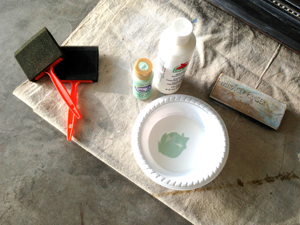
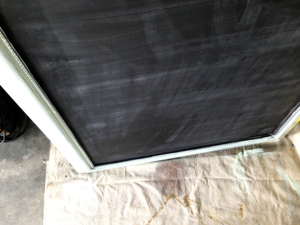
After I seasoned my chalkboard I took the painters tape off and mixed up some craft paint to spruce up my frame. I mixed white and mint green to get a pretty coppery green color. After I finished painting, I immediately sanded the entire frame lightly.

Waaalaaa- you are done! This is a super easy way to change up your wall art while only spending a few pennies on supplies.

Easy, cheap and re-purposed!

Monday
Jun172013

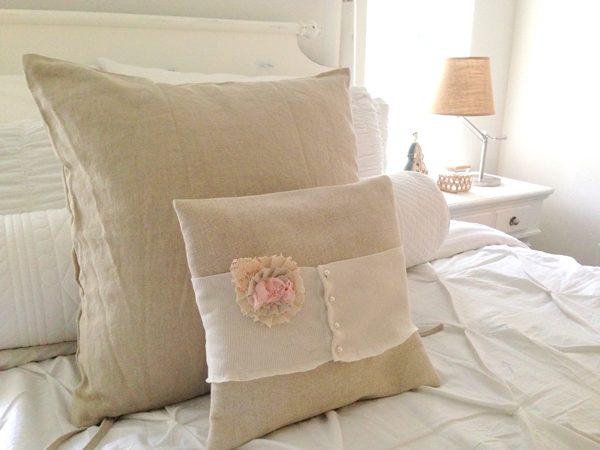
tutorial: sweater band pillow

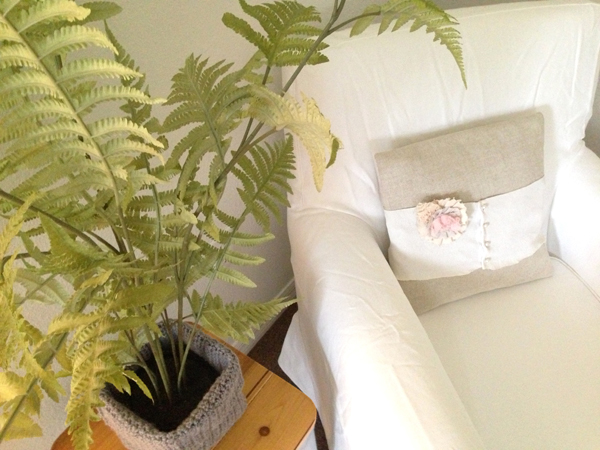
I know I have been absent lately, but summer is here and that means the kids are home and projects are in motion. You might have read here that I am in the middle of a bedroom makeover - part of decorating on a dime, shopping your home. In keeping with that I am making some new pillows for part of the redo. This one  is my favorite so far!

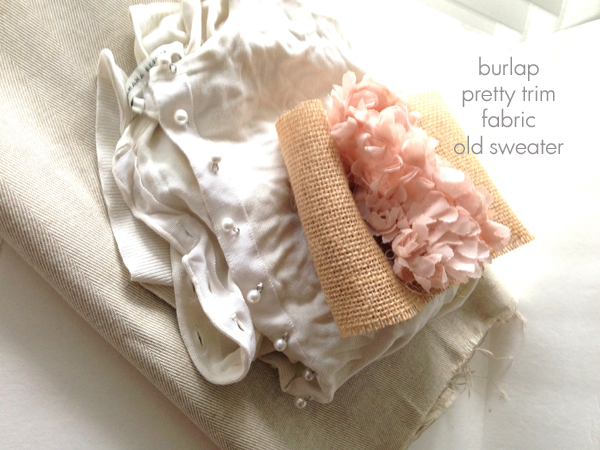
By the way - this is a sneak peek at part of the bedroom redo in progress...more to come soon. This pillow was super easy and fast. Here's how you can make one. Gather your supplies.

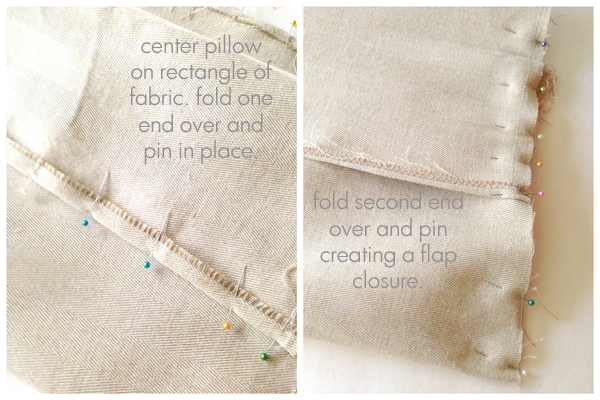
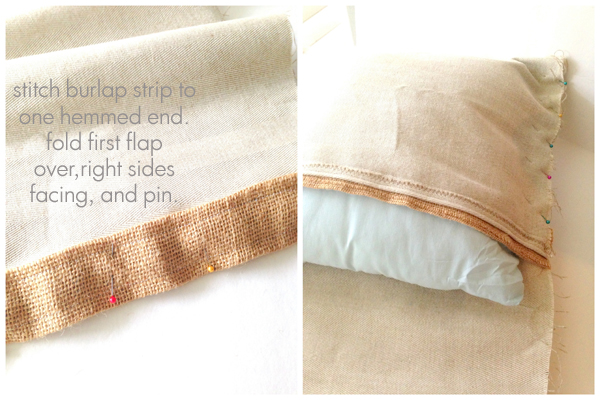
How much you need of each fabric will vary according to your pillow insert. Mine was 14" square. This was a quick and unorthodox way to make a pillow cover so tweak it to your needs as you see fit. You will need a long rectangle of fabric. One that will fold over and cover your pillow, twice. HEM SHORT ENDS OF FABRIC FIRST. Next, lay out your long rectangle of fabric and place your pillow just off center. Fold fabric over and line up sides and pin. Your pillow now looks as if you stuffed it into an envelope. Fold second end of fabric over, line up sides and pin almost all the way to the top, leaving just enough room to slip pillow out. This is an extra step to ensure our pillow flaps look good. Feel free to skip it if you have made one like this before.

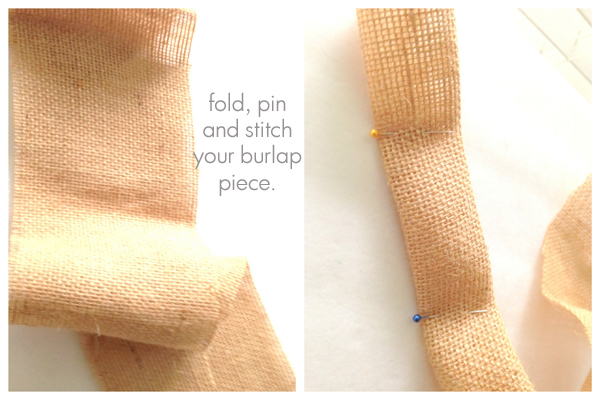
Don't sew yet. Next grab your burlap and fold a rectangular piece in half once and then again. This piece will need to be as long as your outside facing pillow flap. Pin and stitch down each side.

Carefully remove pins (you will have to repin later, but this ensures are flaps are positioned correctly) and pin your finished burlap strip to one short hemmed end of your fabric. Next reposition your pillow and repin with RIGHT SIDES FACING. It should look like this so far.

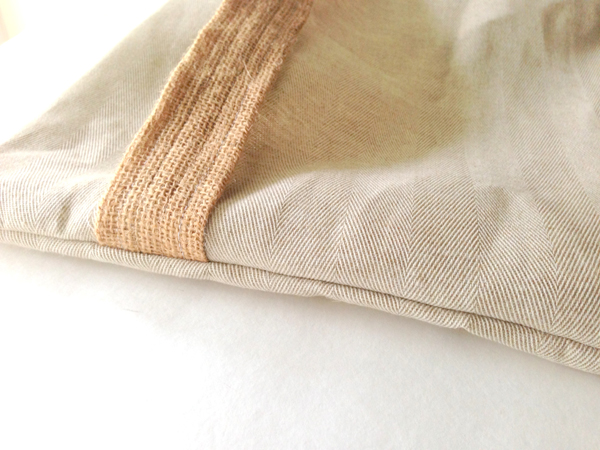
Fold second flap over (this one should have no burlap edge) and line edges up. Pin one side and carefully remove pillow insert. Pin second side and stitch up both sides, being careful to reinforce where your two flaps overlap.  Turn right side out. This is what you should have now.

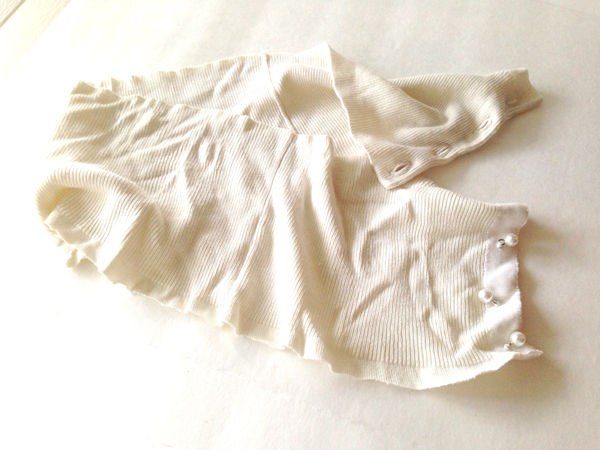
Next take your sweater and cut the bottom band off, keeping it as wide as you would like. My sweater had a ribbed band and so I had a nice guideline to follow, making it approximately 5 inches wide. Be careful when cutting to cut the exact amount of buttons and buttonholes that line up.

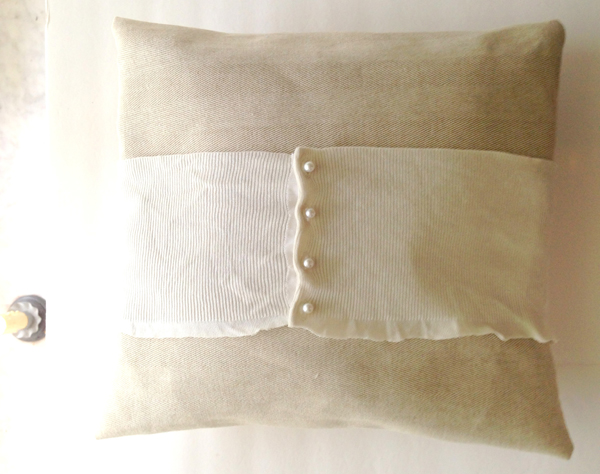
Now stuff your pillow insert into your new pillow cover and button your sweater band around it. I used the burlap as a guide, leaving that showing on the back for contrast.

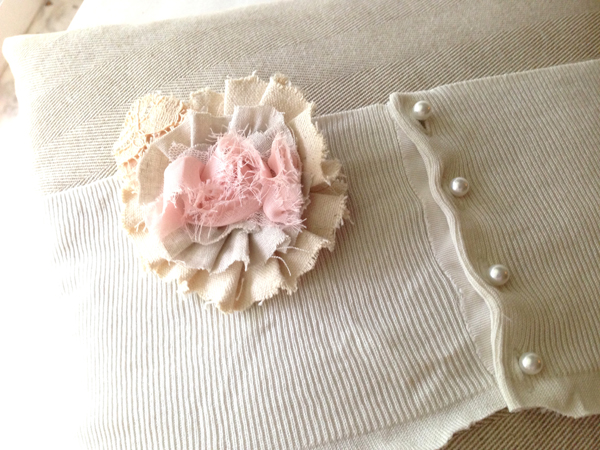
All done! You can add an embellishment if you like. I made a little brooch out of leftover scraps of duckcloth, linen and lace. Lovely!

Once again, a pretty re-purposed project. AND we are decorating on a dime! Yea! Oh! And if you want to make one of these sweet crocheted baskets you can find a pattern here!

Sunday
May192013

my style: sparkle mod podge

I just have to start by saying what hundreds of other artists are saying out there - "mod podge rocks." Seriously. There is even an entire blog devoted to mod podge called just that - MOD PODGE ROCKS. It is filled with ideas for crafters of all levels using mod podge as a medium. I know that here in Florida it gets a bad name because of the humidity - but trying it on a different base may be all it takes to change your mind.

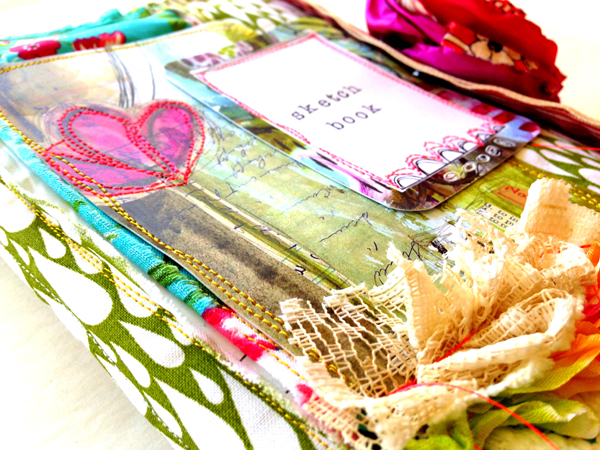
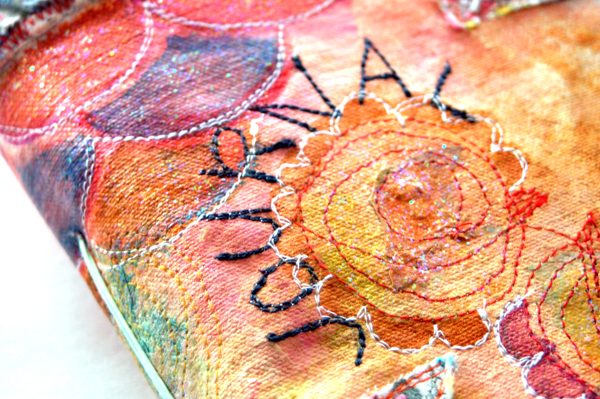
I admit - I have struggled with using it on chipboard and paper at times - but the more I work with it, the better I get a feel for it. I am really in love with it lately and have learned that I can use it on anything. Like this beautiful art journal I created for a friends birthday.

I created the base out of canvas. In the process I began painting on the canvas. I really liked the way it was looking, but it was lacking something. It needed a pop of something, that in this case, color wasn't giving me. I decided to try smearing on a coat of SPARKLE MOD PODGE. The recipient of this gift likes bling and so I knew she would love the glittery look. You could use matte or gloss finish as well.

When I was creating the cover of this journal I did all of my painting and stitching first, then I added a single coat of SPARKLE MOD PODGE over the top of all the exposed canvas areas, covering the paint and stitching alike.

I love the feel of this journal now. And it is not sticky. NOT. ONE. BIT. -and I love the pliable stability it gave to the canvas. The added sparkle gave it a pretty zing too! So - if you haven't played around with mod podge lately, I would give it another go. The perk for me? The price tag!

I created this project on my own and the makers of MOD PODGE, PLAID CRAFTS are not paying me to advertise their product. I just love it, so I thought I would give them a shout out!