coffee filter wreathe
 Thursday, March 13, 2014 at 5:00AM
 When I was moving recently I came across a handful of foam wreathes- leftover from a school project. Rather than find a place to store them I decided to make a few little wreathes for Spring.
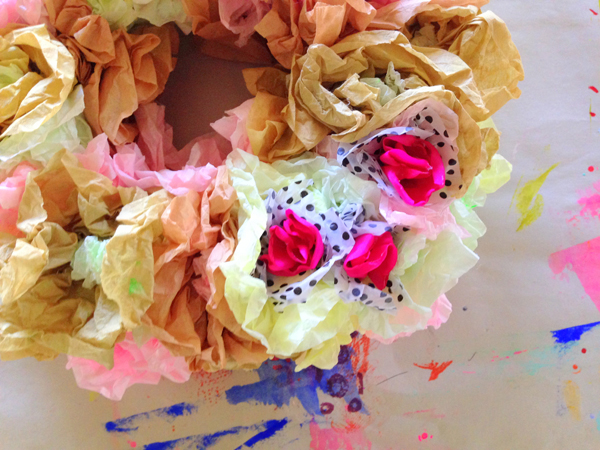
This project took just under an hour and requires only a few supplies - most of which you might have on hand.
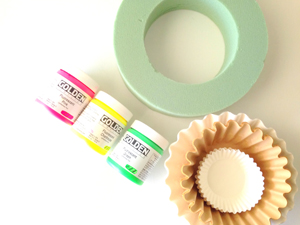
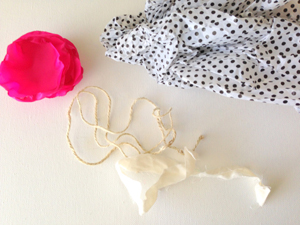
You will need: a foam wreathe (mine was 8" in diameter), assorted coffee filters, assorted paints, twine, scrap of muslin, tissue paper, and a floral embellishment. I cut up some polyester material I had on hand and shaped it into circular petals for mine. You will also need a glue gun and a glue stick or two.
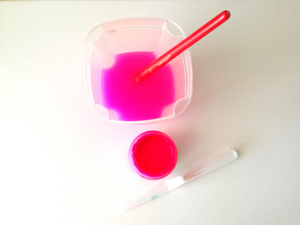
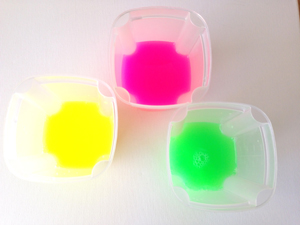
First I scooped a very small amount of Golden Heavy Body Acrylic Paint ( I used Fluorescent Pink, Fluorescent Chartreuse, and Fluorescent Green) into an old container. Next I added about two cups of water and mixed it up very well. If you are making a larger wreathe you will need to adjust the paint and water quantities accordingly.
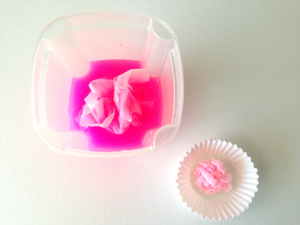
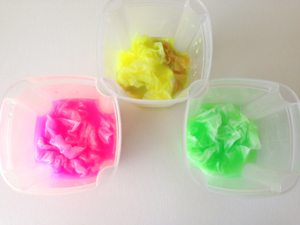
Once the paint & water were mixed well I began crumbling up the coffee filters and stuffing them into the mixture. I divided the filters up evenly and made sure they were well beneathe the surface of liquid. I let them soak for 30 minutes. For my miniature wreathe I used approximately 50 large filters, a combination of both natural and bleached, and 15 white cupcake wrappers. (Depending on how tight you crinkle them when adhereing them to the wreathe, you could use more or less)
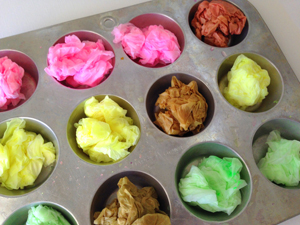
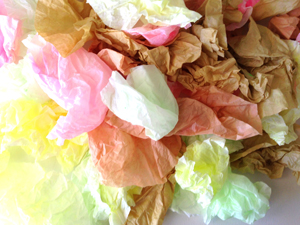
These colors apprear VERY bright while soaking, but they will be much, much lighter when dried. Adjust your color preferences accordingly. After 30 minutes I carefully (they will tear easily) wrung out each filter. You can do this with several at a time. Leaving them loosly balled up, I tossed them in the dryer on the coolest setting for about 6 minutes. Once dry I gently, and only partially, unfolded each filter.
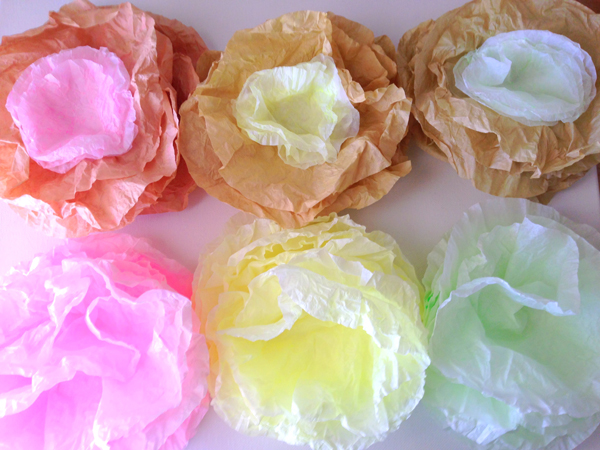
They look so yummy! ... like cotton candy peonies! I was tempted to just pin them to the wall at this point...but I went ahead and finished my wreathe. Maybe next time.
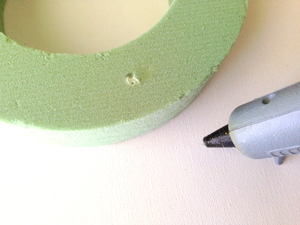
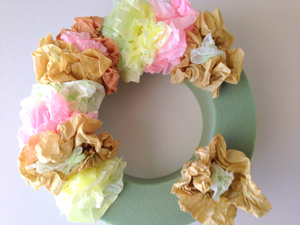
Next I began crunching and gluing my filters onto the foam wreathe. You could use straight pins too - but I wanted mine to be premanent. The glue will slightly melt the foam, but this is ok. It makes the depth different for each flower and I like it. I chose to add my filters randomly and layer the smaller cupcake liners with the larger natural ones.
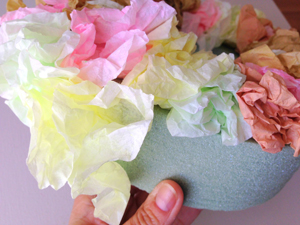
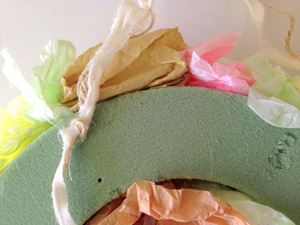
I continued to add filters on the outside of the wreathe, as well as on the inside center ring. I cut a length of twine and muslin, knotted each end and glued the ends to the back of the wreathe.
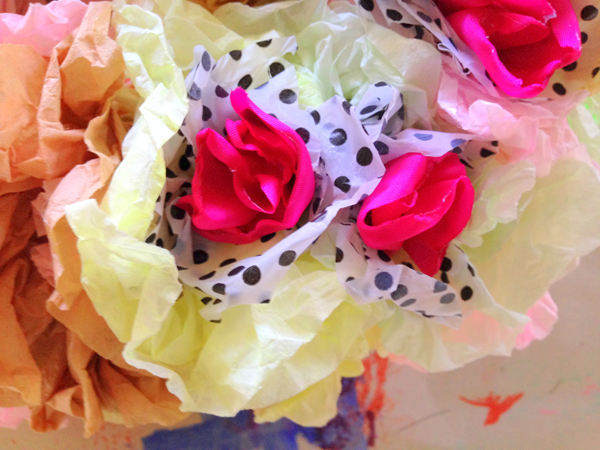
Next I added my pops of color. I am an not a big pastel person, so while I wanted my wreathe to resemble Springtime, I needed a little punch to call it mine. I began by cutting up circles of polka dot tissue paper, approximately 4 inches across. I scrunched them in the middle and glued them in a cluster on one side of my wreathe. I repeated this step with the pink silky centers.
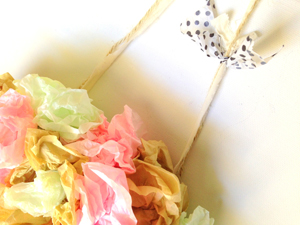
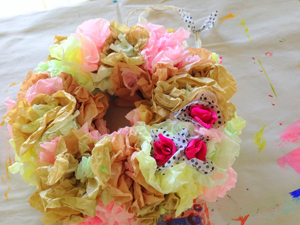
Lastly I added a piece of muslin and tissue paper to the handle. I love it. Springy and easy and fast. Perfect.
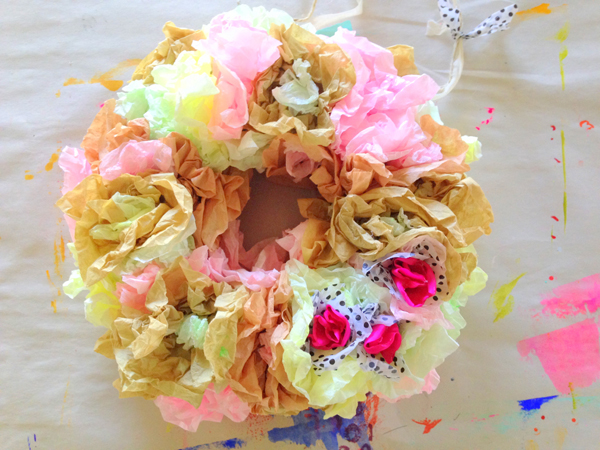
...now...where to hang it?
Enjoy the process!
 DIY,
DIY,  art stuff,
  ccoffee filters,
  do it yourself,
  easter,
  home made,
  live the repurposed life,
  mini tutorial,
  repurposed,
  spring,
  studio stuff,
  wreathe | in
  Home Made,
  Recycled,
  Repurposed Life,
  art stuff,
  live the repurposed life,
  mini tutorial,
  studio stuff,
  the process,
  tutorials |
  Email Article |
  Permalink


