


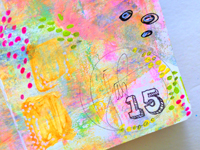
15 minutes of mixed media
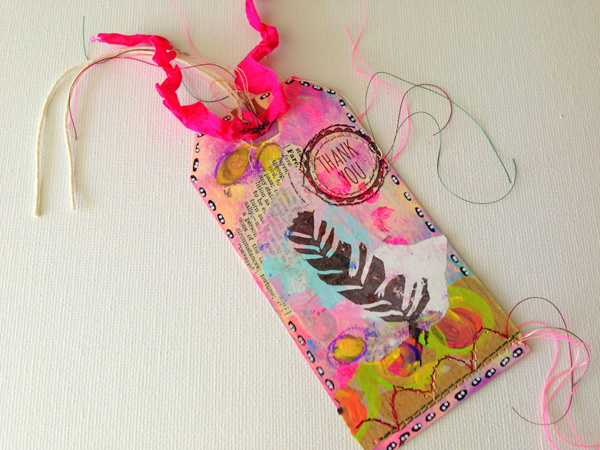
Here you go - this week's take on my 15 minutes of mixed media - a lesson in art and time management!
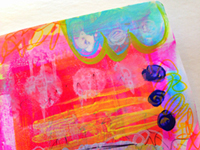
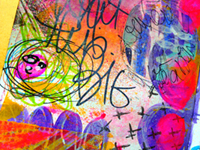
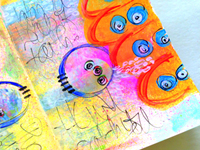
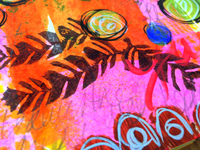
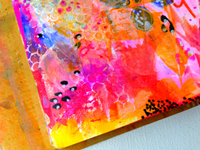
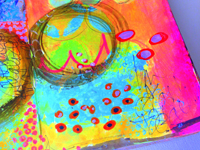
I like this week's take. It is bright and bold! I am working in this art journal and love it! I started again this week with a blank page, an extra challenge for me. I prefer too, and usually start with a background, making the creative process that much easier. The blank page is teaching me to be bold and to not let the timer scare me!


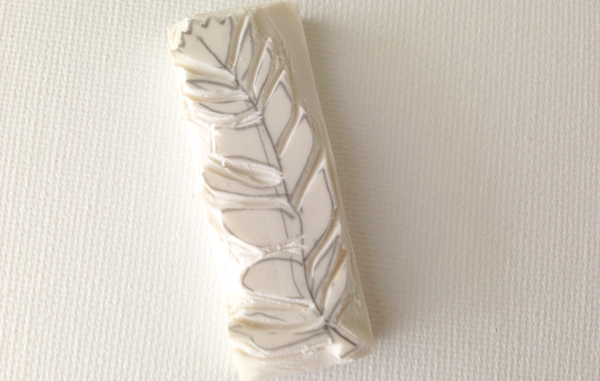
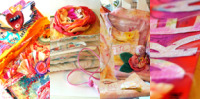
SUPPLIES THIS WEEK-------> Golden Heavy Body Acrylic in Fluorescent Pink, Golden Fluid Acrylic in Diarylide Yellow and Golden Fluid Acrylic inUltramarine Blue, Apple Barrel Craft Paints in White Gloss and Key West, Dylusions Spray Ink in Funky Fuchsia, Tim Holtz Distress Ink in Ripe Persimmon, Painters Brand Paint Pens in White, Black, Red, Orange, and Hot Pink. I also used stencils, a heat embosser, a pencil, a medium point black Sharpie pen, one of my hand carved stamps, a TUL ultra fine permanent black marker, a paintbrush and an old gift card.


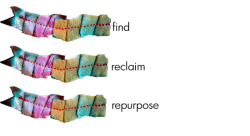
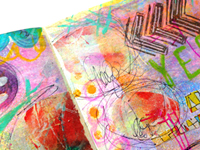
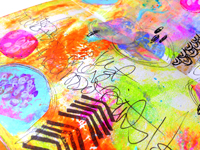
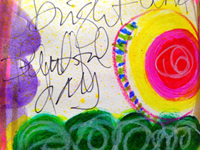
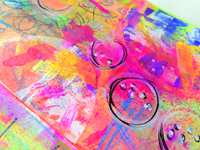
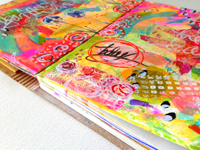
Here are a few other journal pages I created using this technique-------> Click on the images below to see how these journal pages were created using 15 minutes of mixed media.

*as an amazon affiliate, I receive a small incentive if you purchase a product through these links*
 Rae Missigman