


mini tutorial: homemade flower stencil
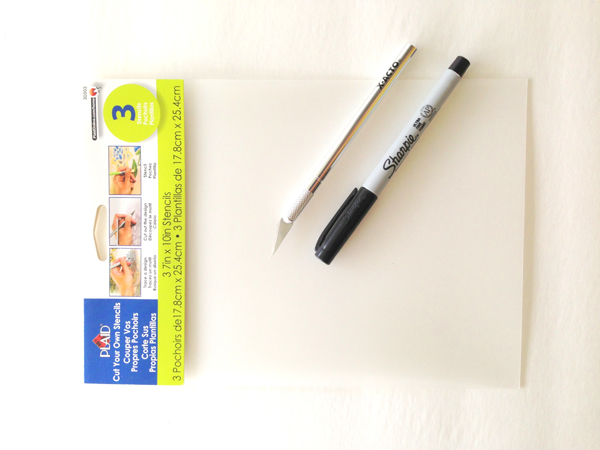
I have been wanting to try to make my own stencils for awhile now and when I stumbled across this plastic at my local Wal-Mart I had to give it a try. I also needed a sharp knife, a cutting mat and a permanent marker. This is what I did if you want to give it a try yourself.
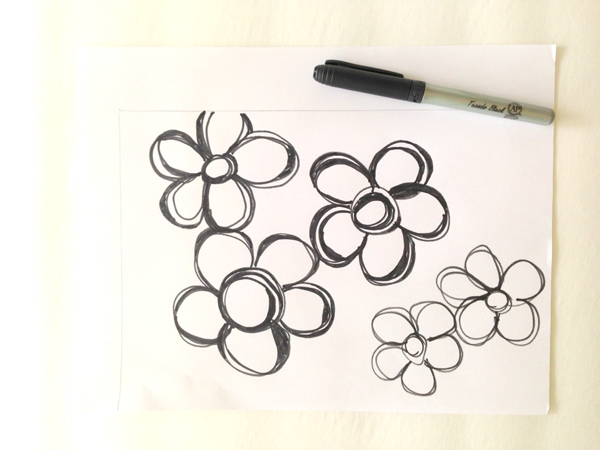
Step One: Draw a template with a permanent marker on cardstock. (you could use tracing paper too, but I had trouble with the pencil smearing as I was cutting) Place template under piece of stencil plastic and staple or tape the edges to hold in place.
Step Two: Place on cutting mat and slowly and carefully cut away all the parts you wanted REMOVED from your stencil.
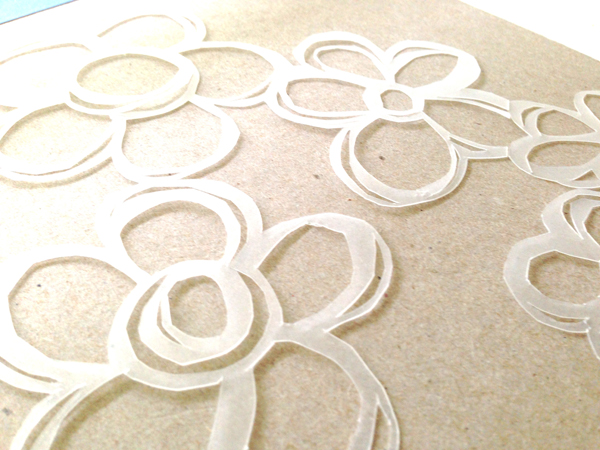
Keeping the flowers all connected was a bit tricky so I actually ended up with two seperate stencils. One with two flowers and one with three. I sprayed it heavily so you could see the detail better.
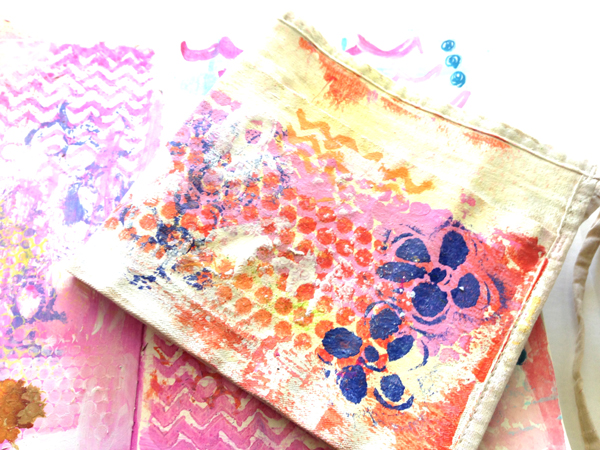
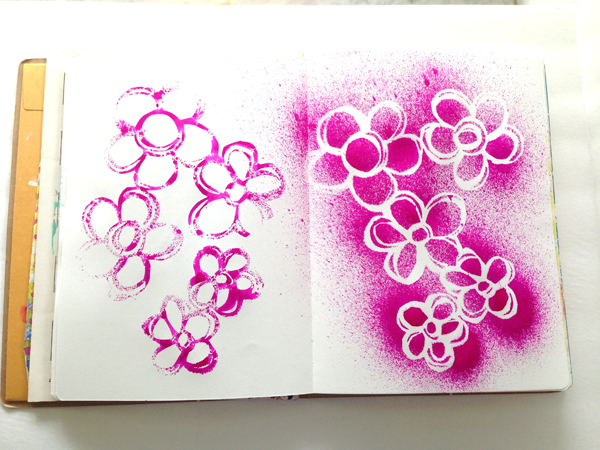 Here I used the same stencil, rubbing paint over it instead of spraying it with ink.

This really wasn't as difficult as I thought it would be. I think I might give it another go this week.
 Home Made, art journal, art stuff, mini tutorial, tutorials | Email Article | Permalink