tutorials: recycled coupon organizer
 Thursday, May 23, 2013 at 1:00AM
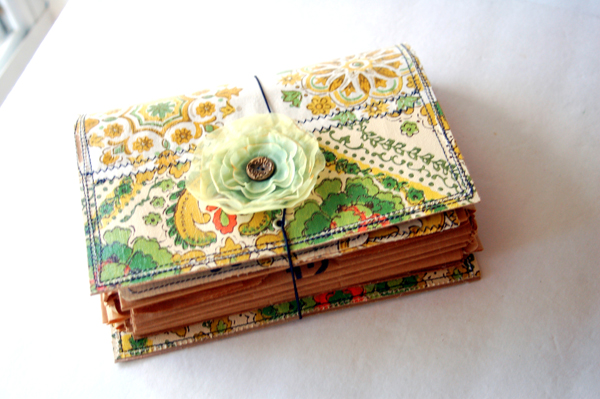
 I love coupon organizers. They are the lap dog of file storage and you can never have enough of them. I have been on a kick to organize my collage papers as of late and lo and behold all of my coupon orgaizers were being used for something already - what? I didn't have any extras on hand, but what I did have on hand was a stack of lunch bags. School will be out (YEAAAA) in a few weeks so I could afford to swipe a few for this project. Plus I could recycle some old papers too!
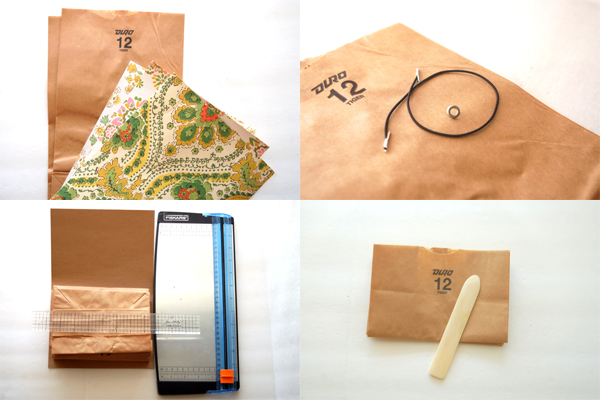
You also will need some pretty cardstock or paper- I used some vintage wallpaper I had in my stash, a piece of chipboard, a ruler, bone folder, paper trimmer, scissors, adhesive or hot glue, an eyelet and a barbed elastic loop or rubber band.
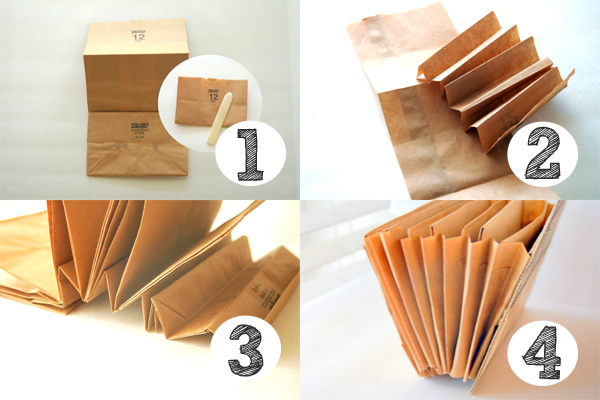
Step 1. Fold lunch bags into thirds, accordion style. Flatten each crease with bone folder for nice edges.
Step 2. Measure width of your folded bag and cut one thickness of bag to that width. Fold and crease, accordion style, until you have created enough "ditches" for each fold of your bag. This will be for the bottom of your coupon organizer. Measure the height of your bag and repeat, creating two folded pieces- one for each side of your coupon organizer.
Step 3. Apply a line of adhesive in crease of each "ditch" and carefully place each fold of your bag in the ditch.
Step 4. Repeat step three for each side of your organizer.
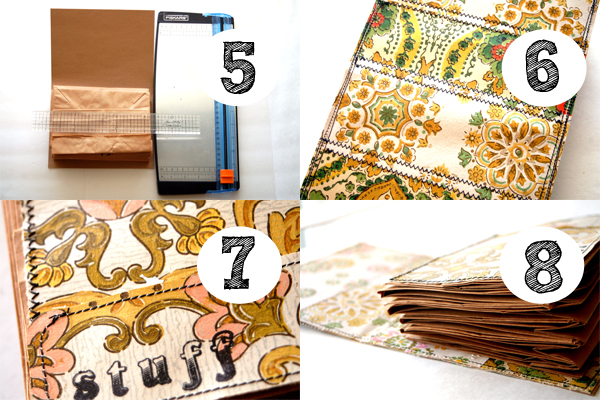
Step 5. Measure and cut your chipboard to make a cover for your coupon organizer. Allow a 1/4" on either side. You will want your cover to fold over the top of your organizer, covering it completely.
Step 6. Cut pretty papers to cover both sides of chipboard. Attach them using adhesive or you can stitch them on like I did.
Step 7. Add paper to the front facing bag of your organizer to pretty it up. You can stamp a word or add a small embellishment if you like.
Step 8. Adhere back facing bag of your organizer to the lower portion of your inside cover. Use a strong adhesive or hot glue.
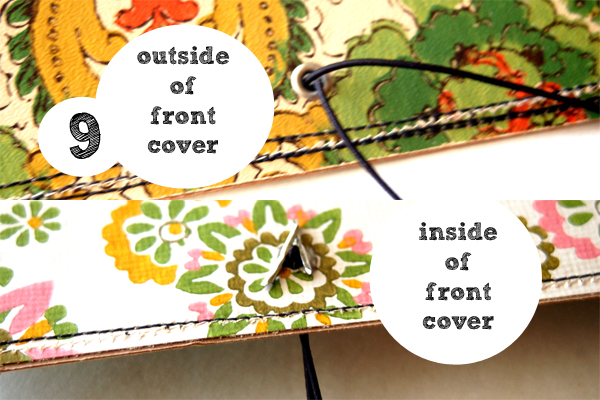
Step 9. Fold cover over and position mark near bottom center of front cover flap. Punch hole, add an eyelet and your elastic loop or rubber band. Add embellishment to front cover if desired.
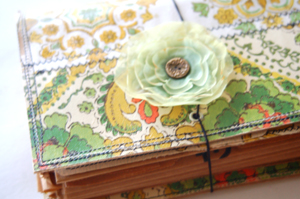
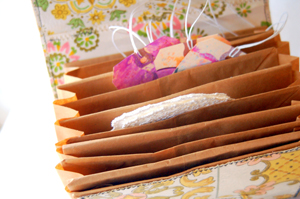
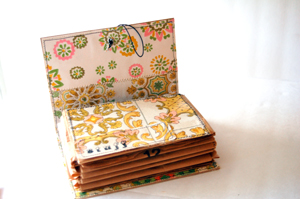
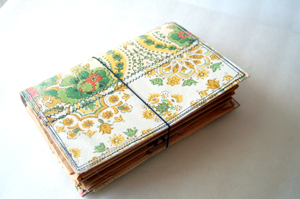
I think I will have fun filing my collage papers in this pretty and portable, recycled organizer!


















Reader Comments (6)
Your too much for me. Always a step ahead when it comes to creating and coming up with new things. Love it.
Thanks Elisa! You made my day! Have a great weekend! xx Rae
Stopping by from Daisy Yellow's Link Love mission to say: Wow! This is genius! Thanks for sharing the How-To!
Thanks Patricia! It is easy, fun and the best part is I AM ACTUALLY USING IT! Have a great weekend! xx Rae
WOW!! So beautiful! I have the same vintage wallpaper ;) Thank you for sharing!! I discovered your blog from facebook (my name is Luisa Limone) and Roben-Marie Smith!!
Yea! Glad you like it Louison! I love that vintage wallpaper and have been saving it forever to use in a special way! I can't wait to see what you create with yours! Happy you are reading along and want to thank you for your kind words!