Monday
Sep302013
Art stuff: it's a gelli art kind of day
A rainy day calls for some gelli art play!

A rainy day calls for some gelli art play!
 Mailart, On The Worktable, art stuff | Email Article | Permalink
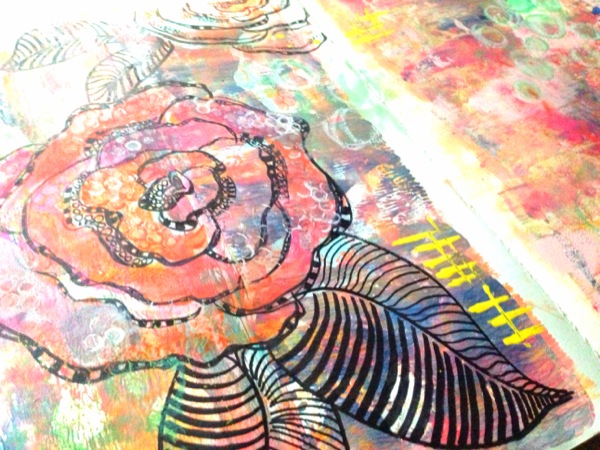
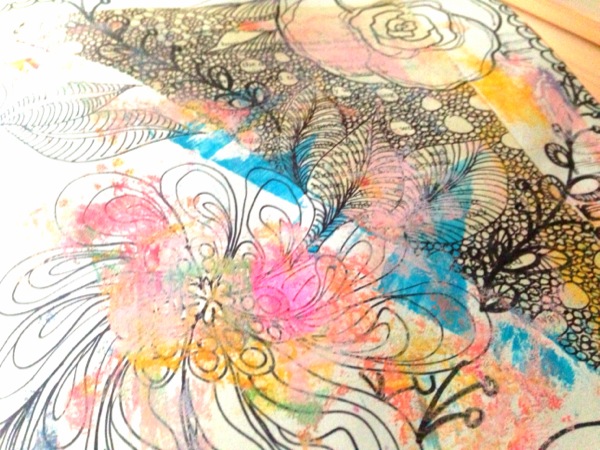
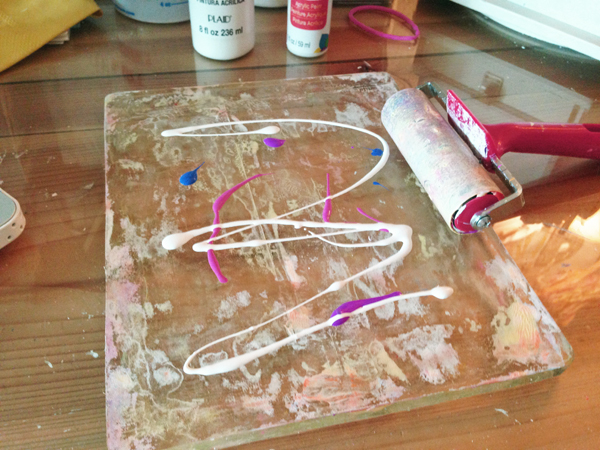
 Having a little fun with doodles and my gelli plate.
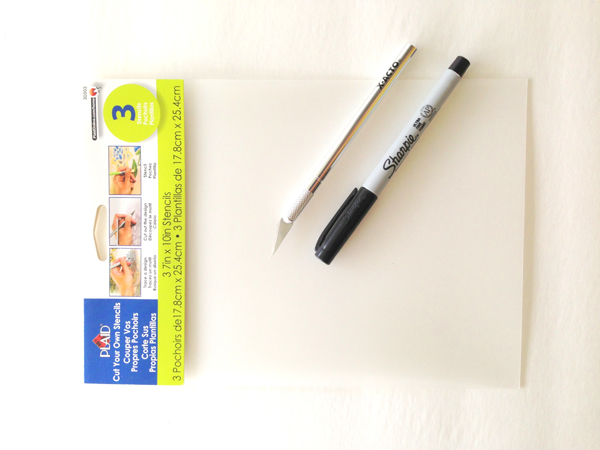
On The Worktable, art stuff, art journal | Email Article | Permalink I have been wanting to try to make my own stencils for awhile now and when I stumbled across this plastic at my local Wal-Mart I had to give it a try. I also needed a sharp knife, a cutting mat and a permanent marker. This is what I did if you want to give it a try yourself.
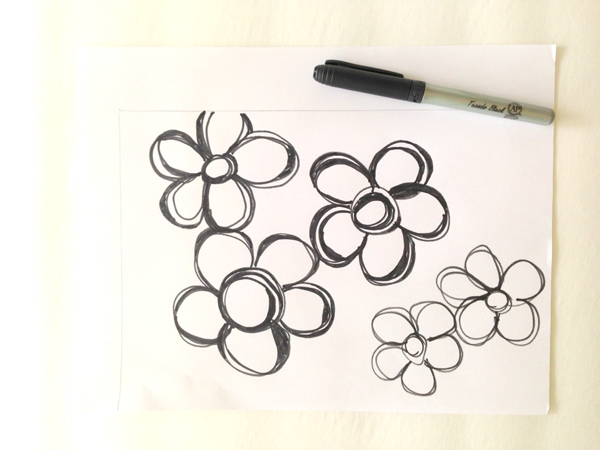
Step One: Draw a template with a permanent marker on cardstock. (you could use tracing paper too, but I had trouble with the pencil smearing as I was cutting) Place template under piece of stencil plastic and staple or tape the edges to hold in place.
Step Two: Place on cutting mat and slowly and carefully cut away all the parts you wanted REMOVED from your stencil.
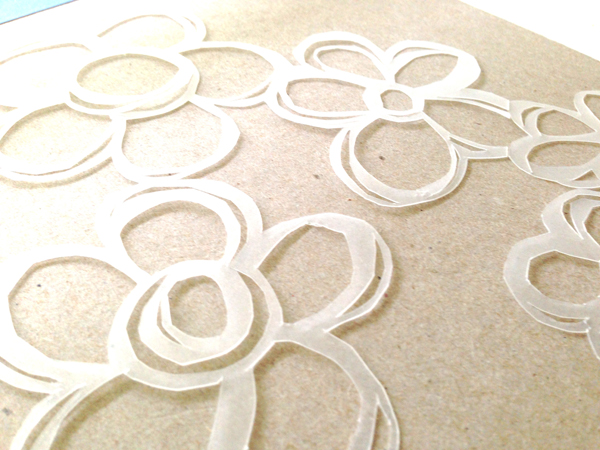
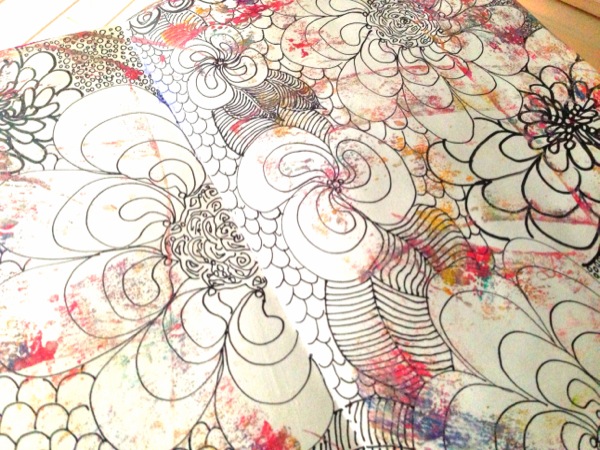
Keeping the flowers all connected was a bit tricky so I actually ended up with two seperate stencils. One with two flowers and one with three. I sprayed it heavily so you could see the detail better.
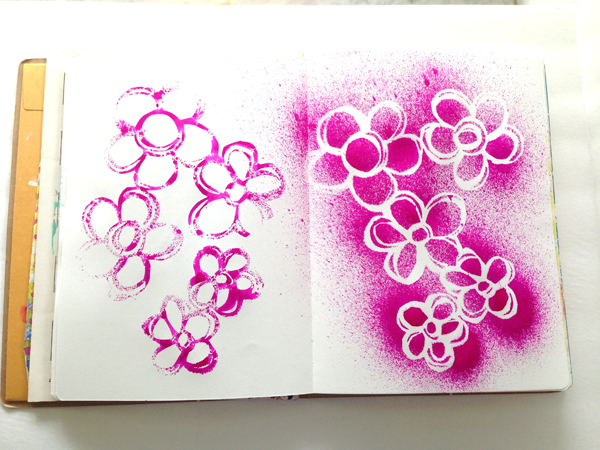 Here I used the same stencil, rubbing paint over it instead of spraying it with ink.
This really wasn't as difficult as I thought it would be. I think I might give it another go this week.

Home Made, art journal, art stuff, mini tutorial, tutorials | Email Article | Permalink I tell you people - I am addicted to this, so here are a few more!
 I can't promise you that you won't see more of these.

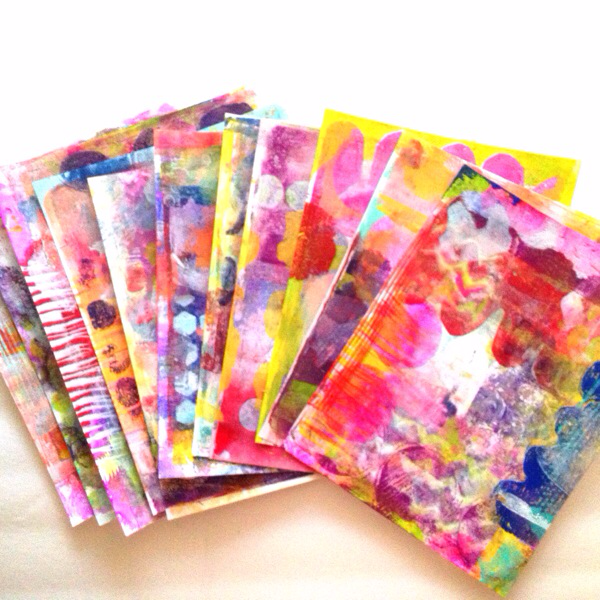
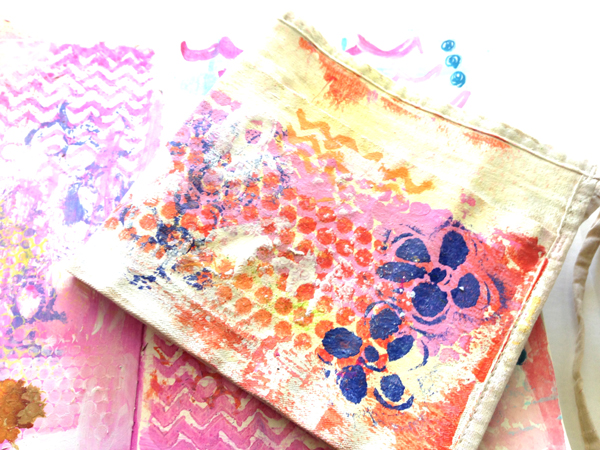
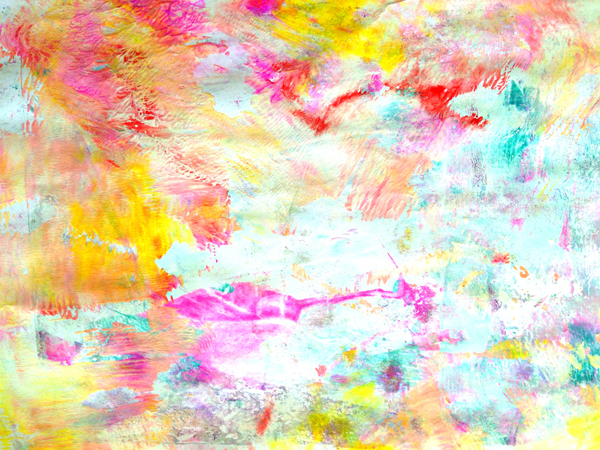
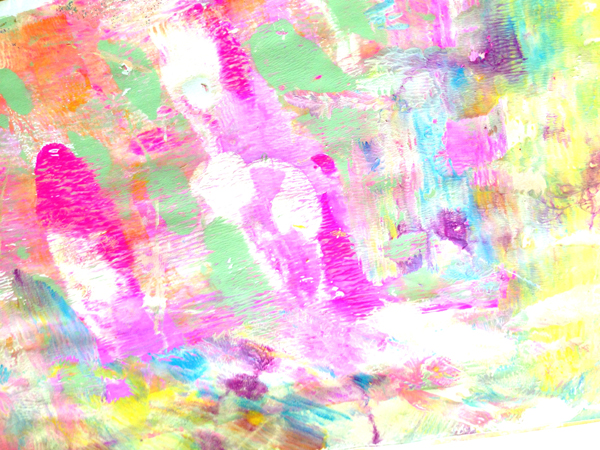
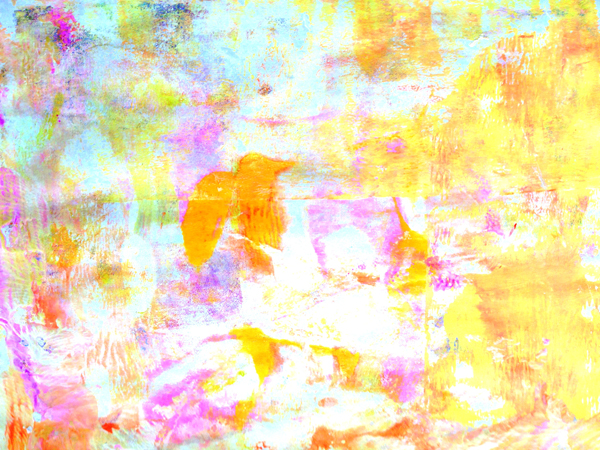
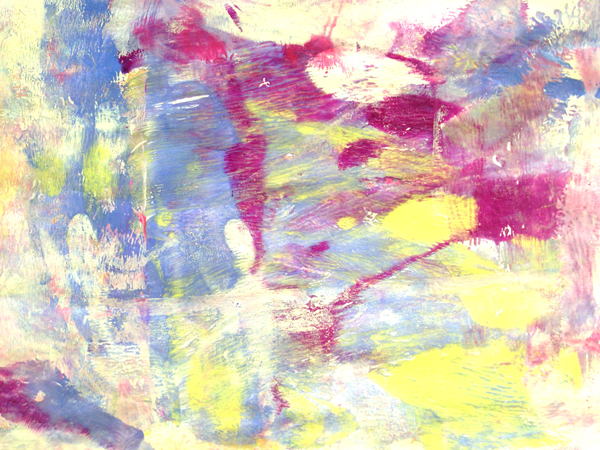
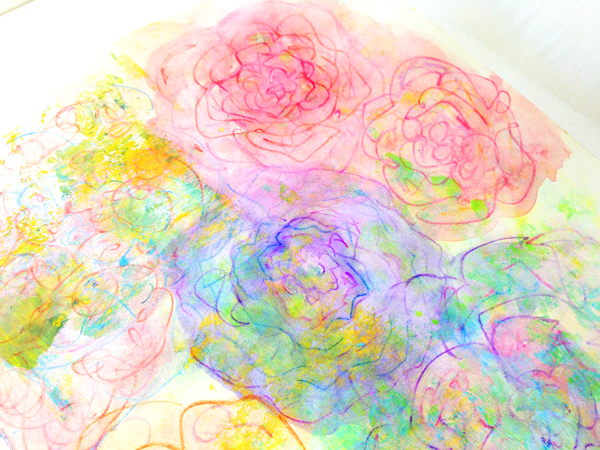
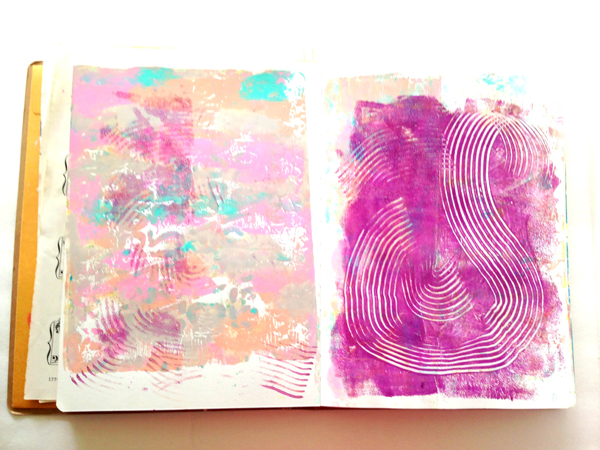
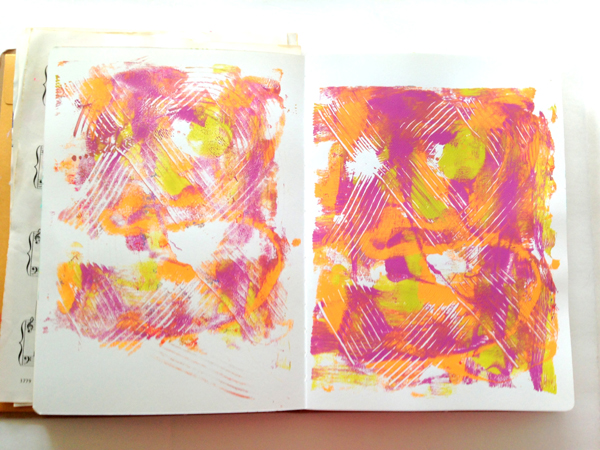
I like to use a colorful background as a starting point in most of my journal work and Gelli Plates are an awesome way to work with color and texture. For basic colored backgrounds just squeeze on a few different colored paints and roll them around with your brayer. Lay your page down and pick up the color. Repeat until most or all of the color has been picked up. It is cool to see what your next print will look like when it picks up some of the previous prints color.
Here are a few backgrounds I created this week.
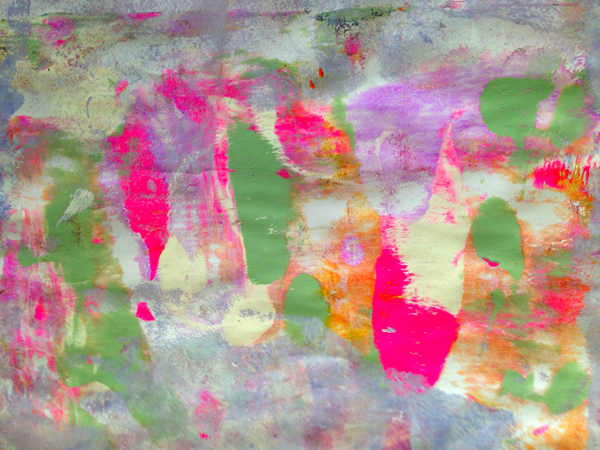
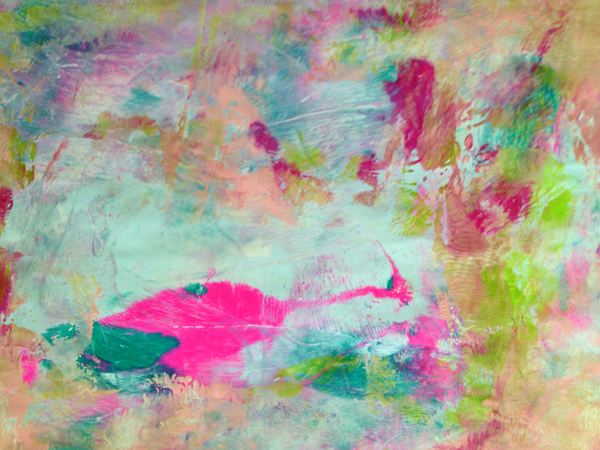
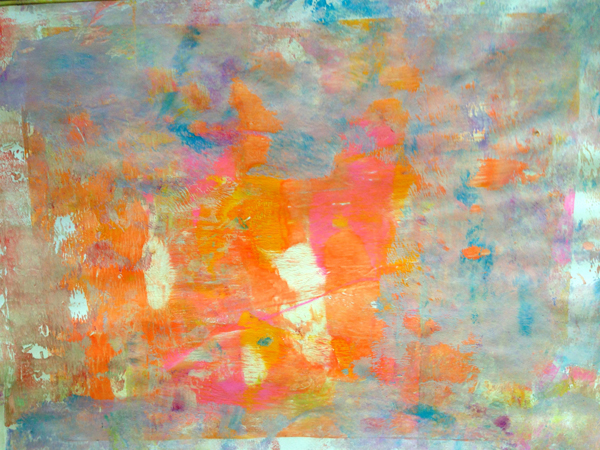
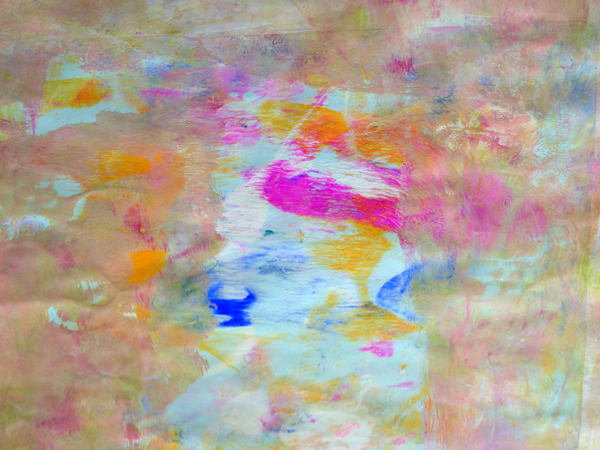
Making these backgrounds is repetitive in nature and therefore soothing to me. I could do this all day. The bonus? I have pages at the ready when I go to work in my journal. Win win.

art journal, art stuff | Email Article | Permalink Let's recycle something else this week!
![]()
I took this old clear binder and turned it into a pretty art journal cover. It was super easy and took just under an hour to create, including drying time, which I sped up by using my heat embosser.
![]()
![]()
![]()
Next, grab one of these re-purposed scrapers and scratch off a little gesso- letting your favorite words shine through. Ink the gesso using a dry brush or sponge.
![]()
Mix a little gesso with some ink or paint and rub it over your favorite stencil. Chunky goodness happens here.
![]()
Add a stamp or two along the edges.
![]()
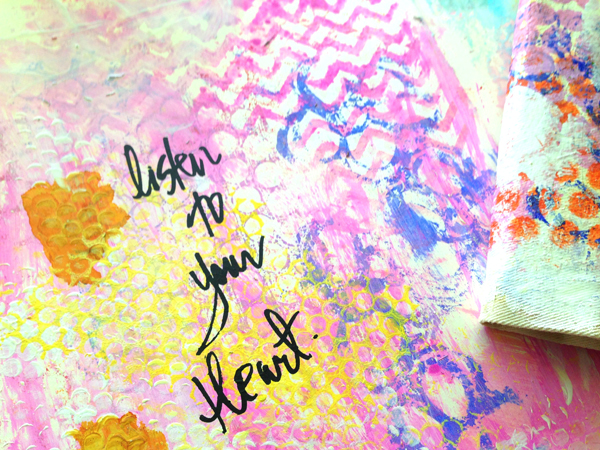
Use a black paint pen to add more journaling.
![]()
Stitch some fabric to the front cover to add some texture.
![]()
Punch holes along the edges of your solitary pages or add in those you have removed from a spiral bound journal.
![]()
My favorite part is seeing my journaling, in reverse, on the inside of the cover.
![]()

I was doing some purging recently and came across these watercolor pencils.

Talk about a blast from the past. It has been YEARS since I snapped these up at some home stamping party. I decided to mess around with them in my art journal with my water brush. I admit - they weren't moving around as I would like to see, but I wasn't working on water color paper either.
But I didn't dislike working with them. I don't think I will add these to the donate box after all. Maybe tomorrow I will give them another go on watercolor paper. Or maybe photo paper.
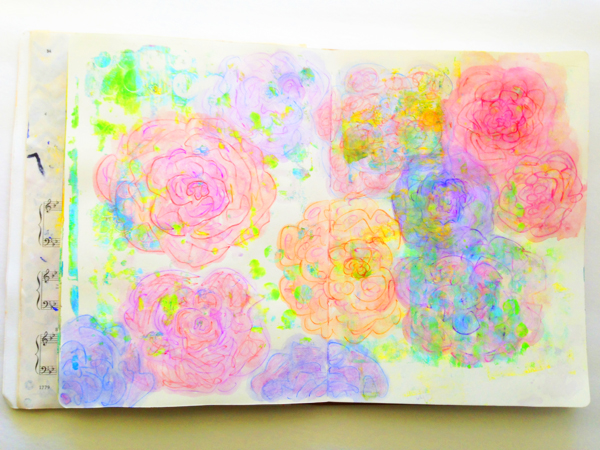
I think with the addition of some gesso, paint and inks, I can live with this. Do you have a "dated" art tool that you like to use? I would love to hear about it.

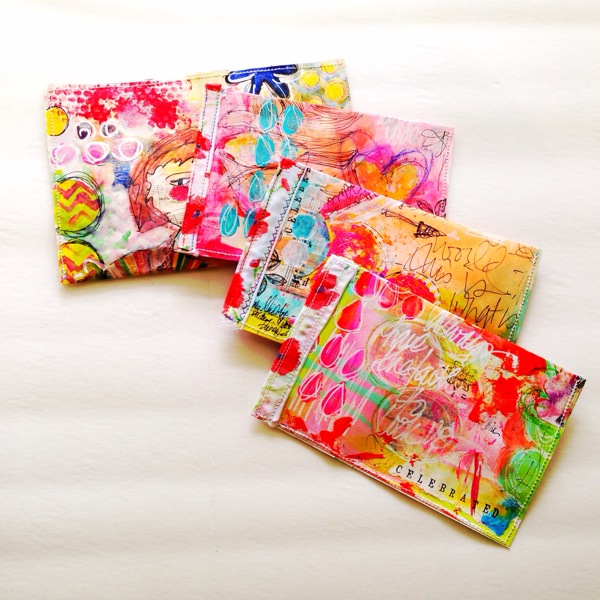
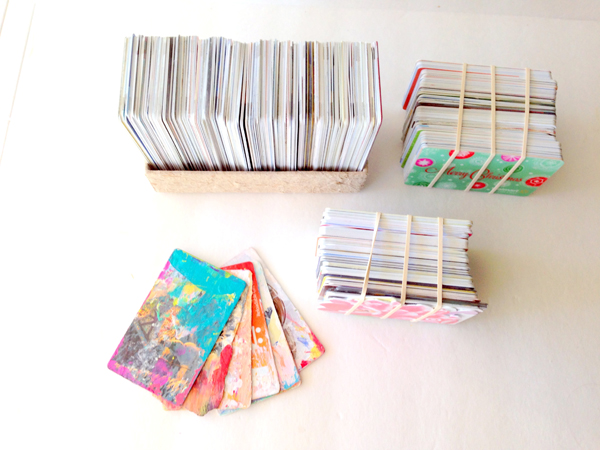
On The Worktable, art journal, art stuff | Email Article | Permalink There are just certain things I can't throw away. Used gift cards are one of those things. No matter how many I seem to collect I just can't toss them. They seem too RE-USABLE.
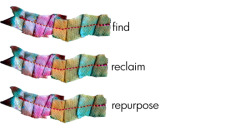
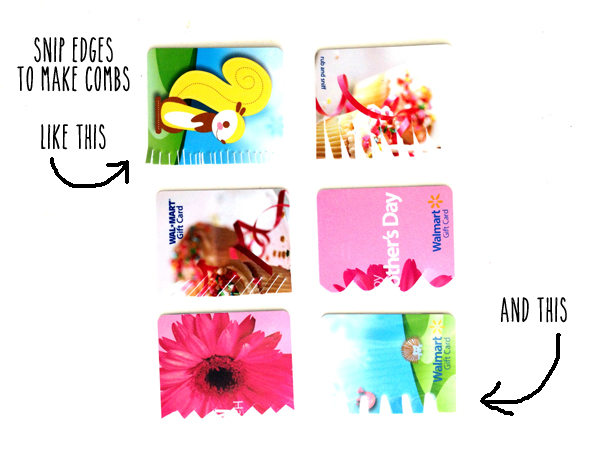
I am tinkering with a few cool projects ideas that will incorporate much of the mass, but until then I found a great way to re-purpose a few of them. RECYLCED ART COMBS - how cool are these?
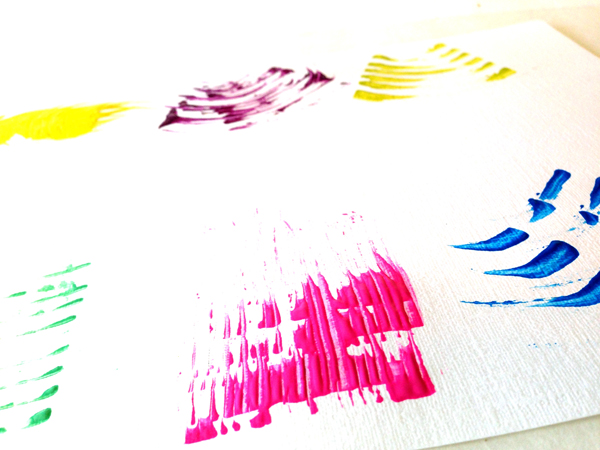
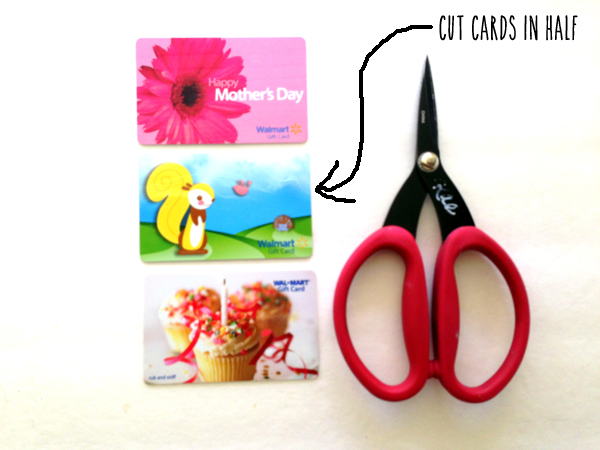
And you can make them in about THIRTY SECONDS! All you need are a few old gift cards and a good pair of heavy duty scissors.
A thrifty way to recycle that used gift card, these combs are a neat addition to your art journaling tool box.
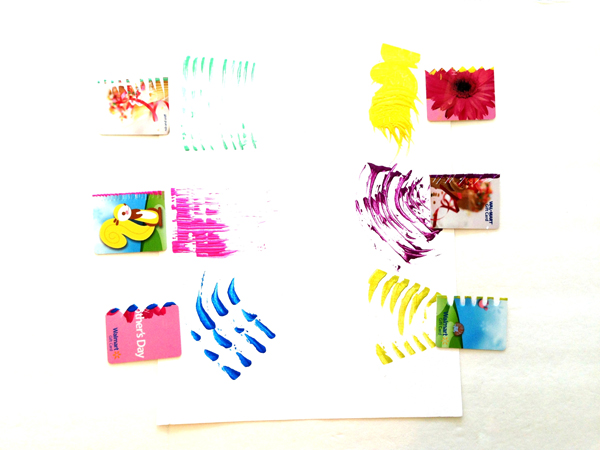
I used a few of these while working on some backgrounds in my art journal. Pretty cool.

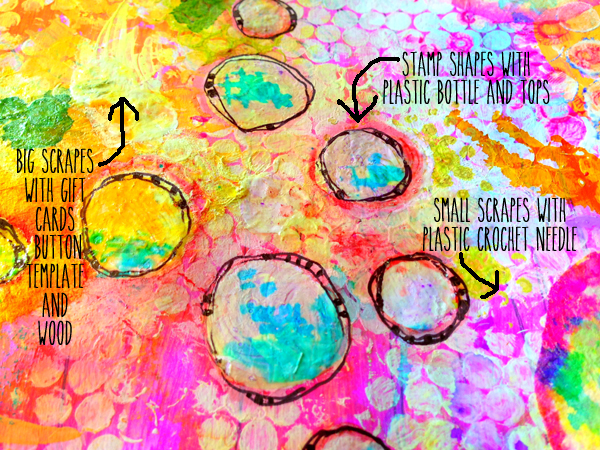
Here are a few of the other recycled tools that I have in my Art Journaling Toolbox.

When you make a habit of "taking a look before you toss" you find yourself collecting some pretty odd stuff. It just takes a second look in the right light to know that you can re-purpose something. Art journaling tools are some of my favorite re-purposed items.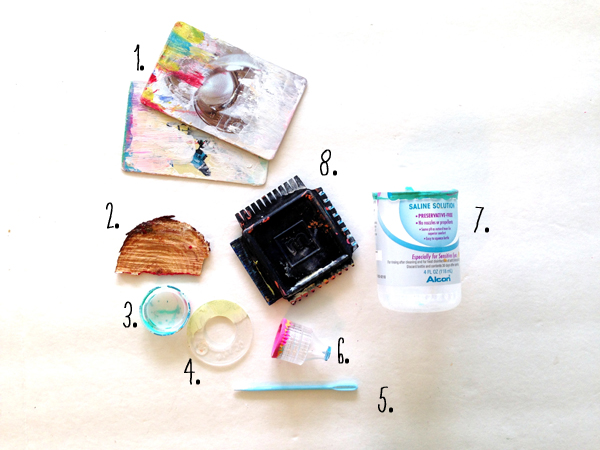
RE-PURPOSED ART JOURNALING SCRAPERS AND DISTRESSERS:
1. old gift cards 2. small ring of wood 3. water bottle cap 4. plastic button template 5. plastic crochet needle 6. contact solution cap 7. cut plastic bottle 8. making memories paint comb
I loved my ancient, but trusty, making memories paint comb. It came in some kind of distressing kit that I picked up years ago when I first got into mixed media. They had me at PAINT COMB. What an awesome set of words. Because I am a big re-cycler I started collecting bits of things I could use for the same purpose- adding to the looks I could create when I used them in my art journal. Like this --->
Be creative. Be inventive. Use what you have and enjoy the process!