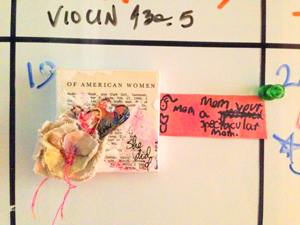
15 minutes of mixed media
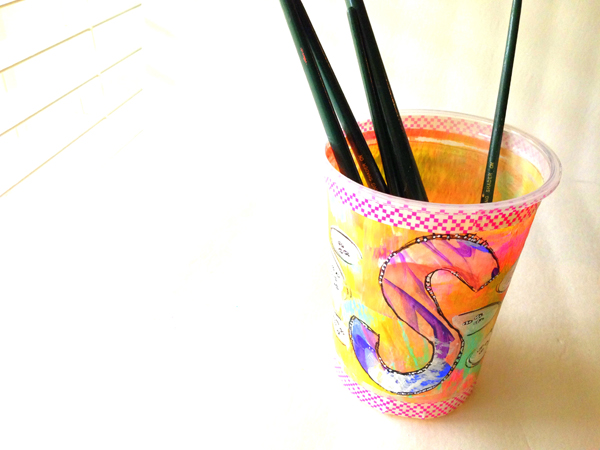
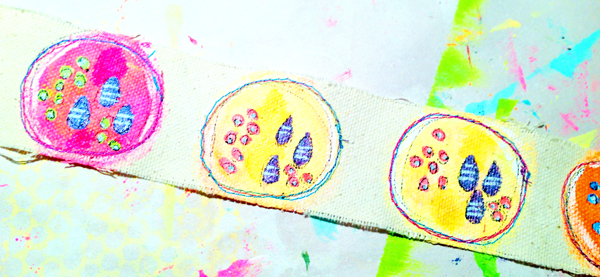
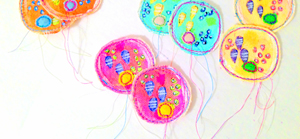
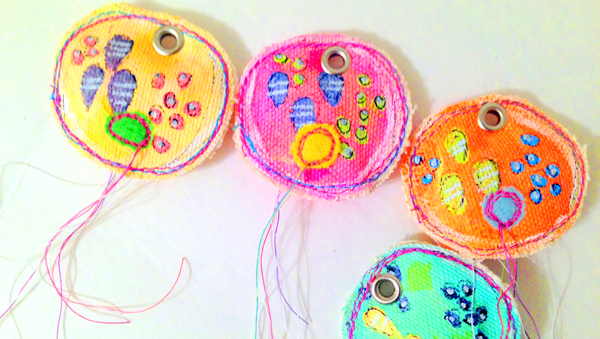
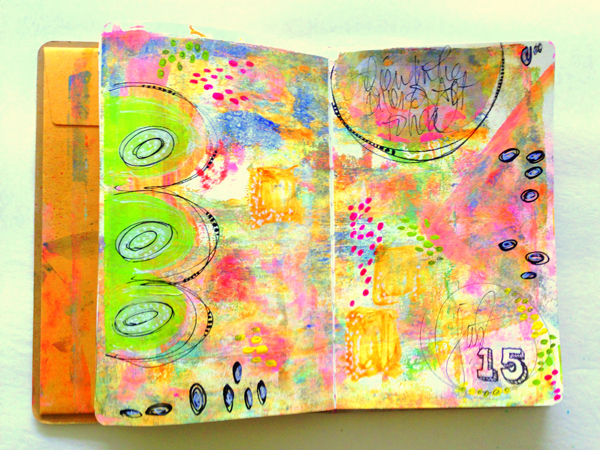
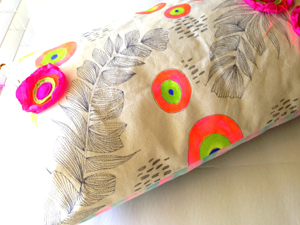
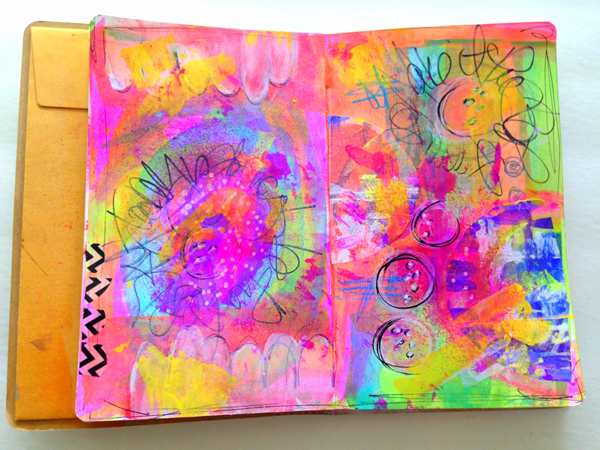
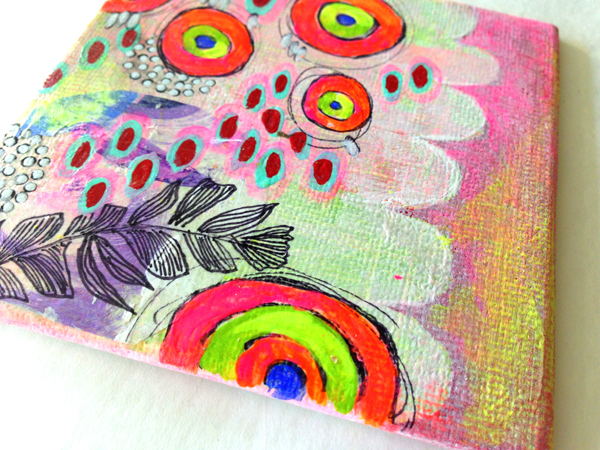
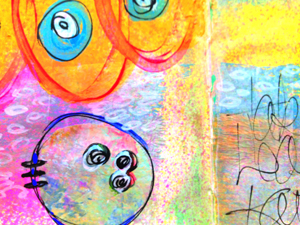
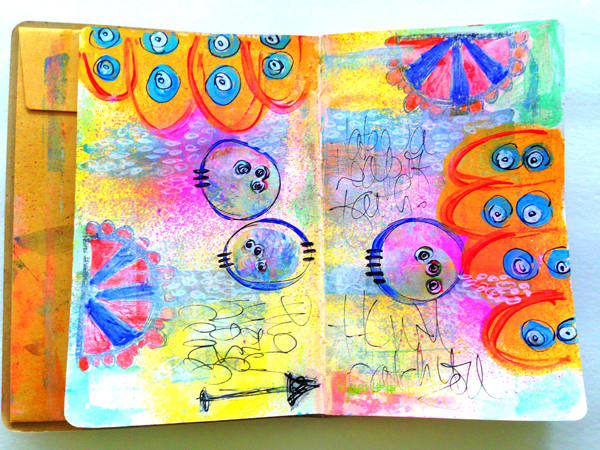
So this week my 15 MINUTES OF MIXED MEDIA challenge resembles a carnival ride. Not what I intended, but bright and colorful all the same.

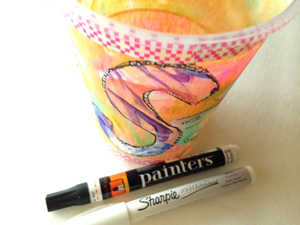
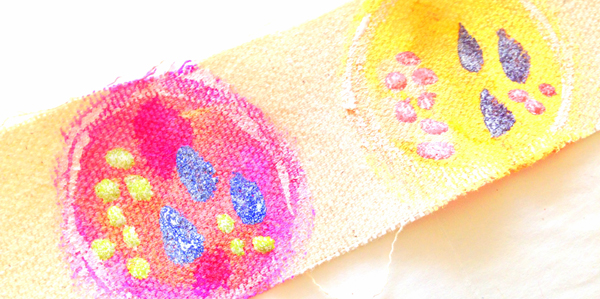
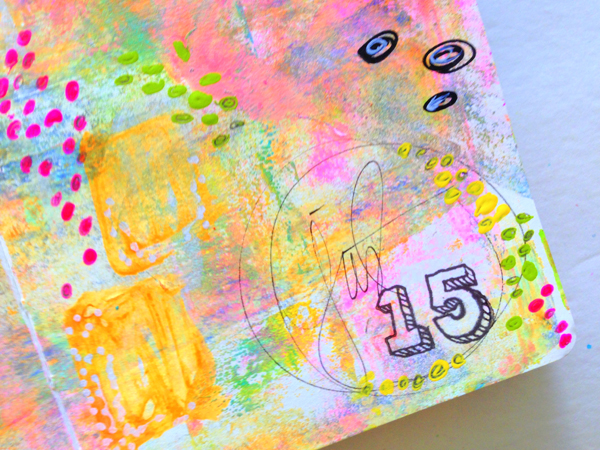
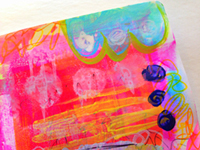
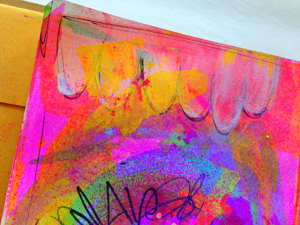
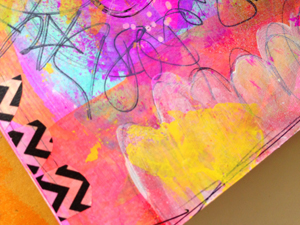
I struggled this week. My base had no background, which always proves harder when the clock is ticking. I hurried and ended up with a bit muddier collection of colors than I wanted, so I overcompensated with bold stamps and bright colors in my second layer. Definitely a week I needed the embosser.
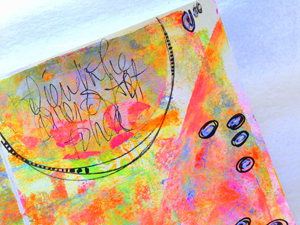
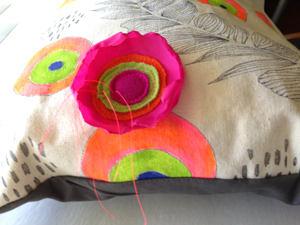
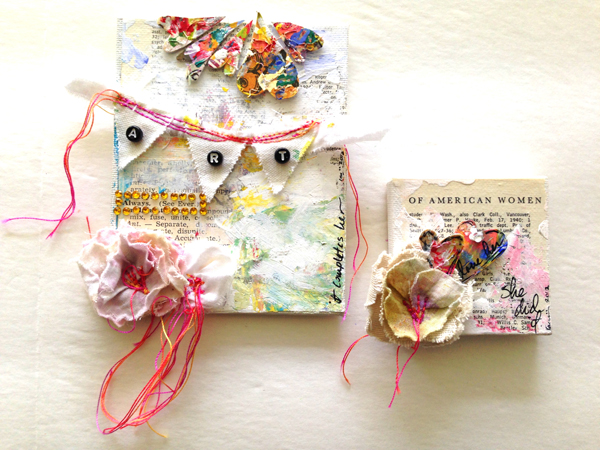
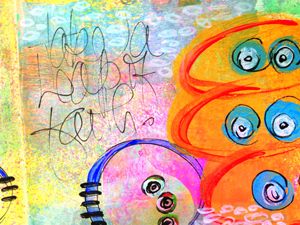
I did, however, remind myself to add some journaling this week. This is my weak spot. I like to keep the words inside, so writing them on a page of art is tough for me, and something I am working on.
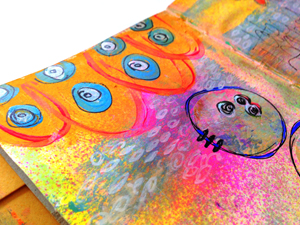
I took a leap of faith on this page. I wanted to TURN the page on this one and I didn't. I let the clock tick and I kept working. I like the happy colors and bold shapes.

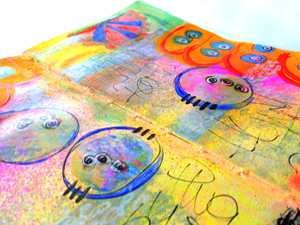
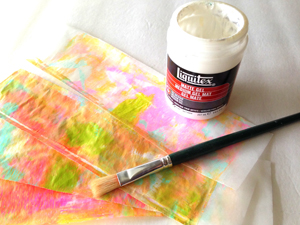
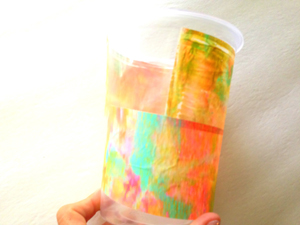
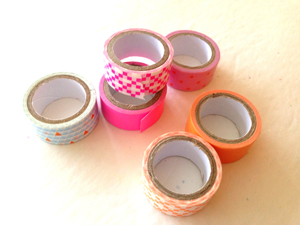
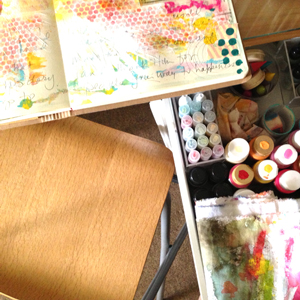
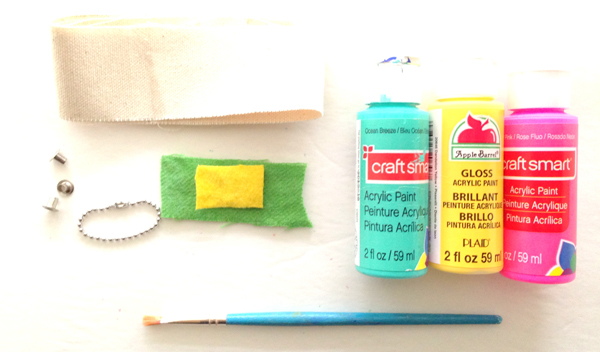
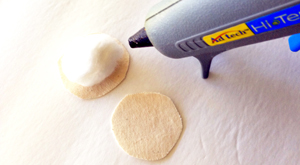
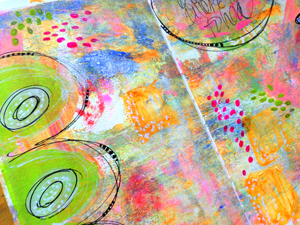
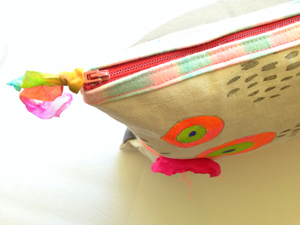
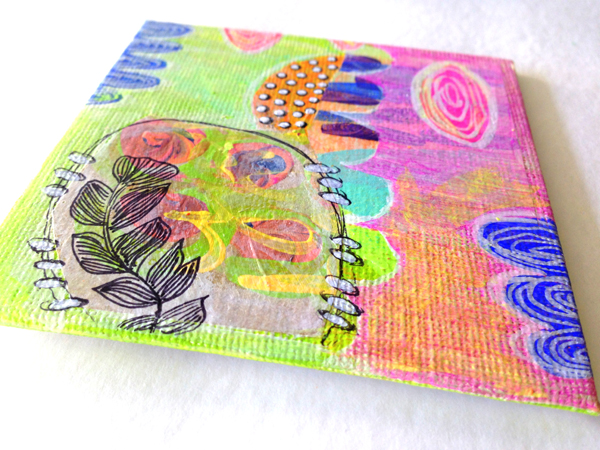
Here is my supply list for the week- things that were on the table when I started the timer. *yellow and pink dylusions spray inks *4 paint colors (the little acrylic craft paints) *black and white paint pens *permanent marker *scraps of deli paper *glue stick *scraper *embosser (to dry the layers) *paintbrush *stamp *stamp pad.
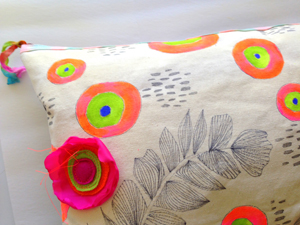
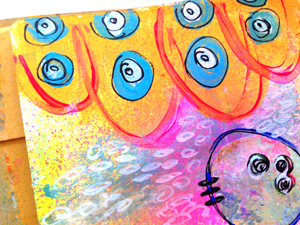
Sometimes we find in a challenge that even though it is not what we wanted or expected, we like it. Kind of like going to a carnival and getting on that scary ride. Sometimes it was worth the leap of faith.
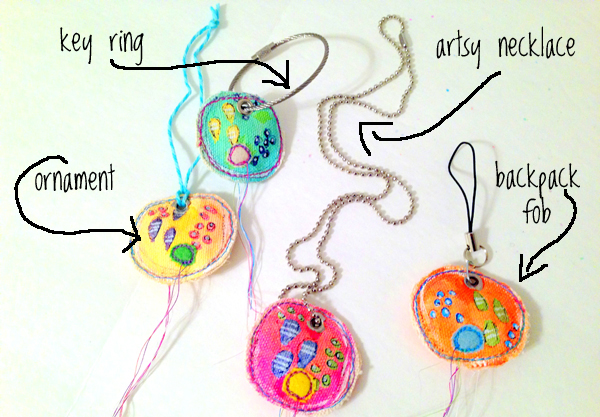
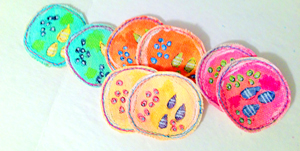
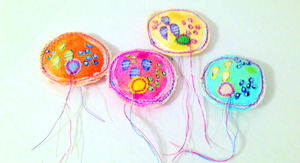
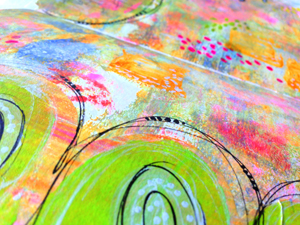
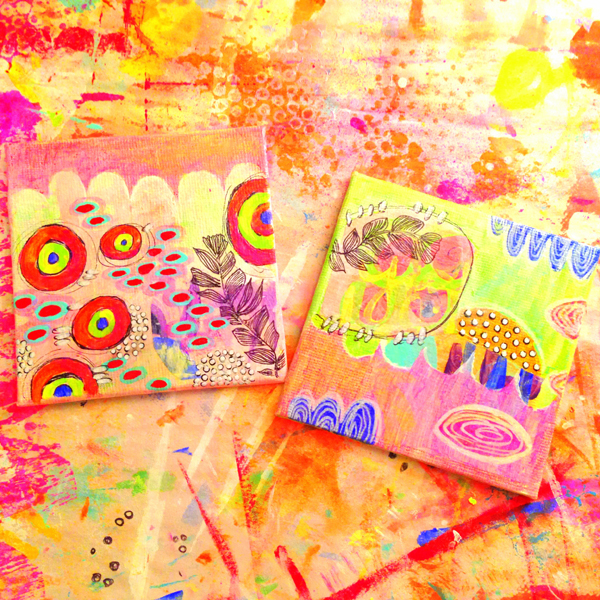
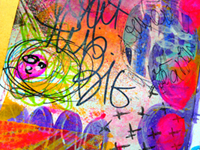
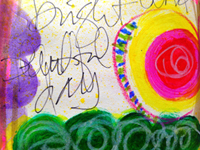
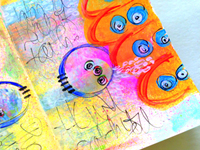
Here are some more 15 minutes of mixed media art journal pages--->


 Rae Missigman