Roben-Marie Smith

Roben-Marie Smith


THIS AND OTHER  PRODUCTS AVAILABLE AT

       IS A REGISTERED TRADEMARK


 sandi-keene

Roben-Marie Smith

Blog Index
The journal that this archive was targeting has been deleted. Please update your configuration.

Entries in etsy (9)

Tuesday
Mar042014

new artist print packs - and a giveaway!

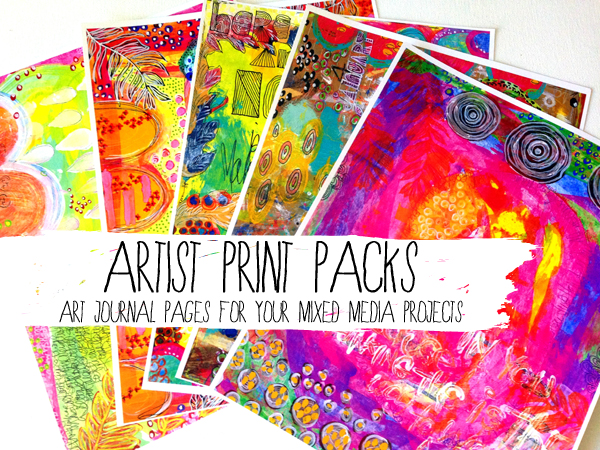
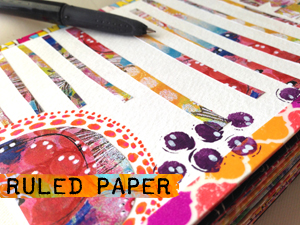
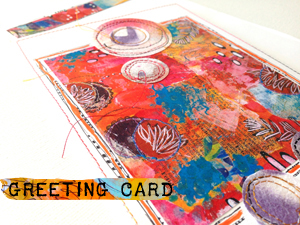
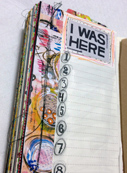
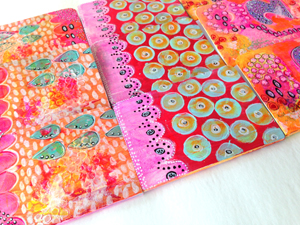
I am happy to share something new with you today! Artist Print Packs! Art journal pages straight from the studio to you...

...a bold, bright mix of my favorite art journal pages, ready for you to use in all of your mixed media projects! Cut. Collage. Stitch. and more...

Because I love to use these papers in my DOCUMENTED LIFE PROJECT I thought it would be great fun to do another giveaway!To enter, leave a comment here, then hop over to the  ART TO THE 5th blog and leave your name and email address in the comment section, so I can contact you when you win!

I can't wait to see what you create! ENjoy!

Thursday
Feb132014

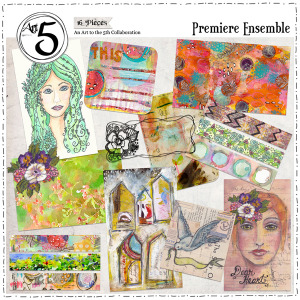
Premier Ensemble- Digital Art Kit

You asked- We answered! We are celebrating the Grand Opening of the Art to the 5th Store!

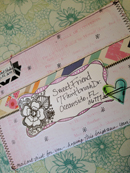
To applaud this occasion we have created our first product-------->The Premiere Ensemble Digital & Printable Downloads. It is available in our Etsy store HERE. This kit is a "collaboration of elegant, painterly downloads made with your Planner and Mail Art in mind. From art journal ready faces and hand drawn labels & banners to colorful strips begging to be torn, punched & stitched, this collection is ready for creative play. We’ve even included a bonus set of painted numbers perfect for documenting and journaling as a celebration of our premiere!"

-------------------------------------------------------------------------------------------

--------------------------------------------------------------------------------------------

You get 16 individual files (1 png and 15 jpgs).  In addition, we created four jpg printable sheets, combining several of the smaller images for use on your own printer. And a BONUS set of numbers includes 10 additional png files. 

----------> Wondering how to use your digital goodies once you've printed them? Here is what I did.

-----------------------------------------------------------------------------------------------------------------------------------


-----------------------------------------------------------------------------------------------------------------------------------

-------> Read more about it here on the Art To The 5th Blog

-------> Purchase  the New Premier Ensemble Digital Art Kit

-------> To see Ideas  & Inspiration visit our Sample Gallery

----------------------------------------------------------------------------------------------------

----------------------------------------------------------------------------------------------------

-----------> Inspirational samples created by my fellow team members <----------

Look for our next challenge in a few days! Can't wait to see what you create! Enjoy!


Wednesday
Nov272013

art stuff: pretty painted pouches

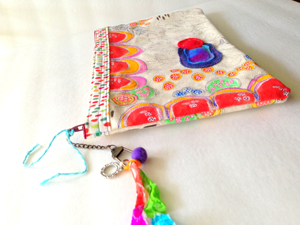
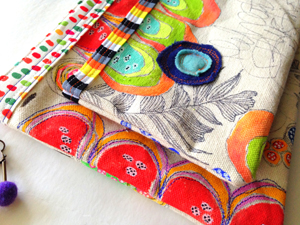
Just a little peek at some of the new and pretty painted pouches headed to my Etsy Shoppe!

Stop by the shoppe and see what else is new!

Friday
Nov222013

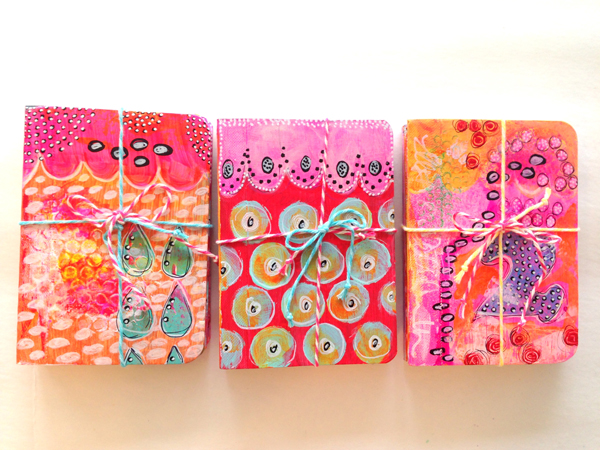
art stuff: teeny tiny painted notebooks

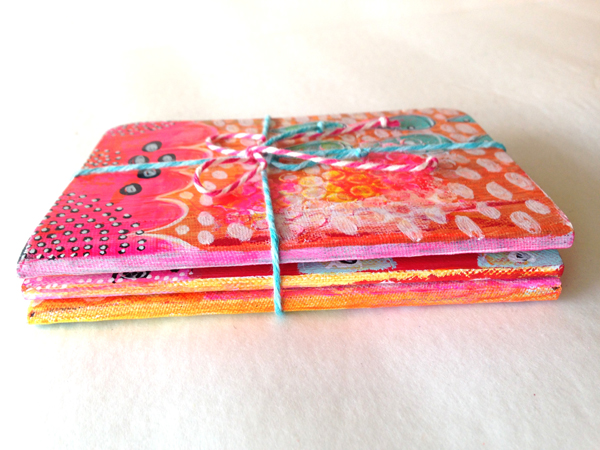
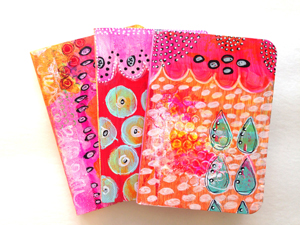
Who doesn't love teeny tiny things? These notebooks are my favorite lately. They feel so great when they are all finished and look so much cooler to pull out of your bag or backpack than a regular ole' notebook.

These notebooks are just the right size for those little lists and reminders along the way.

And since I can't remember anything these days, I always have a few of them tucked away here and there - my bag, backpack, the car and of course, one on my nightstand, for the middle of the night - because THAT is when I remember everything I forgot during the course of the day!

Oooh and these make the sweetest little stocking stuffers! Check them all out here! BIG ones coming next week! (you know- for all those BIG IDEAS and LONG LISTS!)

Tuesday
Sep182012

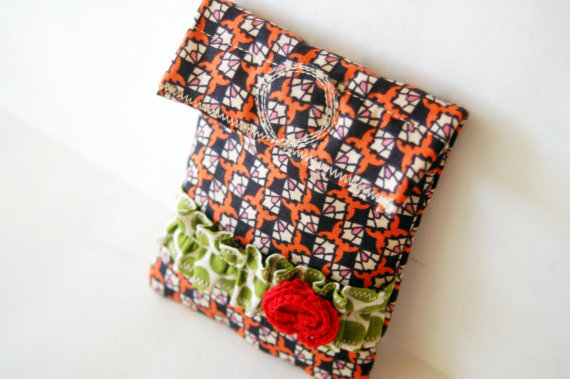
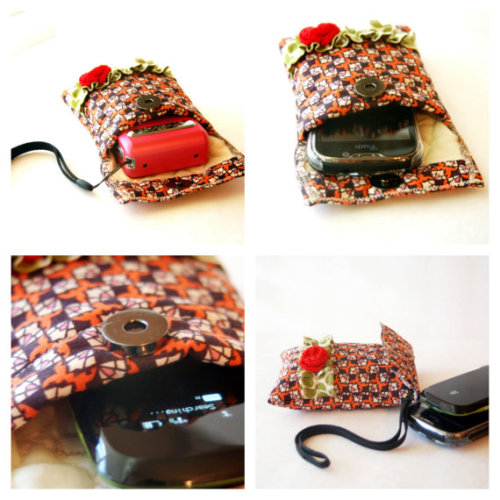
newsworthy: Ruffled Gadget Case

Ruffled Gadget Case is created using:

  • sweet re-purposed calico prints
  • softly batted diamond quilt fabric lining, adding cushion for your gadgets or coins.
  •  measures approximately 5" x 4"
  •  a magnetic snap closure
  •  free motion embellished stitching
  •  my signature ruffle
  • a vintage crocheted flower

Priced at $20. Available in my Etsy store.

Friday
Sep072012

New Art Journal {SNEAK PEEK}

I have a supply of lovelies out as I am fashioning a new Art Journal for my Etsy shop. Stay tuned for updates!


Friday
Jan272012

{woolie love}


There is some new {woolie love} in my studio. I have just finished dyeing a new batch of roving

and the results are in...{LOVE}. {Sweet Sherbet colored rings for spring. $8.}


 {Tiny beaded centers and adjustable bands}


...they remind me of tiny beautiful nests...

{Marbled Colors beautifully needle felted together}

{A brighter shade in the name of color}


Wednesday
Oct192011

newsworthy: jewelry affaire magazine


 I have always had a love of leather crafting. I love the feel of the leather and the dimension that tooling adds.


{I love a process.}

I love laying out the design. I love the patterns, unique and original hammered out each time the mallet falls. I love painting in the details, planting a beautiful garden as I go. I love the staining. Taking the vivid color down a notch, creating a timeworn look, soft and weathered.

Each time a beautiful {process}. A routine. A ritual. An assembly line...


...a calming feeling.


 ...vintage seam binding tie closure adds charm to this cuff...
 ...LOVE LOVE LOVE IT!...
 ...a teardrop cut from leather, vintage beading, and a cabachon make for a beautiful pendant...
 ...these are my lovies...I love the vintage jewels. I have been collecting vintage jewelry for a long time, and finally I have found a way to use some of my favorite pieces...
 ...I fiddled with the stain and sealer until I came up with a beautiful {glazed} look...
 ...and the colors are wonderful. There is no rule for beauty in a garden, as there is no rule here...


Sunday
Sep112011

tutorial: gauze rosette earrings


A yummy new batch of inky vintage gauze trim just hit the etsy shop shelves and I couldn't wait to share this {SWEET & SIMPLE} earring tutorial with you all.
These charming little rosette studs are easy and quick. You will want to make a dozen pairs! They only took me a half hour to complete, including gathering my supplies...so grab some {VINTAGE TRIM HERE} before it is all gone!
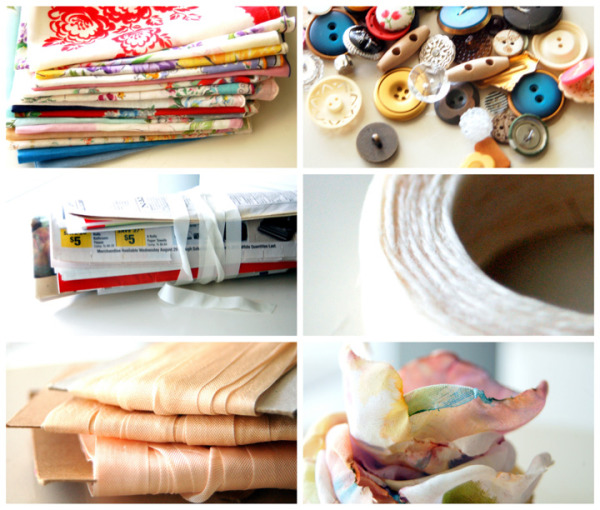
First, gather your supplies. Don't worry about having each item in the photograph...as long as you have the inky vintage trim you can use anything you love or have on hand to embellish your rosette...you will need:

 *scissors
 *glue gun or strong adhesive of your   choice
 *silicone pad for creating a circle of hot glue
  * two earring posts and two backs
  * something you would like to use to cut out your leaves from.(this can be cardstock, fabric, canvas, or anything else that will give you a good leafy texture) I used a leftover prima leaf I had on hand.
  *small hole punch (size will depend on how large you create your rosette)
 OPTIONAL: tweezers, string or yarn, rhinestones, buttons, etc.


For my rosette earrings, I cut two 6 inch lengths of {plum pudding inky vintage trim}
and tied a small knot in the end of each piece. Trim end of knots. 
 Next, using your silicone glue gun pad, create a small circle of hot glue. 
 Make sure it is pretty thick. Squeezing gently with constant light pressure works best. 
Place your knot in the center of the glue and let it set for 10-20 seconds. This just helps the glue gel a little bit.
Now start GENTLY twisting and wrapping your inky gauze trim around the center know, patting it in close to the trim it is wrapped around. You want a nice tight rosette when you are finished. Continue wrapping until your trim has covered your entire glue dot and then trim with scissors. Press flat gently and peel SLOWLY off of the mat. Tack end of trim to back side of rosette.
Now take your fabric or cardstock or leaf material and cut four small leaf shapes. These DO NOT have to be perfect. Flowers in the wild are not perfect and this gives your earrings character. 
Choose two leaves and layer them until you have your desired effect. Glue them together.
Set your leaves aside and go back to your rosette. Use whatever embellishment you like here (or none if you like...the pair I wear has NO BLING or anything, just SWEET AND SIMPLE!) and add it to your rosette's center. I used some inky dyed string for my center (coming soon to etsy shop) to give my center a little nesty look. Just twist and twirl the string until you have the shape you want and tack down with a dot of hot glue. Then I added a small rhinestone with a dot of hot glue.
Now take some old leftover cardstock or thin cardboard. ( I used some recycled packaging from my rhinestones ) Punch two circles and adhere one to the back of each earring. This will help disguise all of your layers of glue and leaves and flower.
Now take your earring post and clue that to the center of your cardstock. Let dry for a few minutes or until hot glue has completely cooled.
Your beautiful {INKY VINTAGE GAUZE TRIM} has been transformed into a darling pair of rosette earrings.