Here I am with another project using this beautiful {inky vintage gauze trim}...
... and as adorable as I think it is, I must preclude this post with a confession. I love this little pouch because it's style closely resembles the beautiful little bags made by my friend, Roben-Marie over at Every Life Has A Story. She always creates the most beautiful bags and journals. I love everything she does...
...so while I did not start out this little bag thinking that it would look like one of hers, it just took a turn somewhere along the way because that is my favorite style.
I was actually practicing a little sewing and one thing led to the next...
...I even remembered to line the bag - well half of the bag. Yes, you heard me right. I only made enough liner for one half of the bag...don't ask, because I just don't know!
...hence, the practice pouch.
I used some hand dyed wool I had leftover from a recent pillow project, and added three yummy rows of that sweet and simple
{vintage hand dyed trim} that I have been featuring in my
etsy shoppe, all week long.
I layered on a ruffled silk flower I made with a center that I created using leftover dyed muslin.
I did a little free form stitching {love it} on the front panel of the
wool...
added some leaves, a vintage button, and some french knots tied with some vintage baker's twine I had in my stash...I used another piece of the
{peony vintage dyed gauze trim}to create a tie. I use this to wrap around the button for a casual closure to the pouch.
More
{vintage gauze} in that delicious
{peony color} was used as a lip on the pouch, for the finishing trim. While digging in my treasure trove of old thread, I found some pink silk that was actually in great condition...Love it!
Lovely photograph showing the top panel of this little pouch lined...bottom panel NOT lined...
You can also see that my stitching is not perfect, but it is okay. I like the "timeworn" look.
{that is what I like to call it when I can't sew so great - "timeworn!"}
A hand dyed piece of muslin, in pale mustard adorns the bottom back panel. I hand stamped it with a stamp that I actually carved at a recent retreat with friends. I LOVE IT!
...so it is not a perfect pouch, but a practice pouch...and I think it is super sweet!
The look of it is just what I wanted...my daughter is already asking for it for her birthday!
That made me feel pretty good...half liner and all!


 Rae Missigman
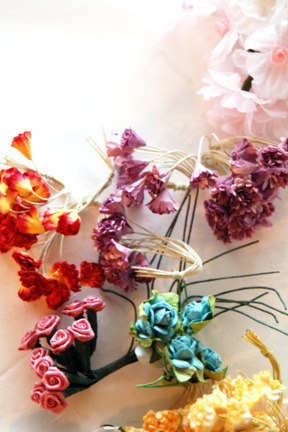


