Independence Day is fast approaching and it is one of my favorite holidays! I love the vibrant and patriotic feel that buzzes through the air like a static current. My little heart leaps to see all of the bunting and flags flying everywhere...
...so of course I have to make something...and patriotic note cards seemed a perfect idea & something that I could share with all of my special pals. I am a truly horrible tutorial person...but these are really pretty easy so I am going to do my best to share the process with you...
...the end result is, of course, SWEET & SIMPLE.
So I gathered up all of my supplies. You will need a ruler, scissors, adhesives of choice, patterned cardstock & paper, vintage style buttons( the ones with the single eye on the back work best), paper piercer, string, needle, scotch tape...and a base for your card.
I like to use Cold Press Watercolor Paper. It is super heavy weight and textured and gives the feel of an expensive paper. You will need a bone folder to fold this paper. Make sure to cut and fold the paper to the size of envelope you wish to use.
Gather the paper you are going to use for your flowers. I chose several red, white and blue patterned cardstocks. I cut them into 3 x 3 squares and ran them through a die cut machine using a floral die I had on hand. You could very easily hand cut some scallopy floral shapes too!
You will need three floral shapes for each flower you plan to make.
For my three I chose 2 patterned pieces and a dictionary page flower, (these old book pages tear pretty easily, but if you're careful you can make them work) . GENTLY crumble and wrinkle them a bit, being especially careful if you are using regular weight paper or vintage book pages, like I did. Decide which way you want to stack your patterned paper.
Next, gently crease the flower you wish to be on top the three tiered flower.
Tack in place with a bit of adhesive. Now crease the opposite direction & tack again, making the flower a tad bit smaller than the other pieces. Take the flower that you want to be the second layer and gently crease in one direction only. Tack in place.
Next stack the bottom two layers of your flower (the bottom piece that is not creased, followed by the flower with just one crease.) Using just a bit of adhesive (so your needle doesn't stick later) tack.
Take your top layer flower and using a self healing mat, gently pierce through the center, making sure to grab some of each crease. Thread your needle with fine gauge string or heavy duty thread and come up through the back of the flower, through the pierced hole.
Holding onto the thread & needle, gently pierce a second hole just a smidgen away from the first one, and thread your needle back through this hole. (if you are using a really sharp needle you can probably eliminate this piercing stuff, but I like the clean hole it makes.) Come back up once more, through your original hole and loop your needle through this stitch to make a secure center.
Next you want to grab your button ( I had some great vintage looking anchor buttons ) and thread your needle & string through the eye. Pull tight, but gently, and feed the needle back through the second pierced hole. Secure on the back with a pass through stitch or two. (Don't cut yet!)
Now we want to stack our layers. Gently pierce your tacked bottom two layers, creating a nice clean hole. Feed the needle with the top layer flower still attached through this hole.
Gently ( I know I keep saying this, but the paper tends to get a bit fragile by this stage, and while I LOVE the semi shabby time worn look, rips are a different story!) secure on the back with a pass through stitch or two. Cut string leaving a one inch tail. Secure to back of the flower with a bit of scotch tape.
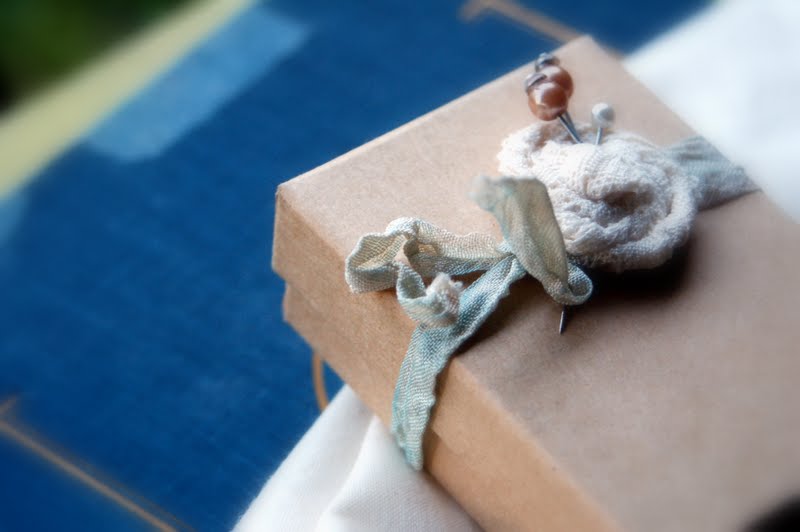
Now you can adorn your card with just this simple patriotic flower or you can add some ribbon or other embellishments...whatever your liking. I have added a last few photos showing a few finished cards. I used some scraps of ribbon & lace & burlap as a band behind my flowers.
For my bands behind my flowers, I use the random ruffle & staple technique. This is my favorite technique (is it even a technique) and I use it for everything. Randomness always seems to make the prettiest end result for these things.
Once I had the band in place I placed my flower where I wanted it and adhered it with three extra large glue dots. You can staple the bottom layer to the card too, for extra strength.
I love the staple showing. This whole card is sort of vintage style in it's theme, and so the look of the metal on the front of the card is appealing to me. You always choose to adhere your band with something that doesn't show if you prefer a cleaner look.
I used some reproduction vintage red lace and some burlap for these last two cards.
Enjoy celebrating your Freedom!


 Rae Missigman


