Friday
Aug162013

...because lately I love anything new and tiny. (If you follow my instagram you will know why) --->

Tiny and Pretty. Enjoy the process!

 On The Worktable, art stuff, the process, tutorials | Email Article | Permalink
 In honor of 21 SECRETS 5 year anniversary this 2014, Connie Hozvicka of Dirty Footprints Studio is hosting a LIVE version of the celebrated workshop where 21 past beloved teachers meet up LIVE online for a 90 minute Spreecasts where we will chat,answer questions, and art journal along with YOU! Each 21 SECRETS LIVE Spreecast is recorded for you to keep and refer to for years to come, and there is also a private Facebook and Flickr group for us and only us to share and keep the conversations
going! 21 SECRETS LIVE starts Wednesday, January 15 and runs for 21 consecutive Wednesdays.

You can read more about all the cool details here and check out the artist bio's right here!
A special registration link has been set up for you here! I had so much fun creating alongside of such wonderfully talented art journalers this year and look forward to an even more exciting adventure again this year! Hope to see you here!
Just a note - each of the artists is given an affiliate code to use for their participation in this event anat that is how we get paid. I would be thrilled to have you register through my link here! Thank you all for your love and support!

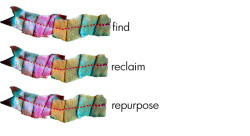
21 secrets, Newsworthy, art journal, workshops | Email Article | Permalink Today I have another tutorial for you using the same simple steps we used to make THIS PRETTY PLASTIC FUSED CANVAS AND COLLAGE PIECES.
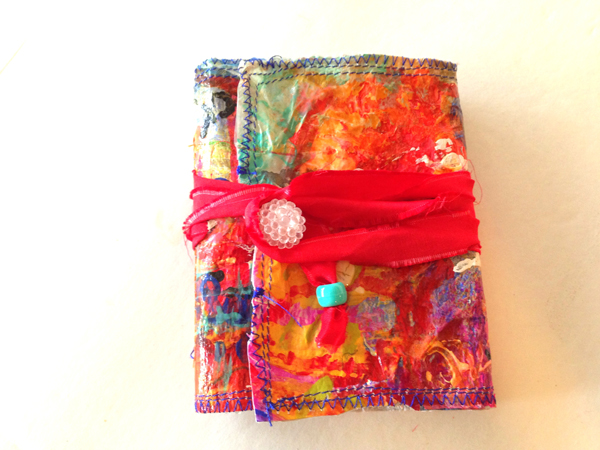
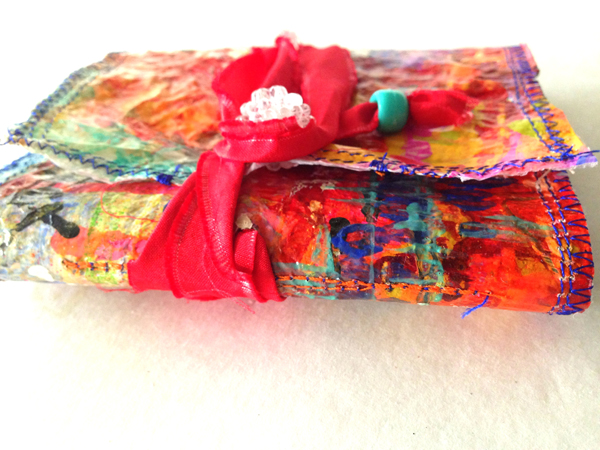
If you had fun making your PLASTIC CANVAS COLLAGE PIECES I think you will enjoy making the easy pocket notebook. JUST GO HERE TO MAKE A PLASTIC FUSED CANVAS. Once you have your CANVAS hop back over here and follow a few more easy steps to create this pretty, recycled pocket notebook.
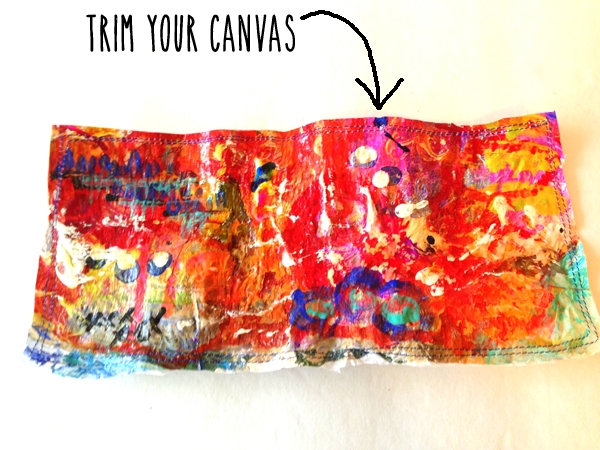
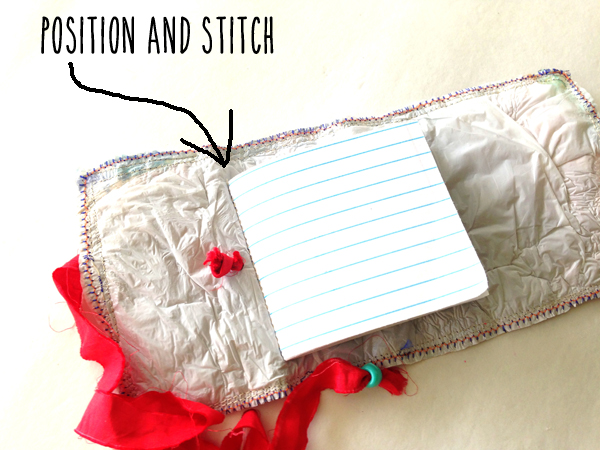
STEP ONE: Trim your plastic canvas to the desired size and shape, using your paper pad as a template. Be sure to allow for a half inch seam allowance around the edges of your paper pad. Stitch all the way around the edges of your canvas a few times with pretty thread. I added some zig zag stitching at the last minute too!

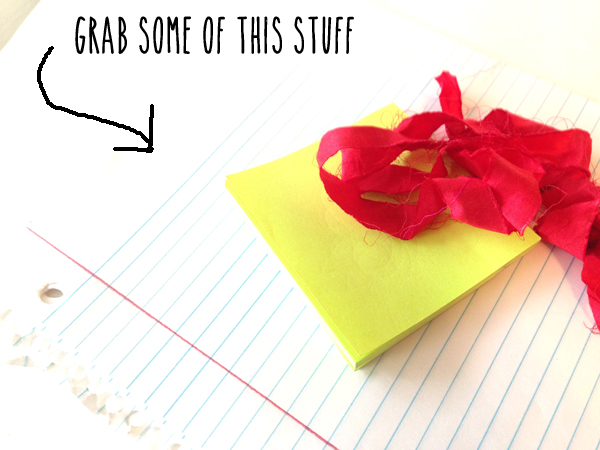
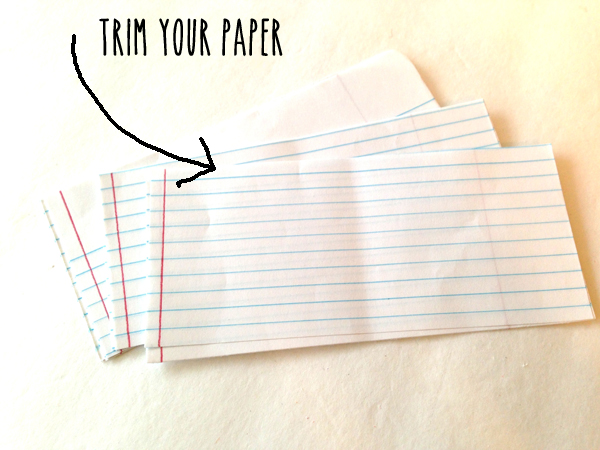
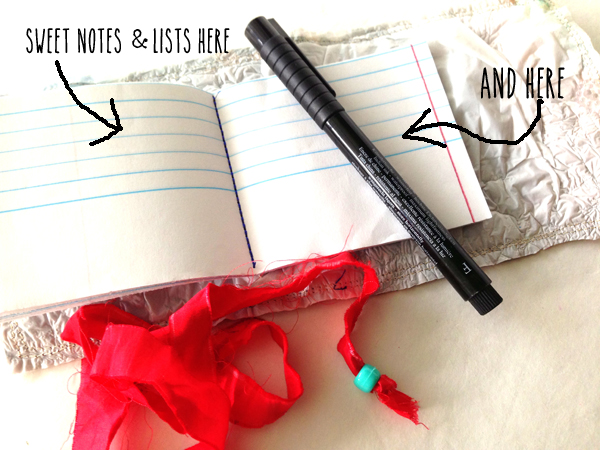
STEP TWO: Grab some notebook paper or a small tablet- a sticky note pad works great. If you are using note book paper you will need to trim it to size, allowing for folding to create a signature.
STEP THREE: Stack your trimmed paper, creating a signature. Fold in half and score. Now stitch down the score line with pretty thread. ( If you are using a ready made tablet you can skip this step! )
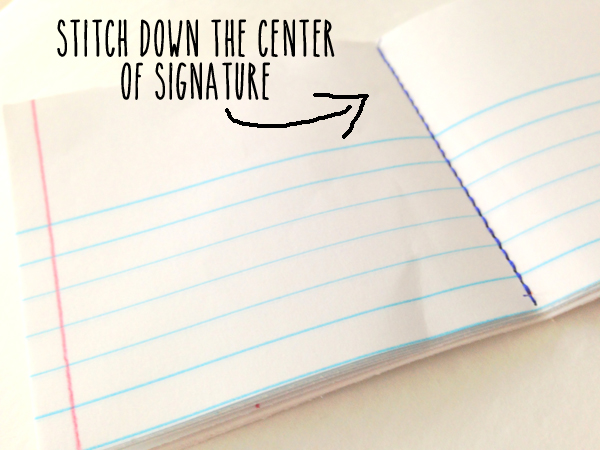
STEP FOUR: Once your signature is stitched, position it slightly off center on the wrong side of your PLASTIC FUSED CANVAS. Check that both sides will fold in toward center of notebook, overlapping. If positioned correctly, open to middle of signature and restitch down the center. Double back for added strength.
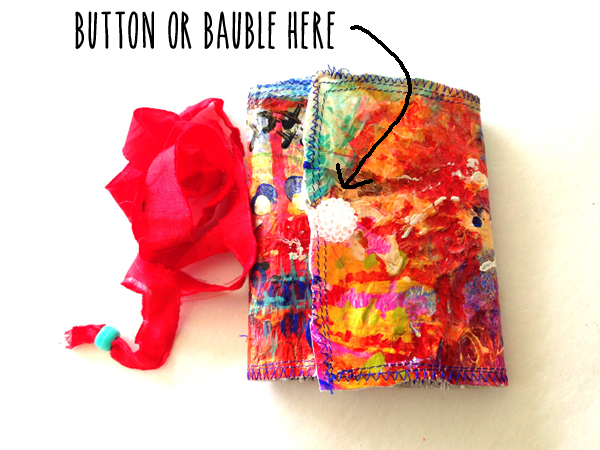
STEP FIVE: Fold in your notebook flaps and mark both sides where you will need to punch a hole for your ribbon tie and button.

STEP SIX: Attach your ribbon and knot. Add a button or bauble on second flap. Fold & Wrap!

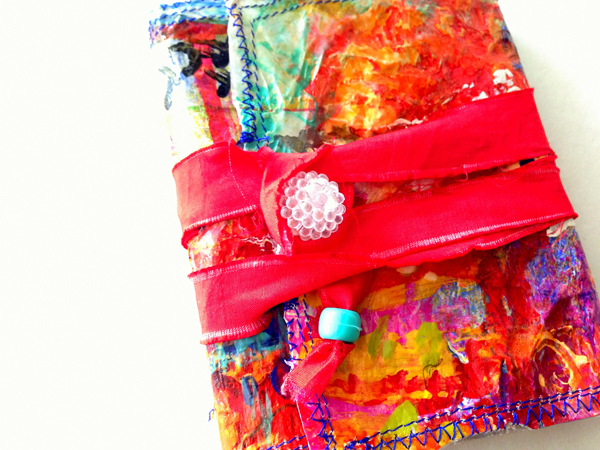
What a pretty little notebook to pull out of your bag for all those LITTLE NOTES AND LISTS. And the best part? It is recycled!
Enjoy!

I am loving all my pen pals these days! I am putting together a mailart swap so I can learn a little more about my fellow artists all over the world. Interested? Leave me a note in the comment section and subscribe to this thread so that I can notify you with all the detail ---> COMING SOON!

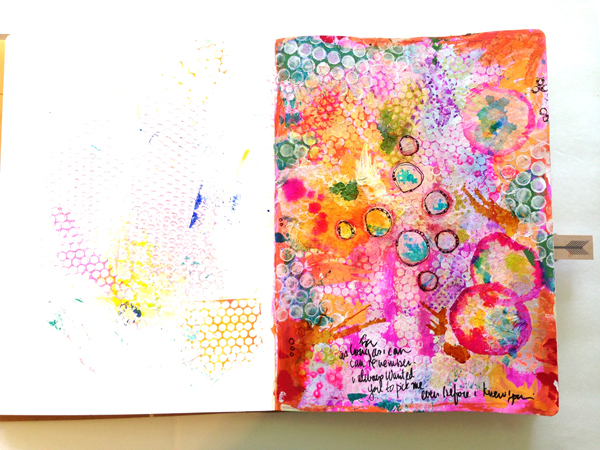
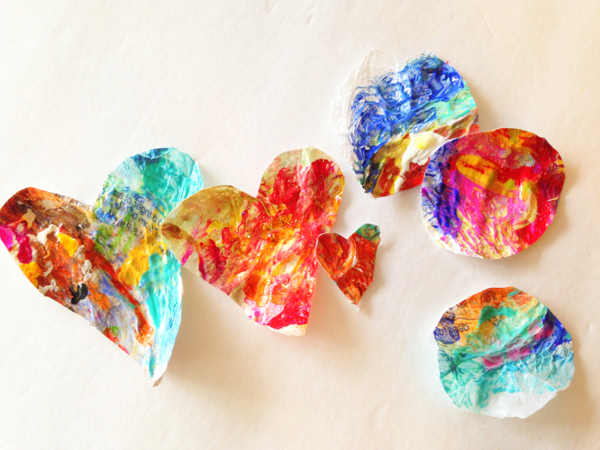
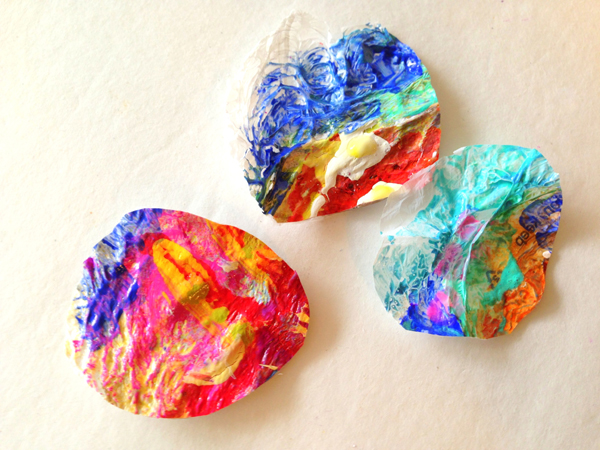
I make a lot of collage pieces to use in my art journals, but lately I am hooked on these pretty pieces. They are so full of wonderful texture and color. Since I have had so many questions about them I decided to do a little tutorial.
SUPPLIES YOU WILL NEED:
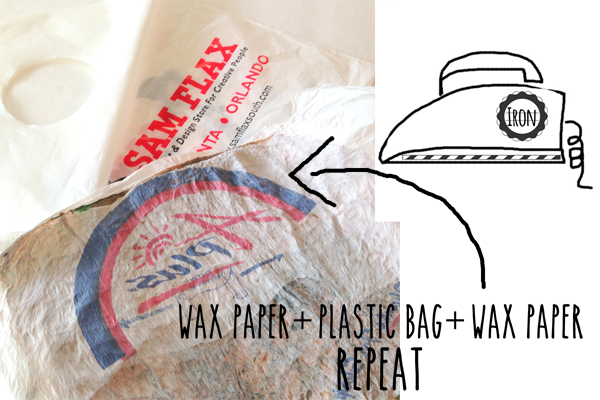
<--- plastic bags and wax paper
<--- towel to protect your surface
<--- iron and ironging board or flat surface
<--- inks paints and gesso
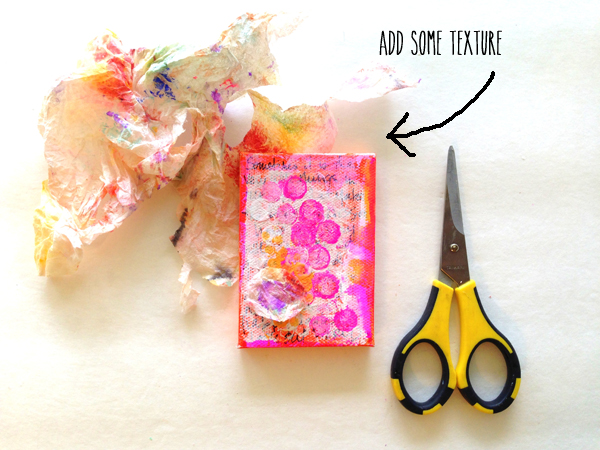
STEP ONE: Cut bottom seams and handles off of your plastic bags. Lay a towel on ironing surface to protect it, followed by a piece of wax paper that is larger than your plastic bag. Next, lay out one plastic bag ( print side in to protect your iron ) followed by another sheet of wax paper. Iron. Continue layering and ironing until you have a four to eight ply stack. Add a final piece of wax paper to your stack and iron one last time.
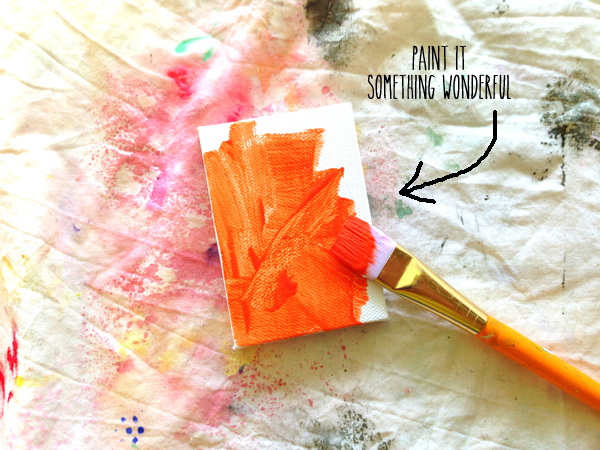
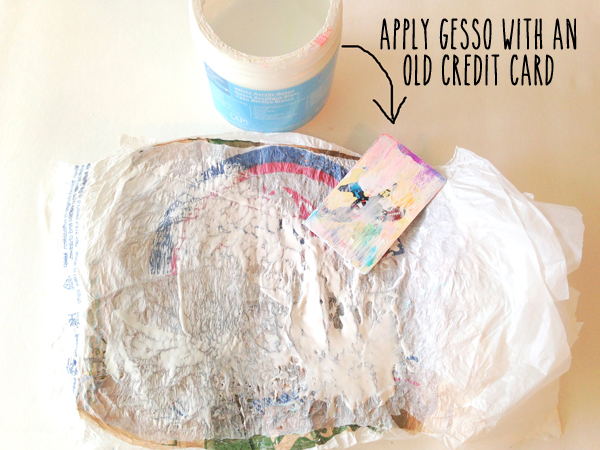
STEP TWO: Apply a layer of gesso to your finished plastic canvas. Use an old credit card to move the gesso around. Let dry completely.
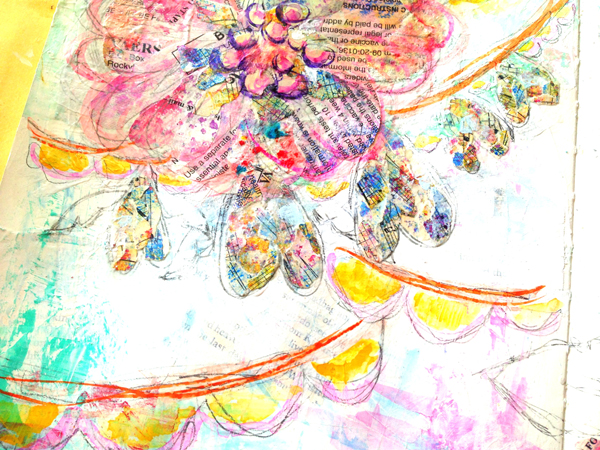
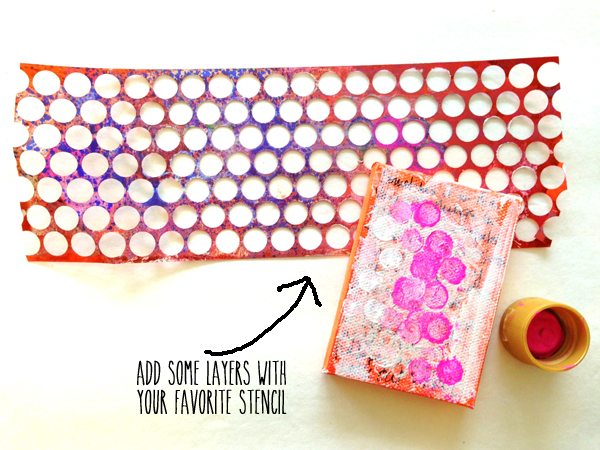
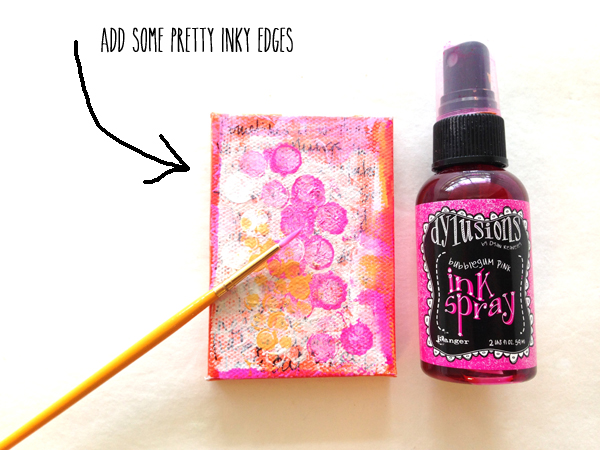
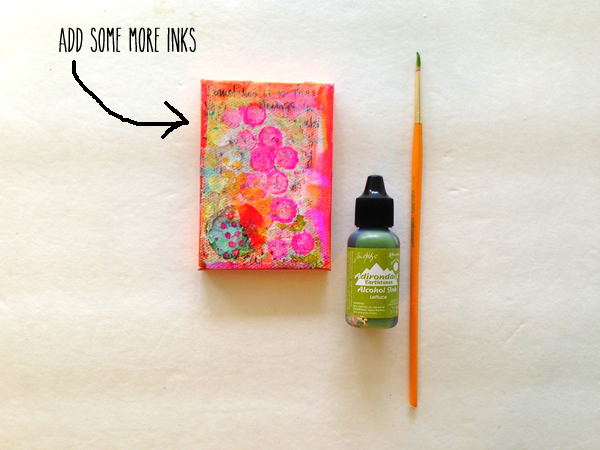
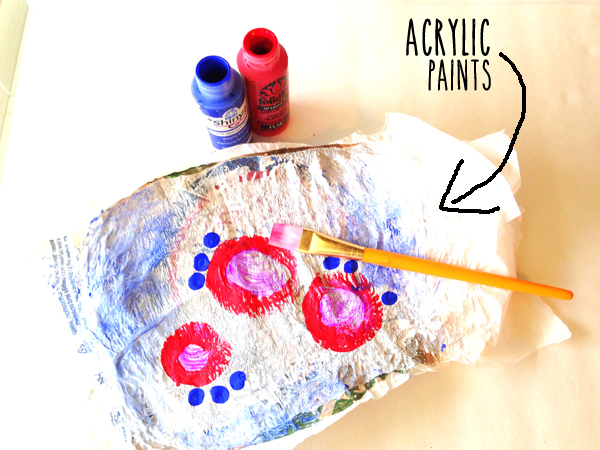
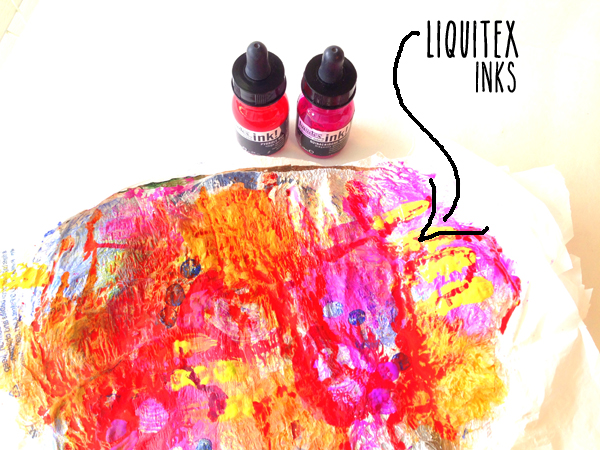
STEP THREE: Start layering your canvas with inks and paints. Spray, brush or dab on your colors to create dimension and color, making sure to let each coat dry completely before adding another layer.
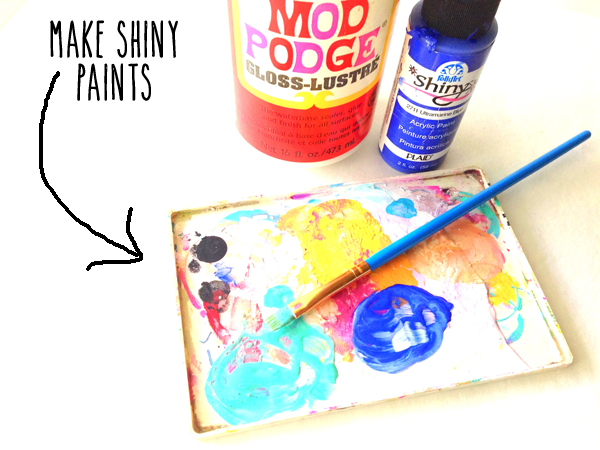
You can mix a little glossy mod podge with your favorite acrylic paints to create a beautiful color that dries with a shine.
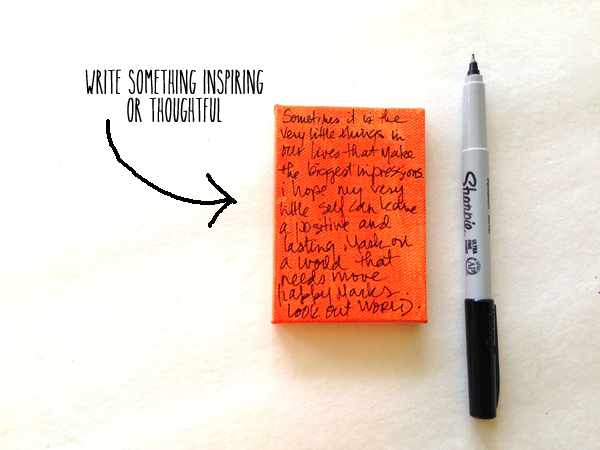
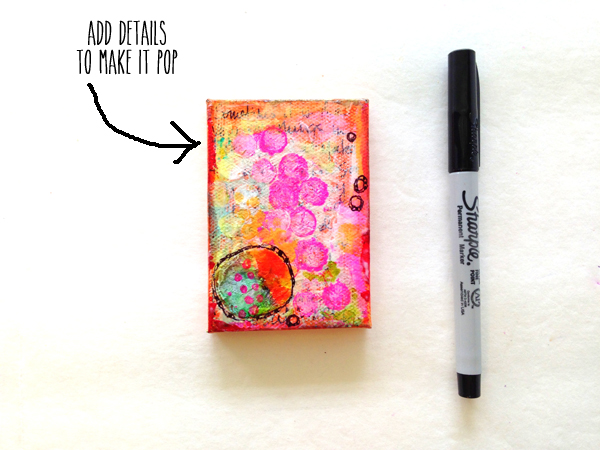
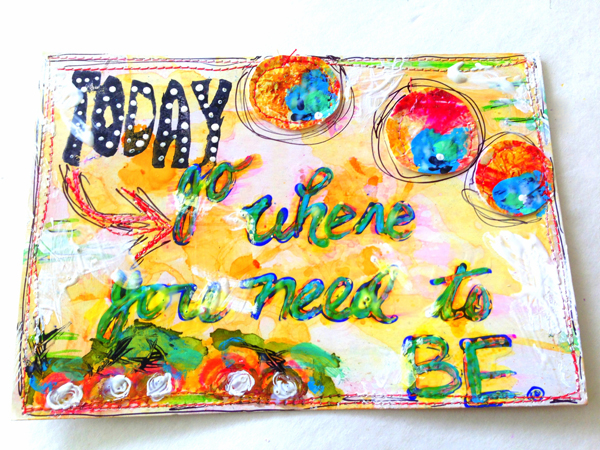
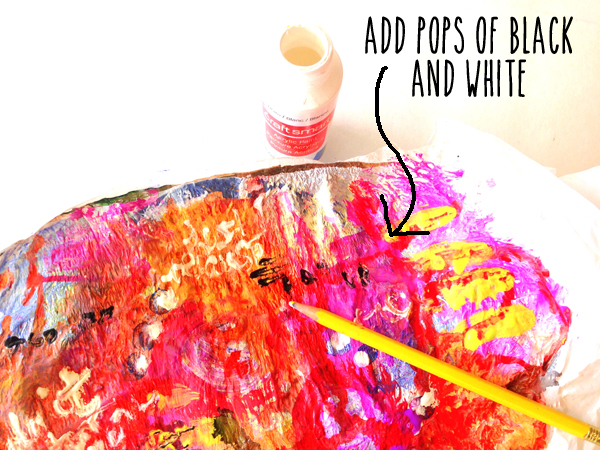
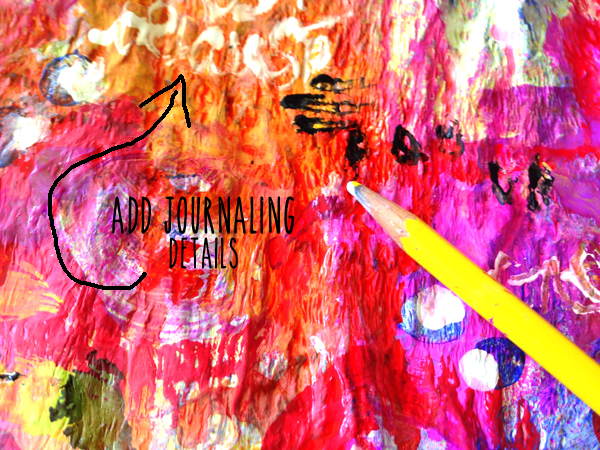
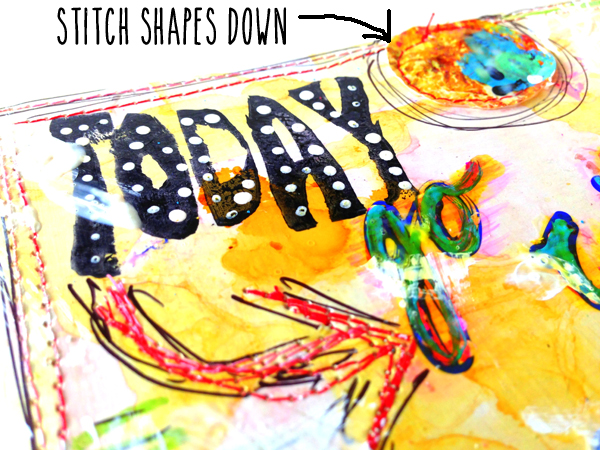
STEP FOUR: Add pops of white and black using a fine tipped brush or the end of a pencil. Add inspiring words or phrases.
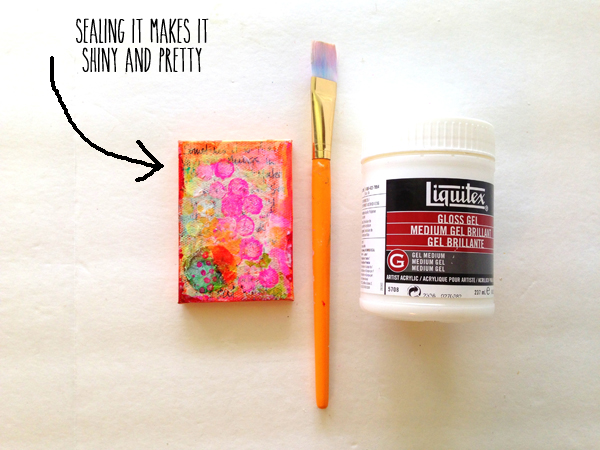
STEP FIVE: After your PLASTIC FUSED CANVAS has dried completely, add a final coat of glossy gel medium or mod podge. Let dry. Now your canvas is ready to cut into shapes.
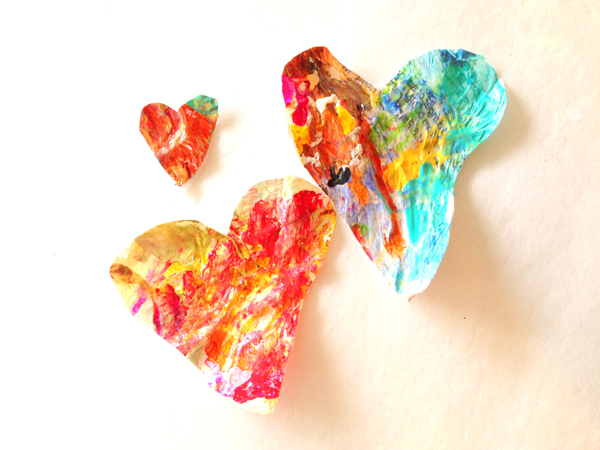
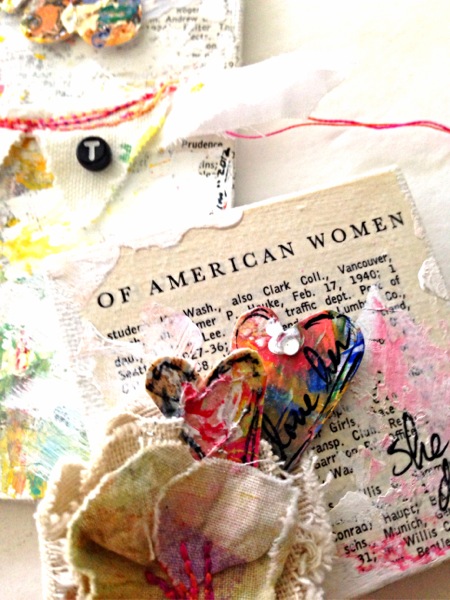
They look so pretty stitched to your favorite card or journal page.
Look for another cool way to use your PLASTIC FUSED CANVAS soon!
Pretty Bible Covers using re-purposed vintage quilt blocks are on the worktable today!

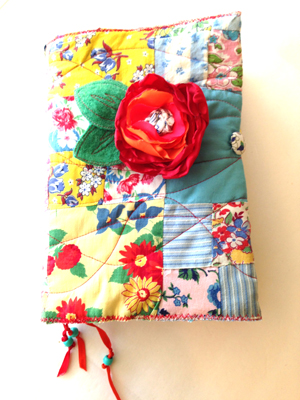

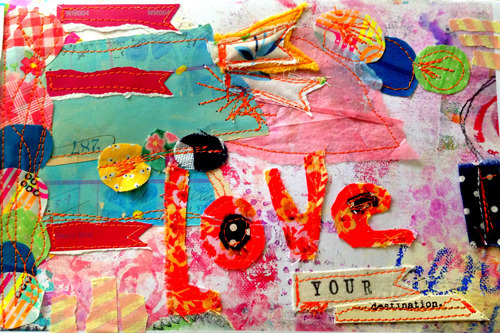
It has been so absolutely crazy busy around here - but the good kind. The good kind of busy where you have to build posts for your blog ahead of time just so your three readers don't leave town and forget about you. In the middle of all that busy though, I had to have a few moments of creative time and this is what happened. LOVE YOUR DESTINATION mailart.
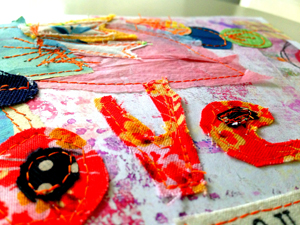

Of course, like all things, I had to use some cool recyclables on this pretty piece. I started with a simple print of my latest canvas, adding paint chips, fabric scraps, cupcake papers, washi tape circles, painted tissue paper and more....oh and lots and lots of stitching! Enjoy your Summer, wherever your destination may be!

Mailart, art journal, live the repurposed life | Email Article | Permalink