Monday
Jun242013
sneak peek: mail art tags

Using my new favorite go to texture addition - paper towels. Learn more about it and make a cool journal using this technique here! Enjoy!


Using my new favorite go to texture addition - paper towels. Learn more about it and make a cool journal using this technique here! Enjoy!

Experimenting with color. Playing with food coloring and paint, paper towels and gel medium.

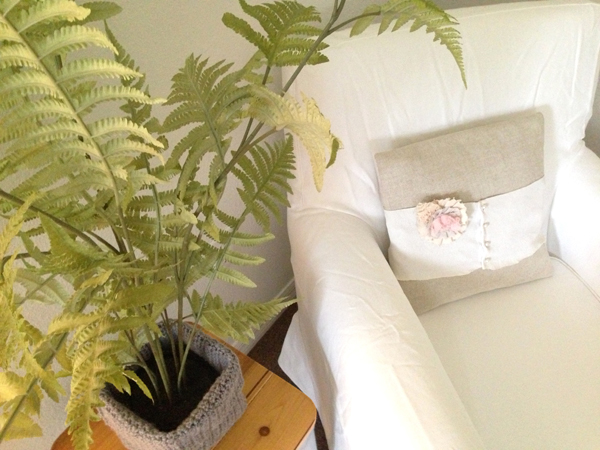
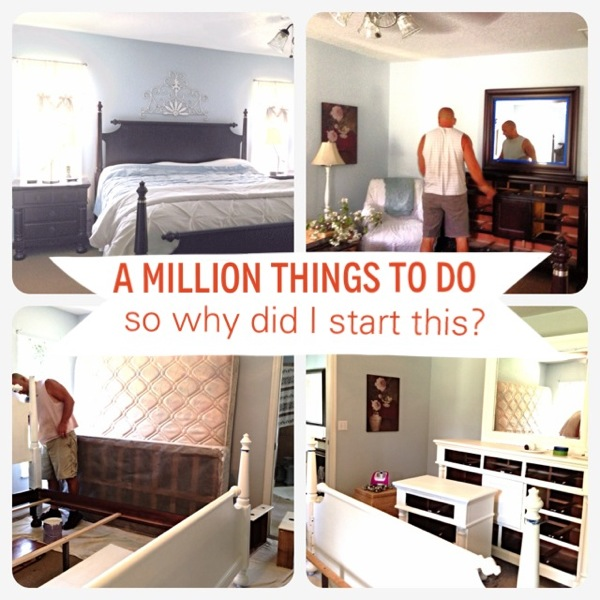
I know I have been absent lately, but summer is here and that means the kids are home and projects are in motion. You might have read here that I am in the middle of a bedroom makeover - part of decorating on a dime, shopping your home. In keeping with that I am making some new pillows for part of the redo. This one is my favorite so far!
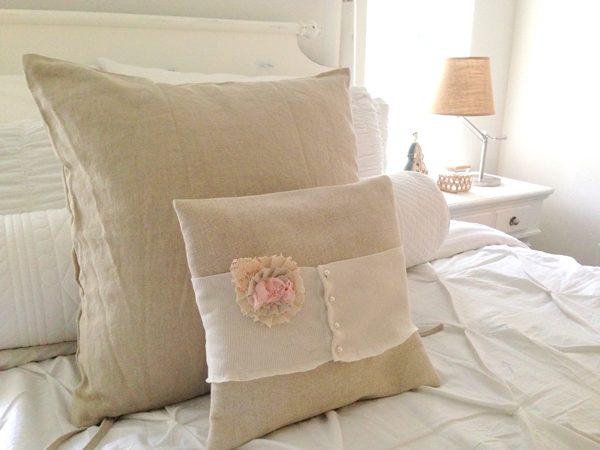
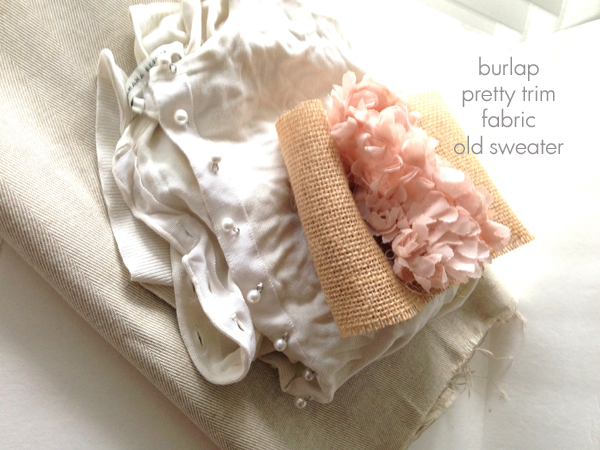
By the way - this is a sneak peek at part of the bedroom redo in progress...more to come soon. This pillow was super easy and fast. Here's how you can make one. Gather your supplies.
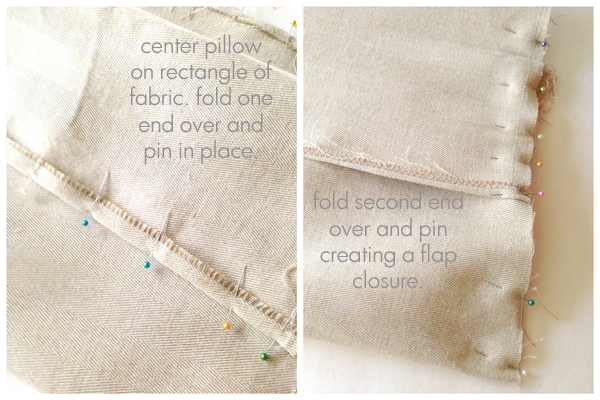
How much you need of each fabric will vary according to your pillow insert. Mine was 14" square. This was a quick and unorthodox way to make a pillow cover so tweak it to your needs as you see fit. You will need a long rectangle of fabric. One that will fold over and cover your pillow, twice. HEM SHORT ENDS OF FABRIC FIRST. Next, lay out your long rectangle of fabric and place your pillow just off center. Fold fabric over and line up sides and pin. Your pillow now looks as if you stuffed it into an envelope. Fold second end of fabric over, line up sides and pin almost all the way to the top, leaving just enough room to slip pillow out. This is an extra step to ensure our pillow flaps look good. Feel free to skip it if you have made one like this before.
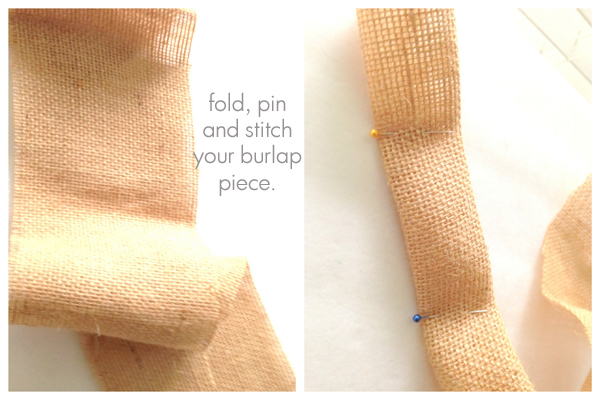
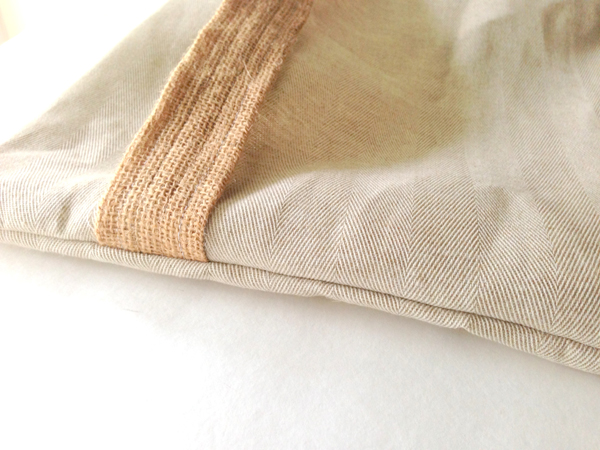
Don't sew yet. Next grab your burlap and fold a rectangular piece in half once and then again. This piece will need to be as long as your outside facing pillow flap. Pin and stitch down each side.
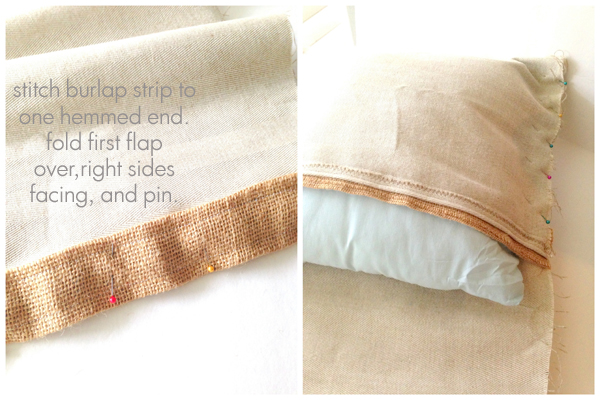
Carefully remove pins (you will have to repin later, but this ensures are flaps are positioned correctly) and pin your finished burlap strip to one short hemmed end of your fabric. Next reposition your pillow and repin with RIGHT SIDES FACING. It should look like this so far.
Fold second flap over (this one should have no burlap edge) and line edges up. Pin one side and carefully remove pillow insert. Pin second side and stitch up both sides, being careful to reinforce where your two flaps overlap. Turn right side out. This is what you should have now.
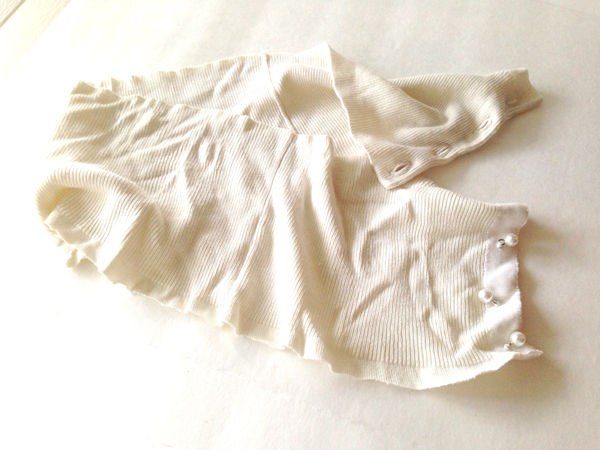
Next take your sweater and cut the bottom band off, keeping it as wide as you would like. My sweater had a ribbed band and so I had a nice guideline to follow, making it approximately 5 inches wide. Be careful when cutting to cut the exact amount of buttons and buttonholes that line up.
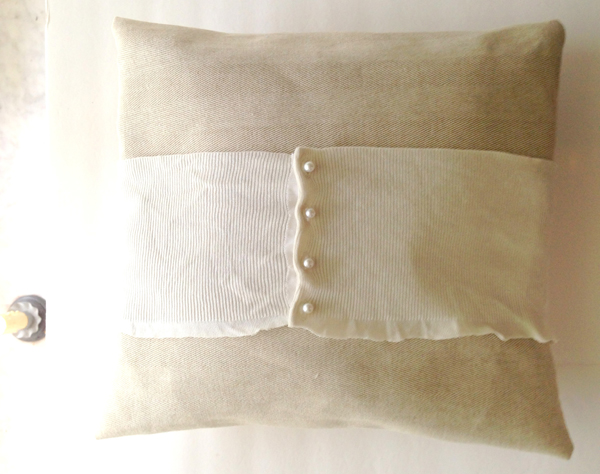
Now stuff your pillow insert into your new pillow cover and button your sweater band around it. I used the burlap as a guide, leaving that showing on the back for contrast.
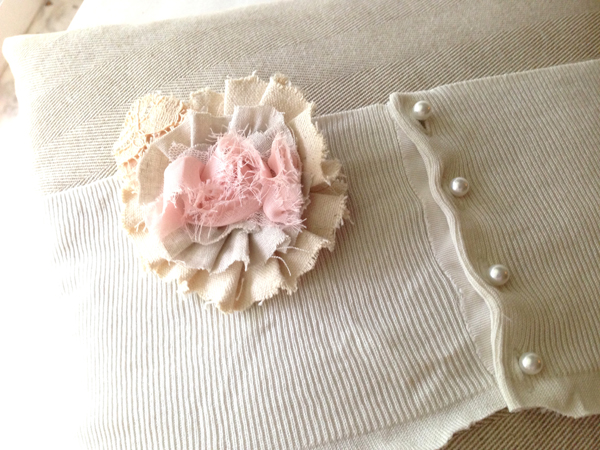
All done! You can add an embellishment if you like. I made a little brooch out of leftover scraps of duckcloth, linen and lace. Lovely!
Once again, a pretty re-purposed project. AND we are decorating on a dime! Yea! Oh! And if you want to make one of these sweet crocheted baskets you can find a pattern here!

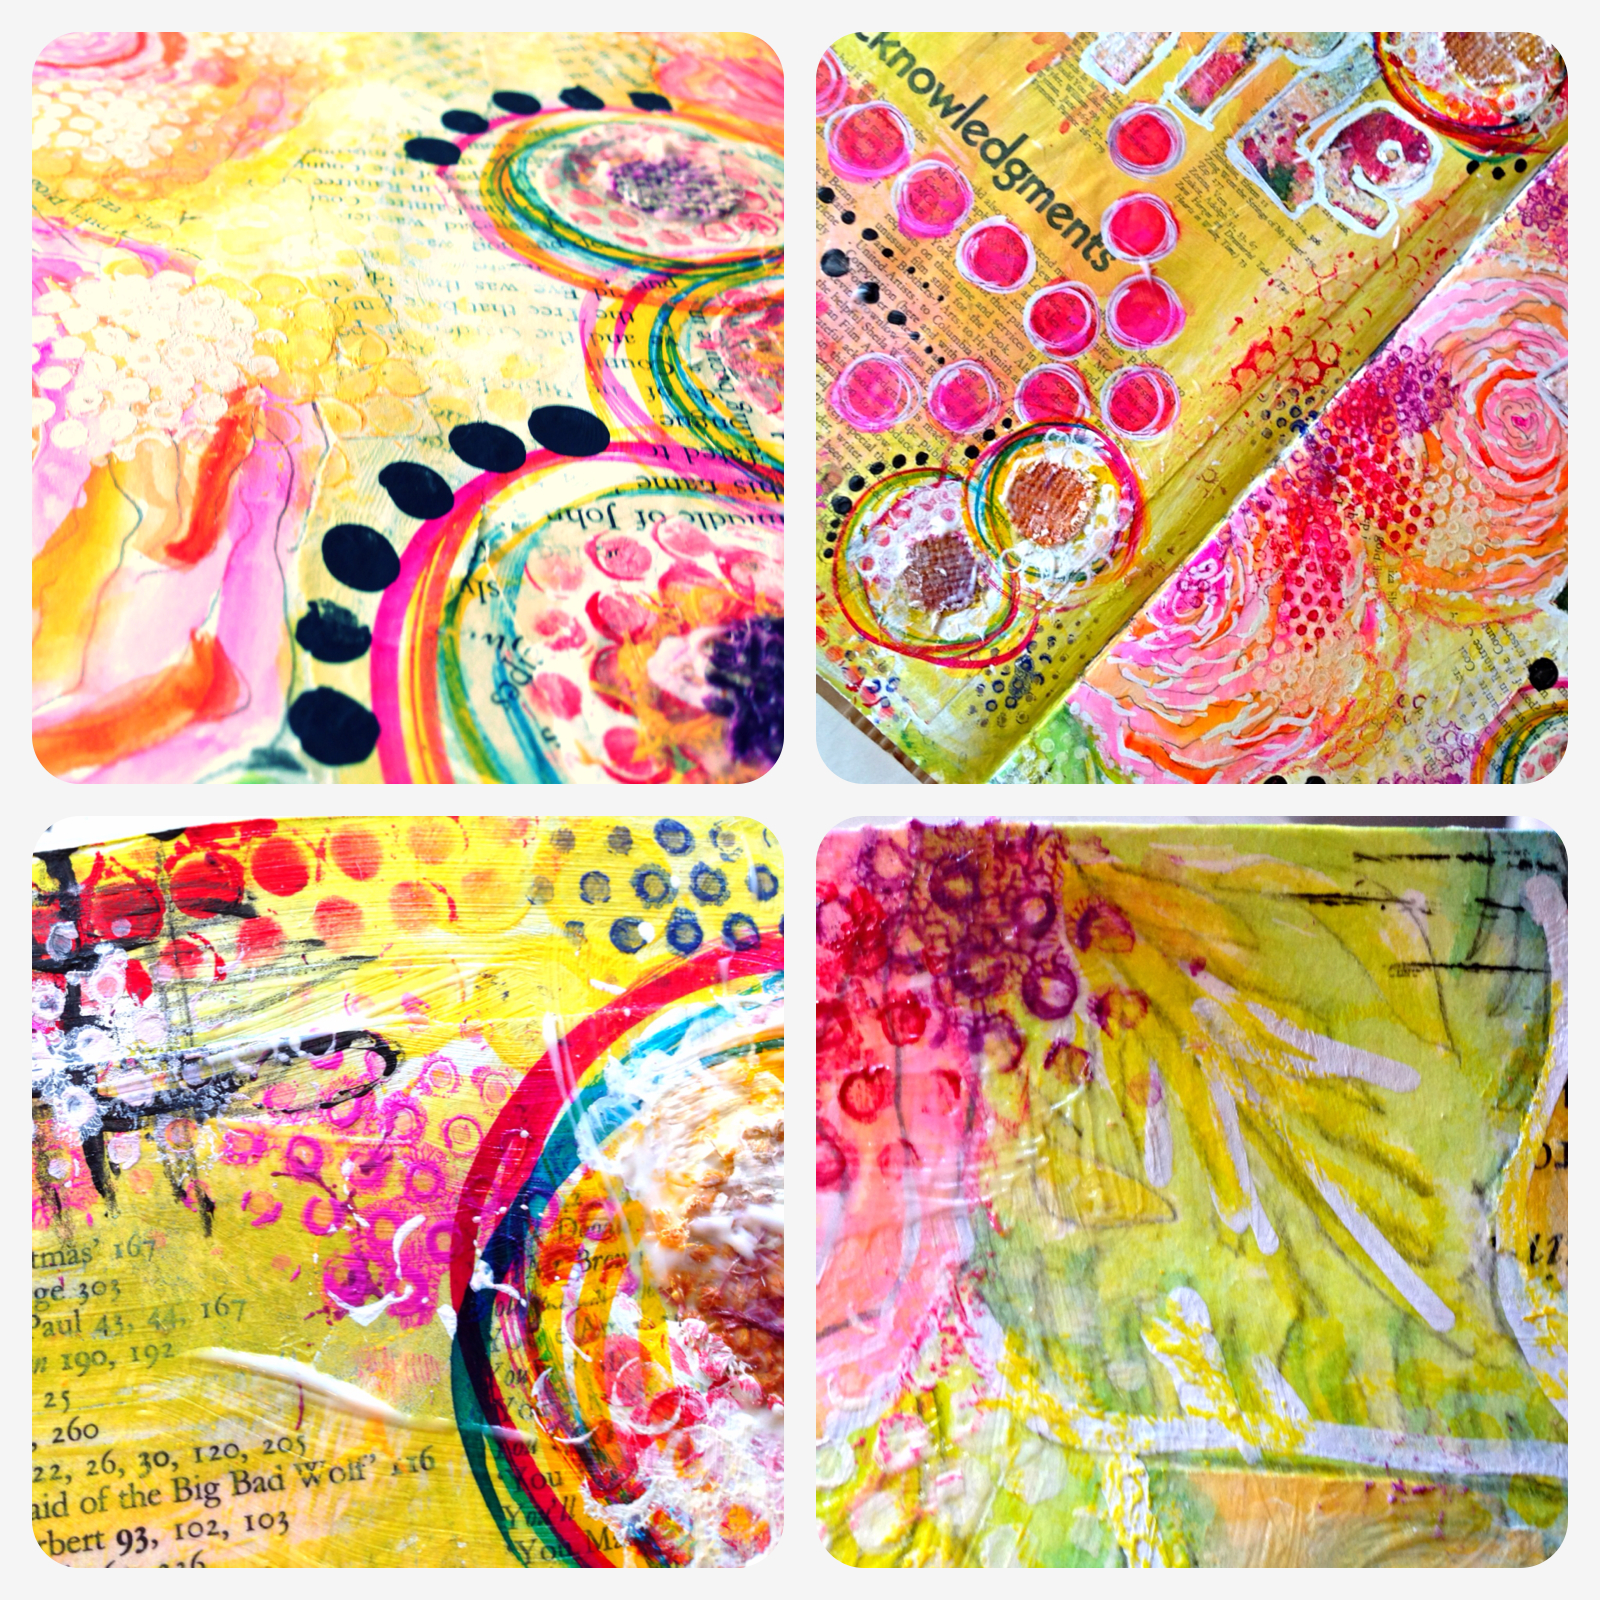
Combining a little book paper, some sketching and inks, upcycled stencils and a white out pen.

 art journal, art stuff, sneak peek | Email Article | Permalink
 As part of my yearly goal to decorate on a dime I am trying to shop my home and create things that I would normally buy. I loved these pretty crocheted baskets but had to stick to budget on my bedroom makeover so I decided to google a pattern instead.
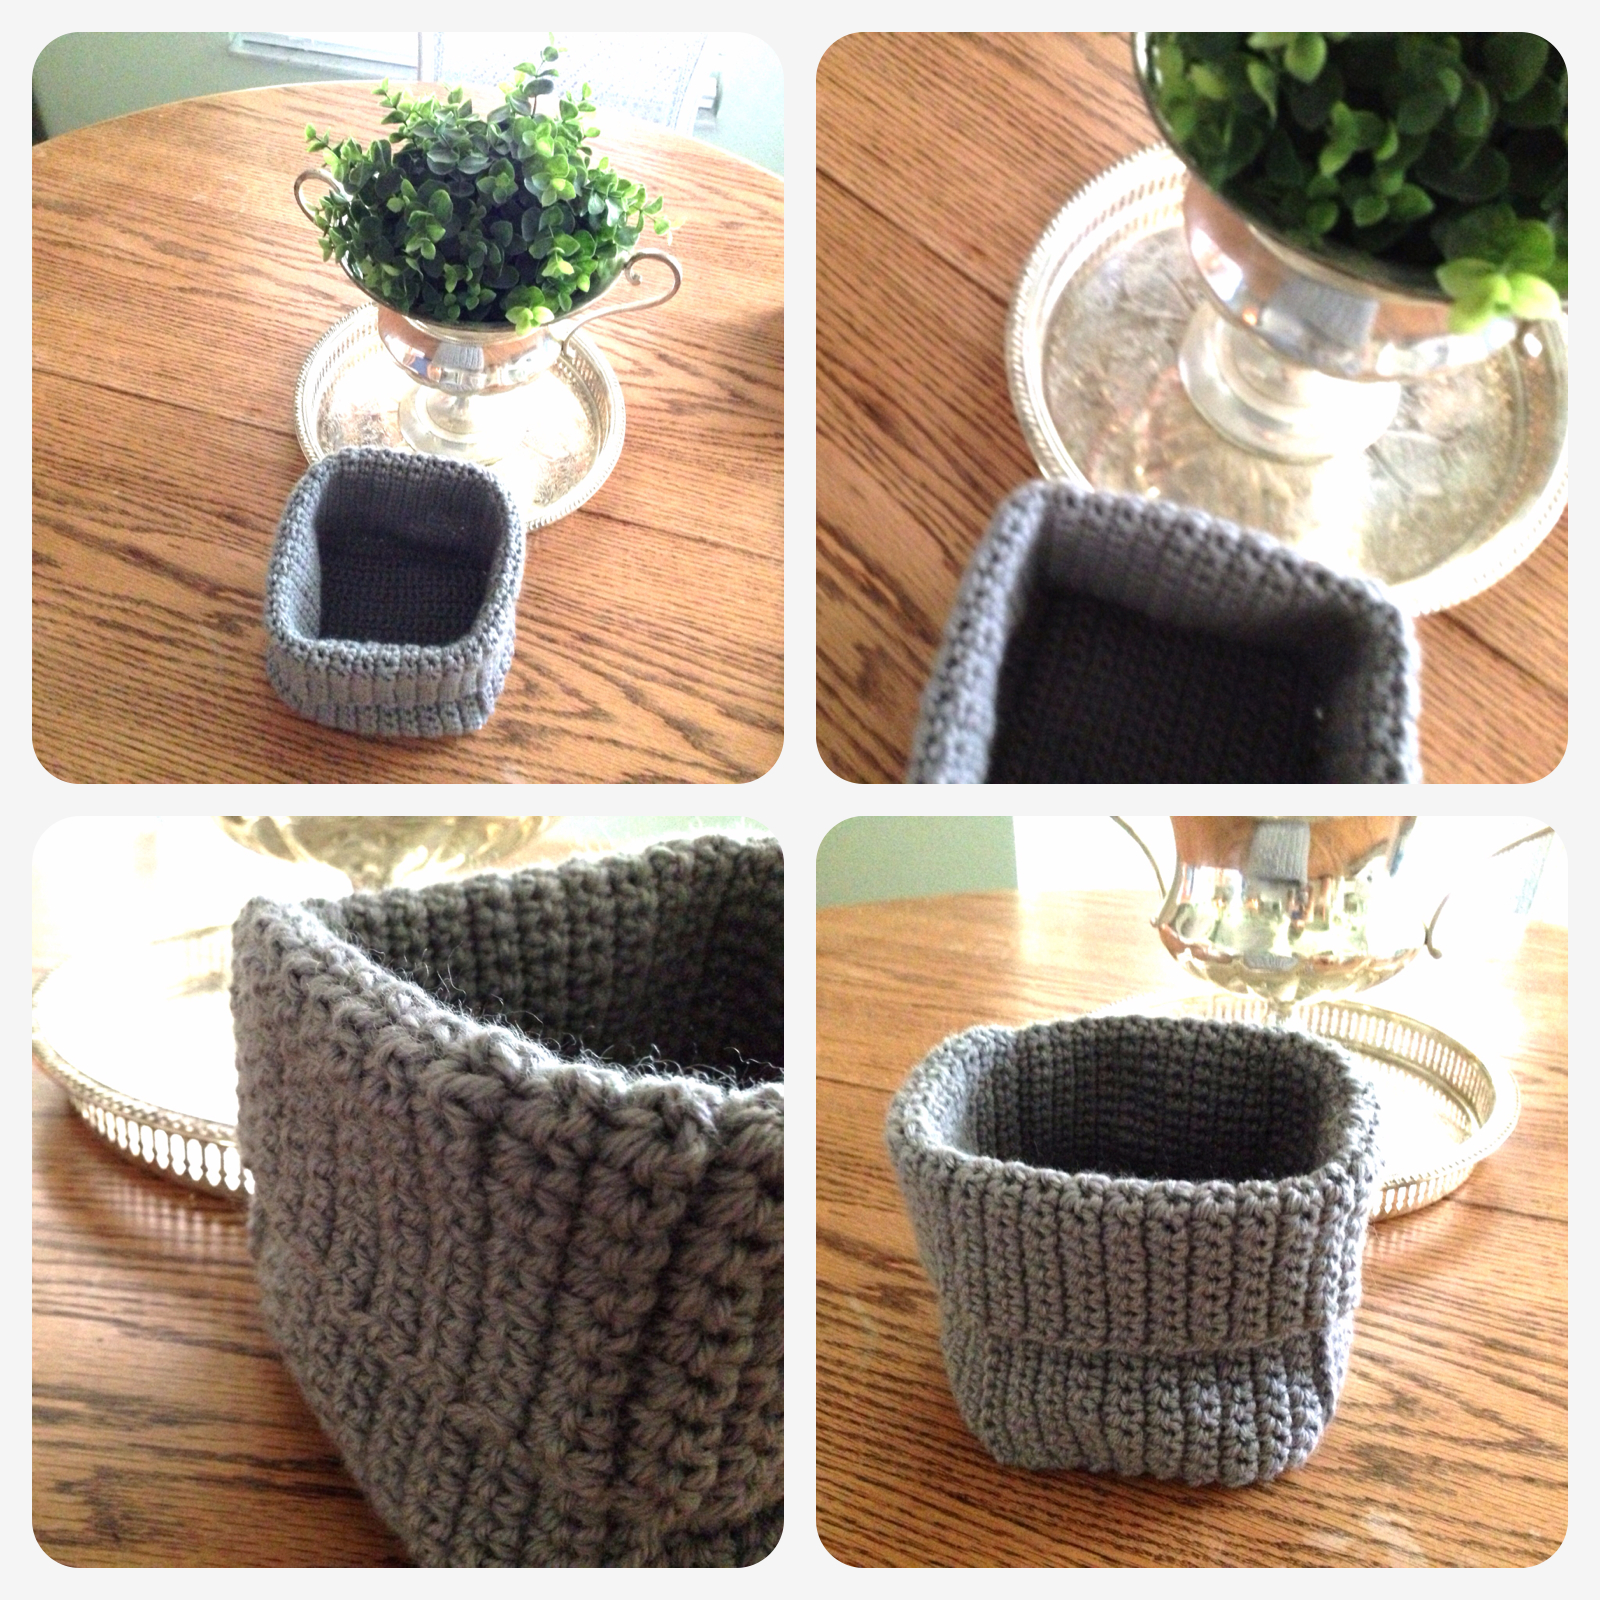
I feel I should mention I am not a seasoned crocheter! I am self taught and I can tell you practice makes perfect. This was a very simple to follow pattern and at no point frustrating. I haven't added the fabric stiffener yet per the instructions, but I still might. I really wanted this basket to remain soft looking and I am worried the stiffener will change that look. We'll see. Anyway- I love it and I think I will make a few more and cluster them together on a nightstand or desk to keep things clutter free!
It's official - ! School is out as of today and Summer has started for us! Yippee! It might mean a little less time for me to get things done around the blog, but...

I can't wait to just have some downtime with the kiddos - we are talking about walks at the lakefront, board game marathons, races in the pool and movie nights. Pure bliss.

...I get a wild hair once in awhile. Okay, often. I get a wild hair often. What else can I say? Stay tuned...


vision challenge. travel journals. sketching. new stencil. art journal peek. waiting. projects. collage papers. inspiration board. art journal peek. back door. chevrons. in my bag. my view. flag. night ride. making bags. rainy day. appointments. the end of may.


Currently – I am…
Missing PLAYING THE PIANO. I confess. It has been a long time. I miss it though. I miss my piano. Try as I may, I can not think of one single good reason I ever let myself be talked into selling it. My son has a keyboard, but it just isn't the same thing. Ask a piano player, they'll tell you the same thing. This summer I plan on digging around the local auction houses. Maybe this Fall will find me tickling the ivories once again.
Purging KITCHEN CUPBOARDS. All I really wanted to do was put a piece of tupperware away. One thing led to another, like it always does with me and cupboards and the next thing you know I am pulling ten years worth of stuff out of all the kitchen cupboards and drawers. My church thrift store is going to love me!
Wondering WHERE THE SCHOOL YEAR WENT. How in the world can it be the end of the year already? I swear it was just yesterday we were trying on uniforms and buying twenty five hundred reams of notebook paper. For what it is worth, I am happy to have Summer fast approaching. I love my kids and I miss them during the school year. Alot. I welcome our upcoming downtime together.
Creating WHEN I CAN. If I have said it once I have said it a million and a half times, LIFE HAPPENS AROUND HERE. The minute I get a good momentum going, something blindsides me and I have to go off the art grid for a few days. Do I like it? No. Would I change it? Not if it meant sacrificing family. Nine times out of ten I go off the grid for family. Instead, I pick myself up, dust off my stool and get back to work. Over and over and over again. This workshop, GO GREEN – part of the new 21 Secrets Workshop Series for 2013, has made realize that art can be quick, easy and uplifting - even if I only have a few minutes a day to create.
Offering UP MY WORRIES. I could say this every month. I could say it every day. Without faith I would be lost. There is so much chaos that goes along with having a big family. To say I didn't worry would be a gross understatement, but I do try to remember that it is out of my hands.
Waiting FOR THE RAIN TO STOP. Don't get me wrong- I welcome the rain because lately we have just had too little of it...but...feeding the chickens is a whole lot sweeter chore when the sun is shining!
Listening to THE SOUND OF EVENING. In my house that means a living room turned music hall and the sweet sound of a violin.
Focusing ON MY VISION. I can't see. Really I can't. I have been struggling with a new type of lens that my body seems to want to reject. Today I learned that the only alternative might be to wear two lenses in each eye. Yuk. I came home with them in my eyes. Double Yuk. They hurt, they make my eyes feel dry and I still can't see perfectly well. Two weeks from now may find a new solution. I hope.
Sorting THROUGH MY PAINT STASH. Not my art paint. My house paint, and yes I do have a stash. Don't ask. I feel the need coming on to paint something. I broke the ice today with my better half and he seemed open to my newest hairbrained idea. I hope he still feels that way come Saturday. Fingers crossed.
Learning THAT SKETCHING DOESN'T GET EASIER. At least not for me. I have had not one, but two great teachers and I still am struggling. It is just plain hard for me. I am going to keep at it. I don't want to give up yet, but I so hope something happens in the way of maybe a fairy granting three wishes. I know what one of them will be.
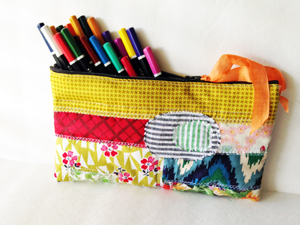
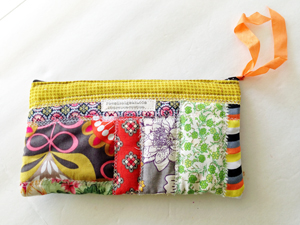
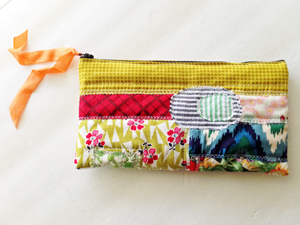
Sewing NEW SCRAP BAGS. Not bags you keep scraps in, but bags made with scraps. I can't part with all of the those pretty little pieces at the end of a big project, so the scrap bags were born. I am having fun with a new look, but will continue to sew the ruffley bags too. Here are a few other ways I used old scraps! ---> look at how pretty this one is. And this one too! Old quilts have been finding new uses here too, as pretty, quilted bible covers.
Loving MY NEW PHONE. It has been a long time coming and I am so happy to just finally have a phone that works all the time. I am addicted to all of those awesome new photo editing apps and have to limit how much time I allow myself to play each day.

Collected a bunch of new scraps and busy working on a whole lot'a sewing this week!