Roben-Marie Smith

Roben-Marie Smith


THIS AND OTHER  PRODUCTS AVAILABLE AT

       IS A REGISTERED TRADEMARK


 sandi-keene

Roben-Marie Smith

Blog Index
The journal that this archive was targeting has been deleted. Please update your configuration.

Entries from June 1, 2013 - June 30, 2013

Thursday
Jun272013

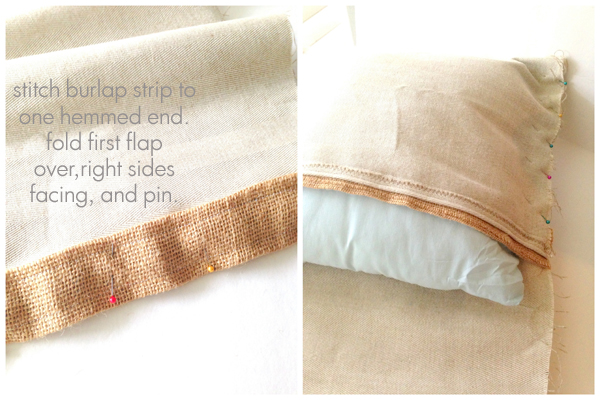
on the worktable: memory keeping & pocket pages

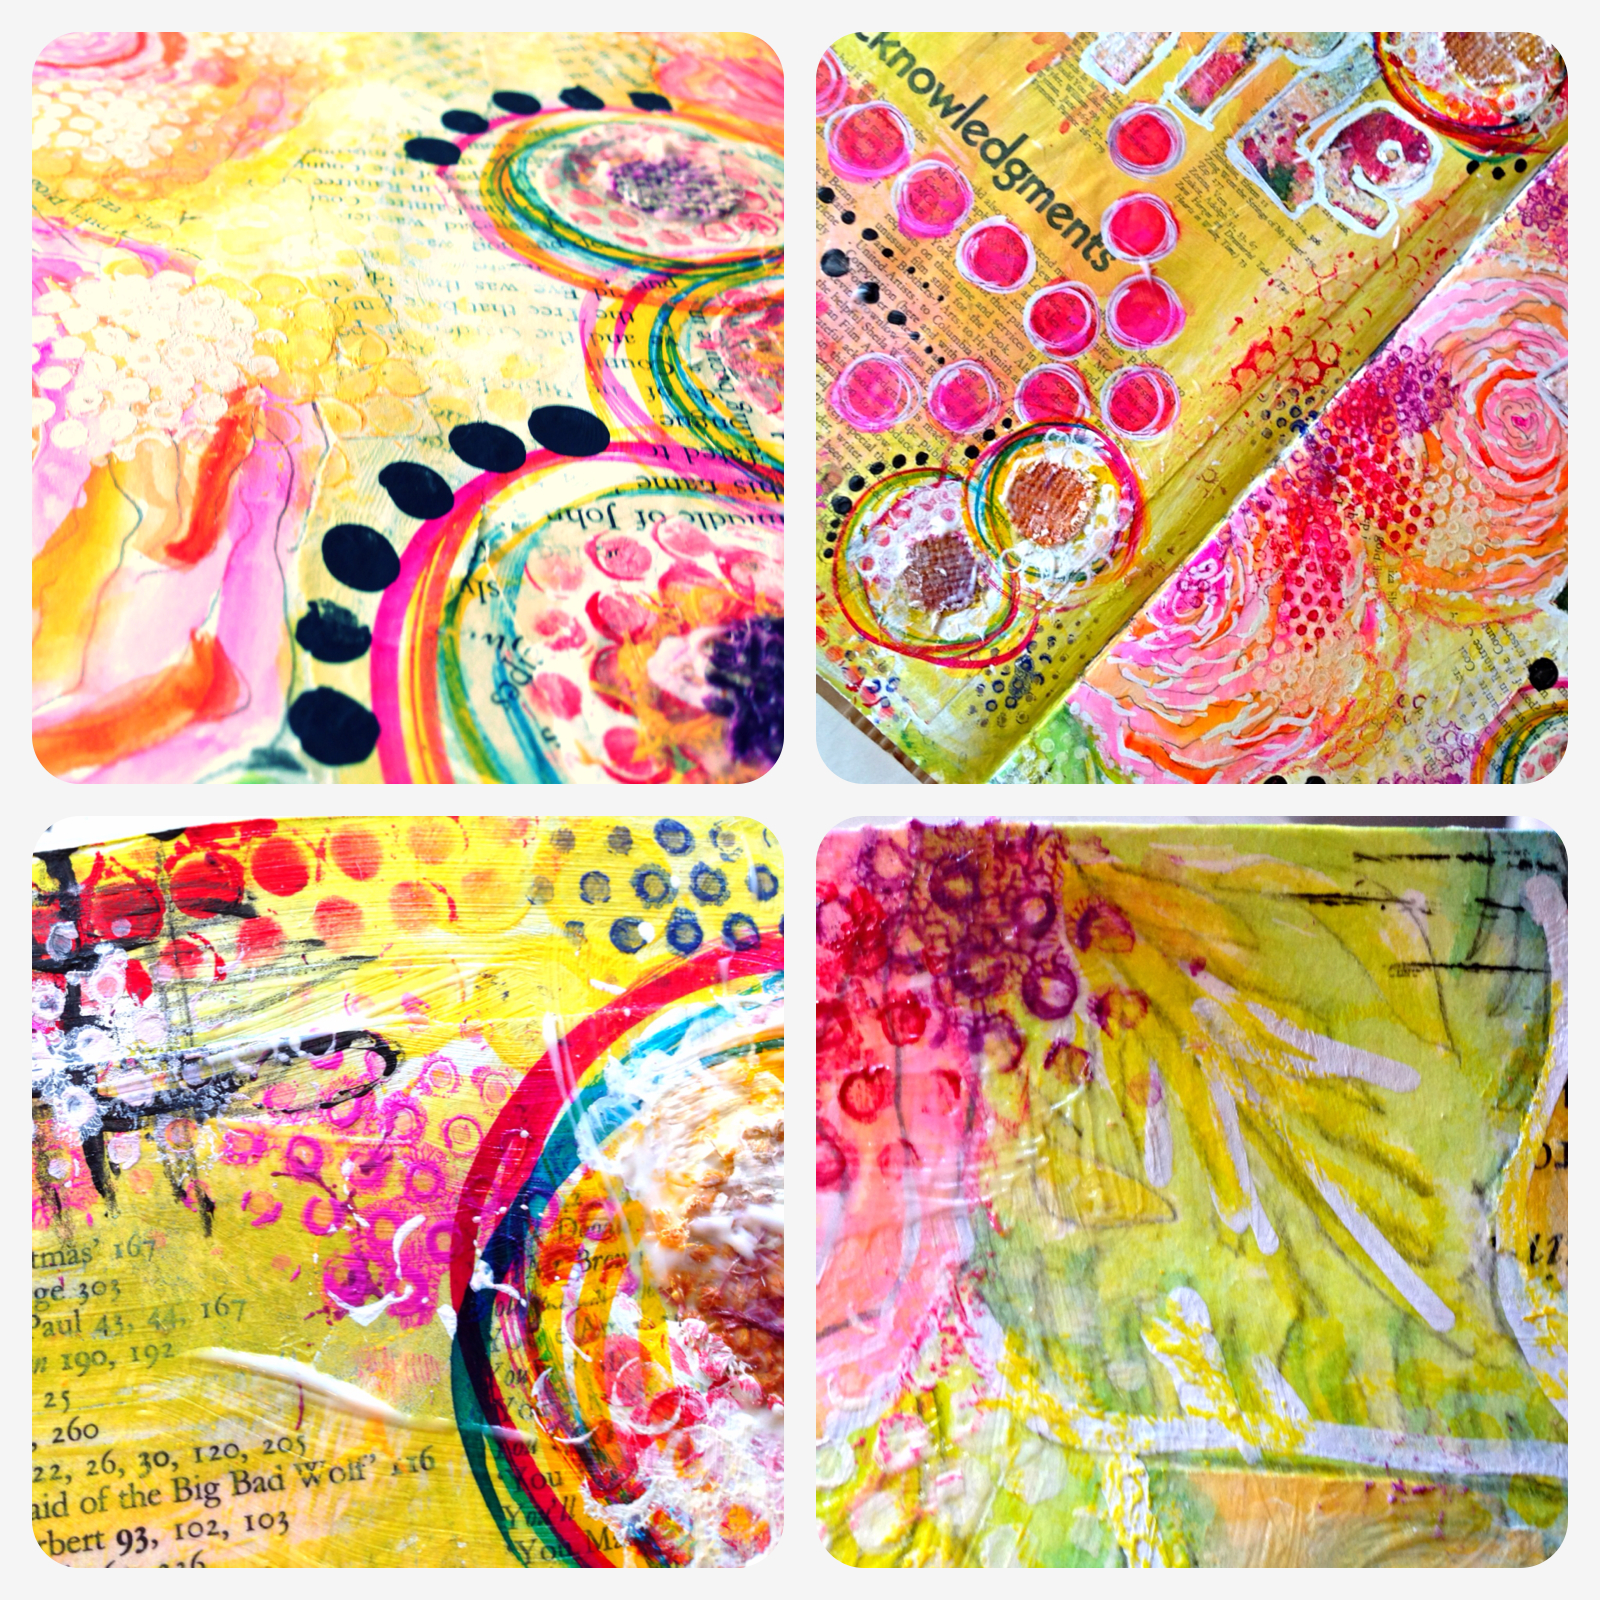
Making memories are the one most important things for a family and I love to document them. I found my way into mixed media art through good old fashioned scrapbooking. My problem with a layout was dimension. ONE doesn't cut it for me, so my pages ended up thick and expensive. Layer after layer after layer, but I loved my pages. In keeping with my budget for this year, I am trying something new that will save a bundle in money and time.

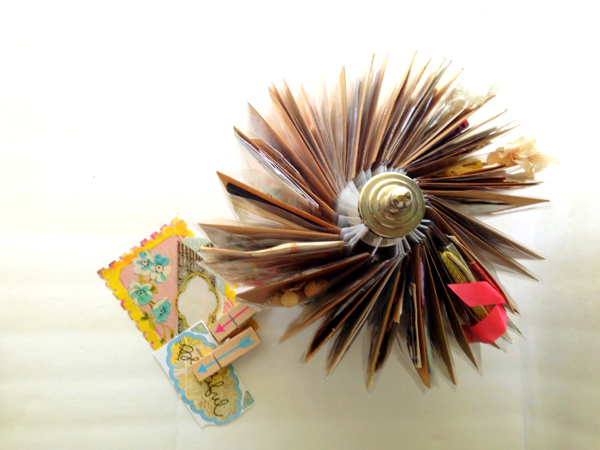
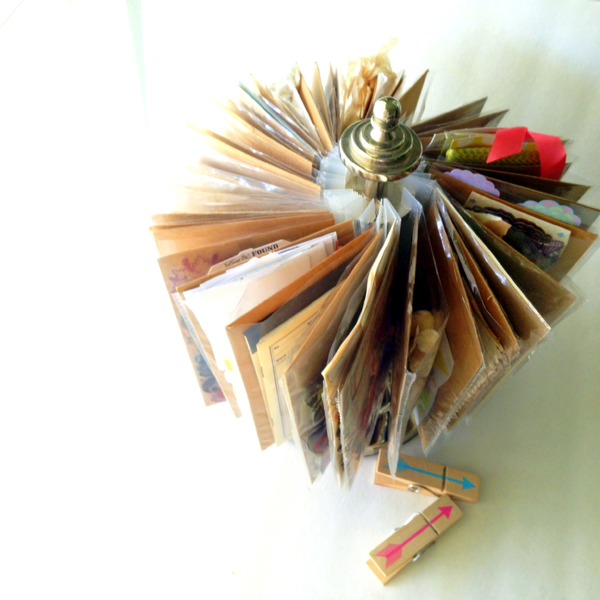
I really fell in love with the idea of assorted pocket sizes when I took Ali Edwards class One Little Word, so when I found these sleeve protectors by me & my big ideas I knew I would love this system style. I could save money without sacrificing layers because I would be working on a smaller scale.


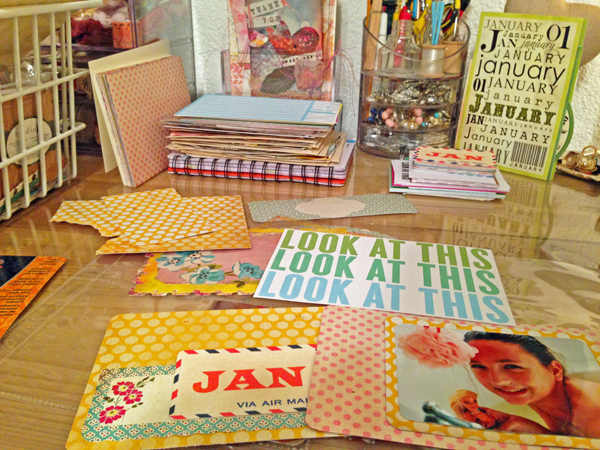
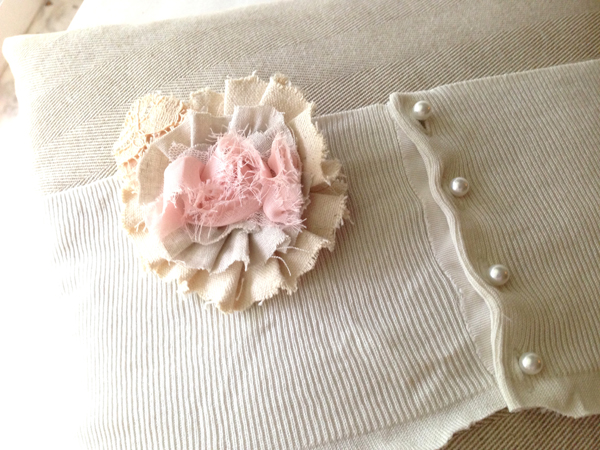
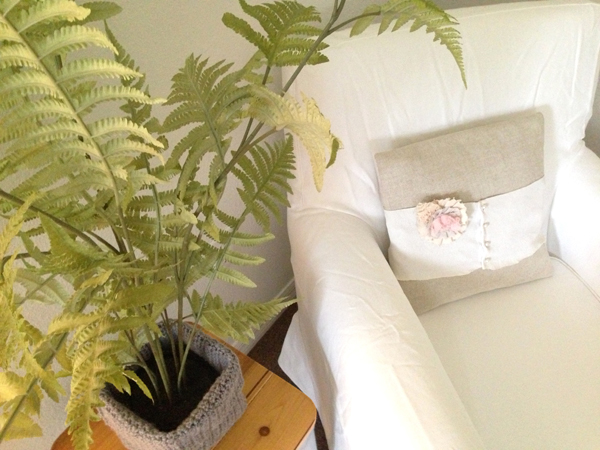
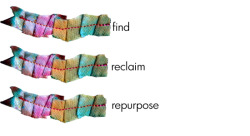
I am loving mixing up photos with plain blocks of journaling or an oversized word that says it all. I am loving using up scraps that I haven't been able to part with because they are just too pretty! And I am loving getting a months  worth of memories down and ready to read in such short bursts of time.


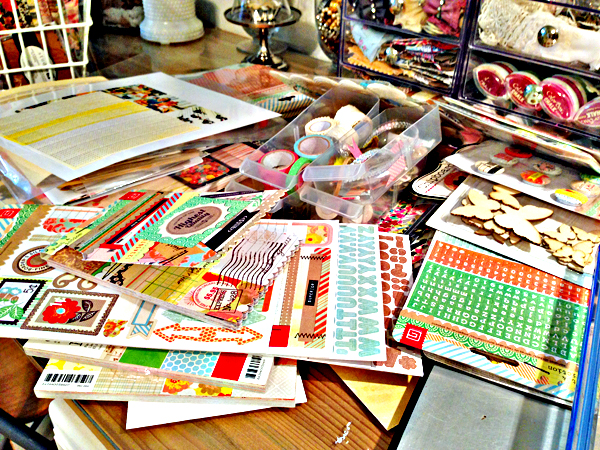
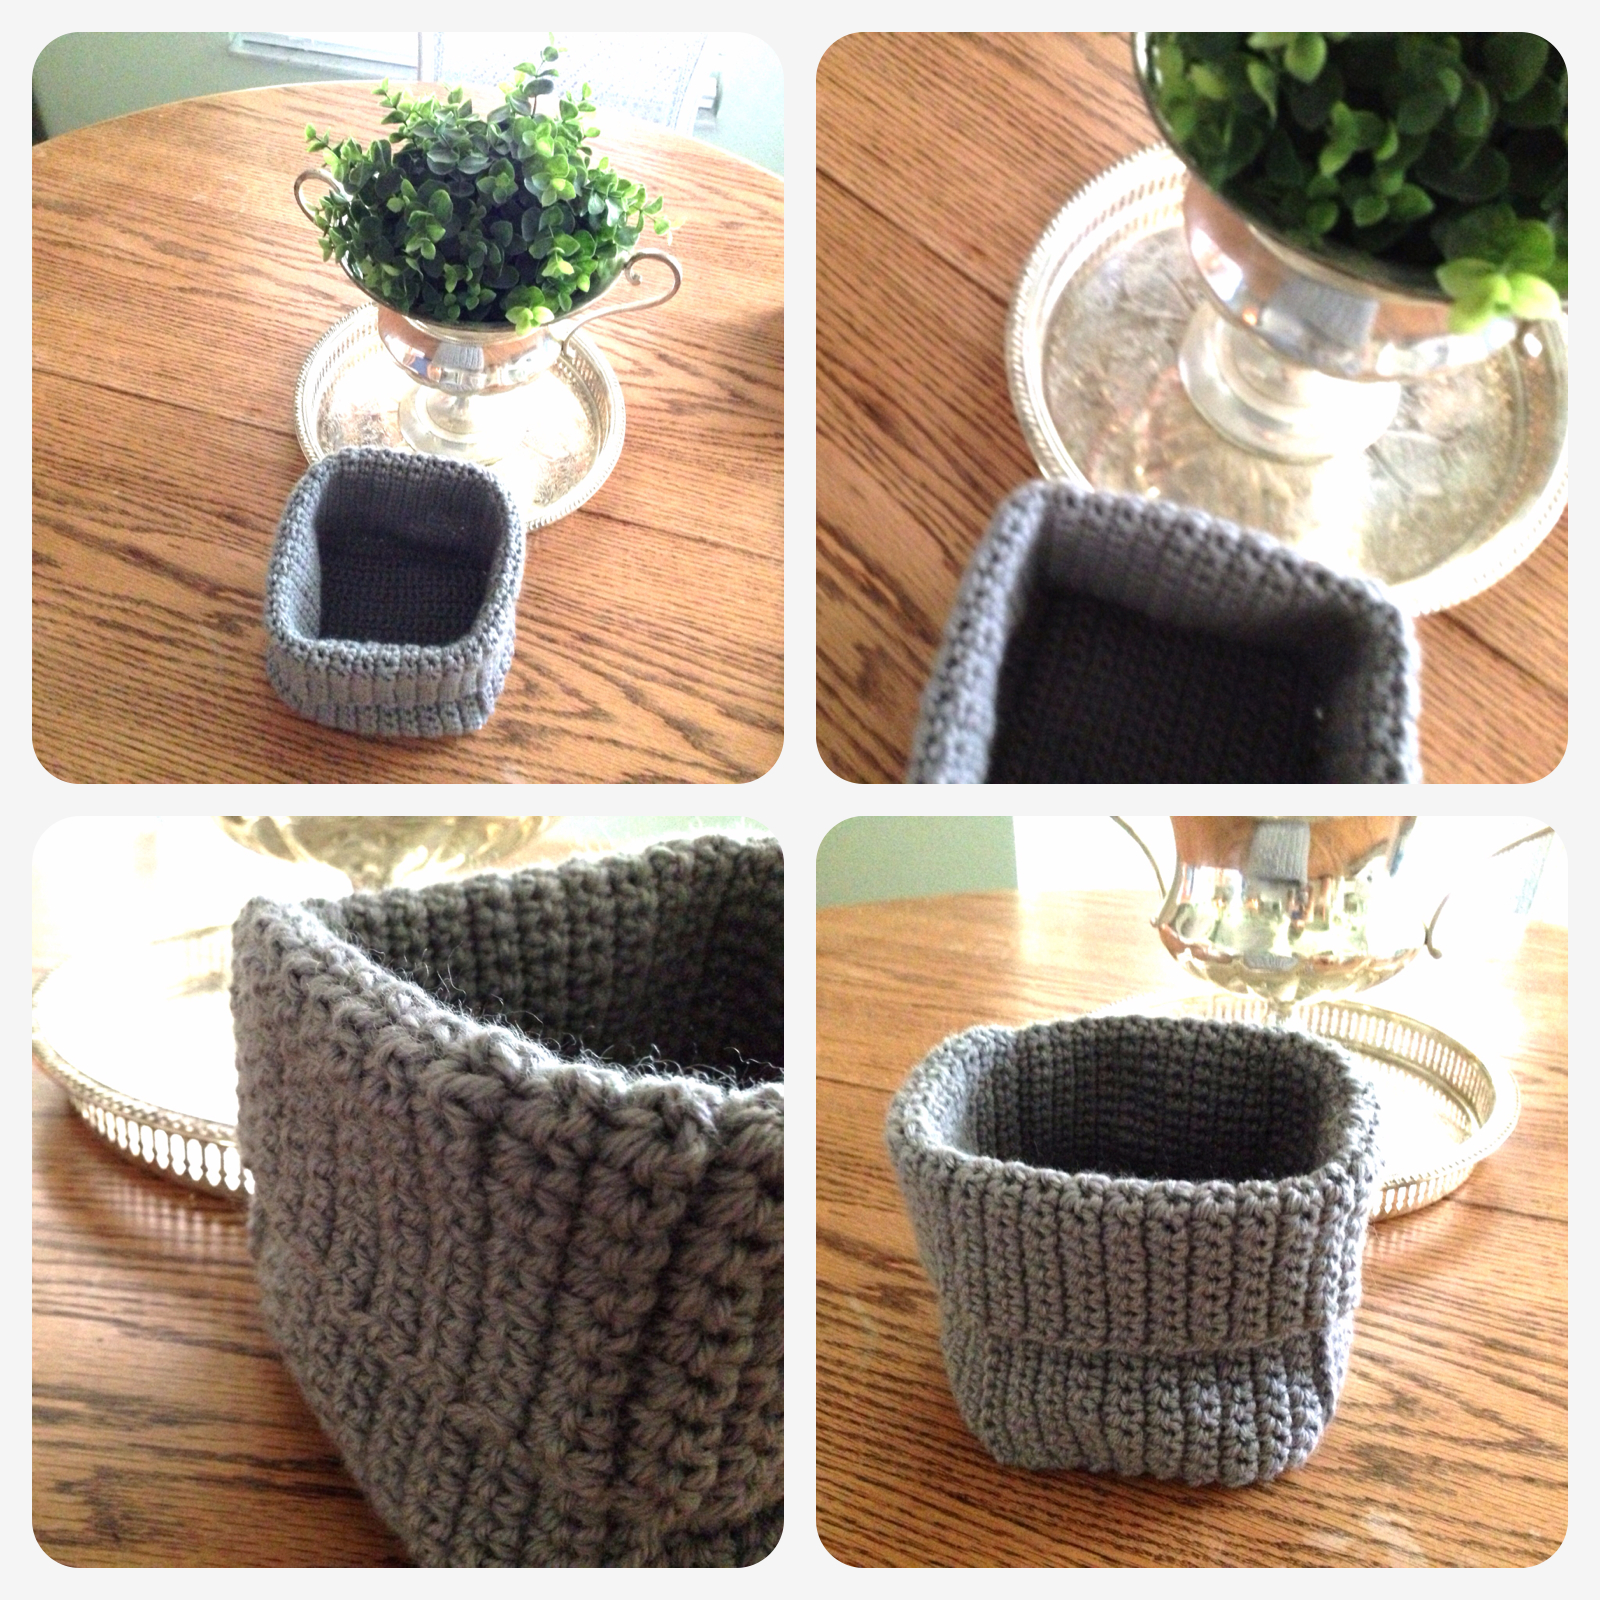
In an effort to make this a productive and efficient  on going project  I did a little reorganizing. Next I printed a few sheets of number stickers that I made using different fonts in photoshop. Now I can easily label a pocket with the day of the event or memory. I printed tags and labels for layering some journaling.

I am still experimenting and will probably tweak each "page" several times more, but I like this system so far and will continue to play around with it for the rest of 2012's photos.

 As a side note - I was not in any way contacted by or paid to advertise any of the above mentioned classes or products, I just like them and so thought them worth mentioning!

Tuesday
Jun252013

storage worth stealing: re-purposed photo carousel

I have started a little ongoing photo project, and with it a bit of organizing. Don't you just love this thing?! It's a photo carousel - intended for displaying your favorite photos, but I needed it for something else.

  Well, I am finally getting caught up on some memory keeping. That's right - good old fashioned scrapbooking. I am behind in this effort and with my budget for the year in full swing I am on a mission to get this project rolling- but more on that later. This is an image of what usually happens when I get on a "week-long-catch-up-on-this-project-roll."

This makes it tough to get things done efficiently because I am forever digging through the piles to find the perfect embellishment, letter or paper tag. So I started shopping my home for storage to organize these pretty little things. After a little digging, I found my old 7 gypsies Photo Carousel and emptied it of a summers worth of miniature layouts. After transferring these to an album I sorted all my favorite embellishments and organized them into the carousel. Now I can easily get to everything I need and waalaa! - storage worth stealing for my little things.

This is the perfect storage solution to my problem. It is small, portable, and easily revolves so I can find just what I am looking for in a matter of seconds. Now my work area looks like this - yea!

I love it - and more importantly, I re-purposed something I already owned, so I am staying on budget. Perfect!

Monday
Jun242013

sneak peek: mail art tags

Using my new favorite go to texture addition - paper towels. Learn more about it and make a cool journal using this technique here! Enjoy!

Friday
Jun212013

sneak peek: art journal page

Experimenting with color.  Playing with food coloring and paint, paper towels and gel medium.


Monday
Jun172013

tutorial: sweater band pillow

I know I have been absent lately, but summer is here and that means the kids are home and projects are in motion. You might have read here that I am in the middle of a bedroom makeover - part of decorating on a dime, shopping your home. In keeping with that I am making some new pillows for part of the redo. This one  is my favorite so far!

By the way - this is a sneak peek at part of the bedroom redo in progress...more to come soon. This pillow was super easy and fast. Here's how you can make one. Gather your supplies.

How much you need of each fabric will vary according to your pillow insert. Mine was 14" square. This was a quick and unorthodox way to make a pillow cover so tweak it to your needs as you see fit. You will need a long rectangle of fabric. One that will fold over and cover your pillow, twice. HEM SHORT ENDS OF FABRIC FIRST. Next, lay out your long rectangle of fabric and place your pillow just off center. Fold fabric over and line up sides and pin. Your pillow now looks as if you stuffed it into an envelope. Fold second end of fabric over, line up sides and pin almost all the way to the top, leaving just enough room to slip pillow out. This is an extra step to ensure our pillow flaps look good. Feel free to skip it if you have made one like this before.

Don't sew yet. Next grab your burlap and fold a rectangular piece in half once and then again. This piece will need to be as long as your outside facing pillow flap. Pin and stitch down each side.

Carefully remove pins (you will have to repin later, but this ensures are flaps are positioned correctly) and pin your finished burlap strip to one short hemmed end of your fabric. Next reposition your pillow and repin with RIGHT SIDES FACING. It should look like this so far.

Fold second flap over (this one should have no burlap edge) and line edges up. Pin one side and carefully remove pillow insert. Pin second side and stitch up both sides, being careful to reinforce where your two flaps overlap.  Turn right side out. This is what you should have now.

Next take your sweater and cut the bottom band off, keeping it as wide as you would like. My sweater had a ribbed band and so I had a nice guideline to follow, making it approximately 5 inches wide. Be careful when cutting to cut the exact amount of buttons and buttonholes that line up.

Now stuff your pillow insert into your new pillow cover and button your sweater band around it. I used the burlap as a guide, leaving that showing on the back for contrast.

All done! You can add an embellishment if you like. I made a little brooch out of leftover scraps of duckcloth, linen and lace. Lovely!

Once again, a pretty re-purposed project. AND we are decorating on a dime! Yea! Oh! And if you want to make one of these sweet crocheted baskets you can find a pattern here!

Tuesday
Jun112013

sneak peek: art journal page

Combining a little book paper, some sketching and inks, upcycled stencils and a white out pen.

Saturday
Jun082013

on the worktable: crocheted baskets

As part of my yearly goal to decorate on a dime I am trying to shop my home and create things that I would normally buy. I loved these pretty crocheted baskets but had to stick to budget on my bedroom makeover so I decided to google a pattern instead.

I feel I should mention I am not a seasoned crocheter! I am self taught and I can tell you practice makes perfect. This was a very simple to follow pattern and at no point frustrating. I haven't added the fabric stiffener yet per the instructions, but I still might. I really wanted this basket to remain soft looking and I am worried the stiffener will change that look. We'll see. Anyway- I love it and I think I will make a few more and cluster them together on a nightstand or desk to keep things clutter free!


Friday
Jun072013

newsworthy: summer is here

It's official - ! School is out as of today and Summer has started for us! Yippee! It might mean a little less time for me to get things done around the blog, but...

I can't wait to just have some downtime with the kiddos - we are talking about walks at the lakefront, board game marathons, races in the pool and movie nights. Pure bliss.


Thursday
Jun062013

In my house: bedroom redo

...I get a wild hair once in awhile. Okay, often. I get a wild hair often. What else can I say? Stay tuned...

Saturday
Jun012013

instagram: a look at may

vision challenge. travel journals. sketching. new stencil. art journal peek. waiting. projects. collage papers. inspiration board. art journal peek. back door. chevrons. in my bag. my view. flag. night ride. making bags. rainy day. appointments. the end of may.