Roben-Marie Smith

Roben-Marie Smith


THIS AND OTHER  PRODUCTS AVAILABLE AT

       IS A REGISTERED TRADEMARK


 sandi-keene

Roben-Marie Smith

Blog Index
The journal that this archive was targeting has been deleted. Please update your configuration.
Thursday
Feb272014

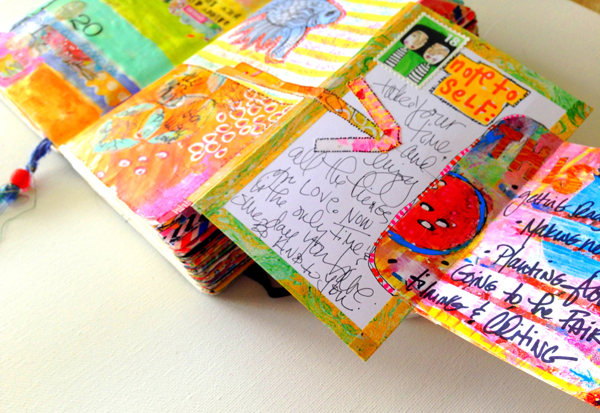
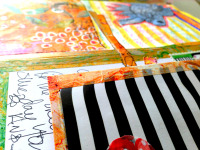
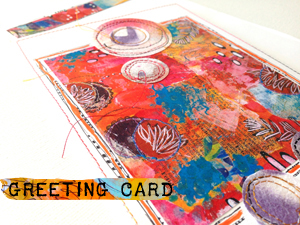
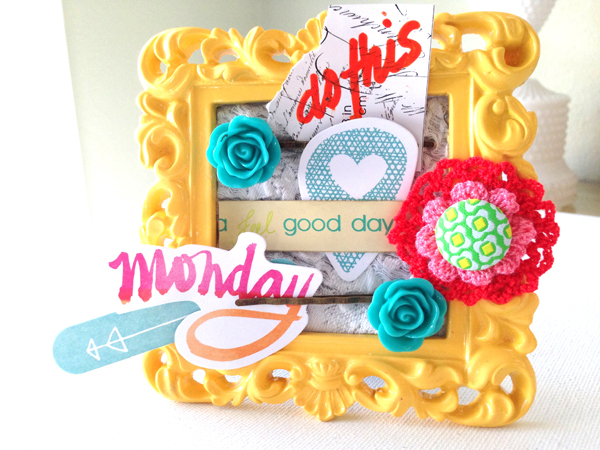
mini idea board inspiration & giveaway

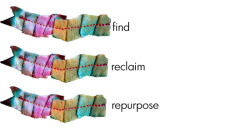
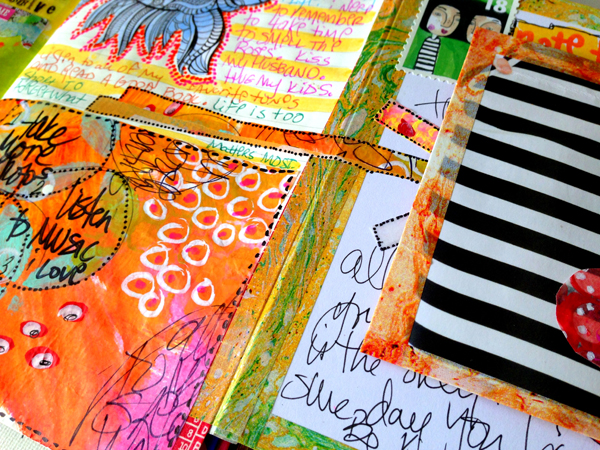
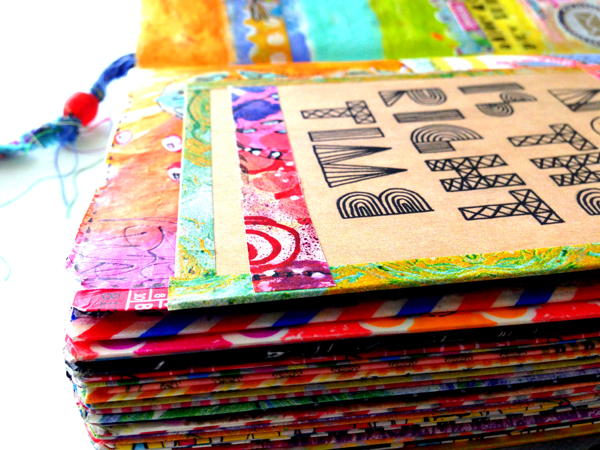
I love to repurpose all kinds of things, and frames are one of my favorite items to alter. When I spotted  a cute collection of bright miniatures I had to grab a few. I love mood boards and idea books. I would have them everywhere, but am limited, on what I call, Display Space.

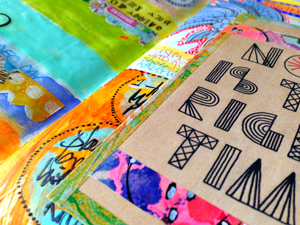
Thinking about this I thought it would be fun to create a miniature version. My frame is only 4.25 x 4.25 inches square, with an opening of 2.75 x 2.75 square. Super tiny and super sweet!  I think I will use these as party favors at our next birthday bash! Want to make one? or Twenty?

Here is what I did ------------->

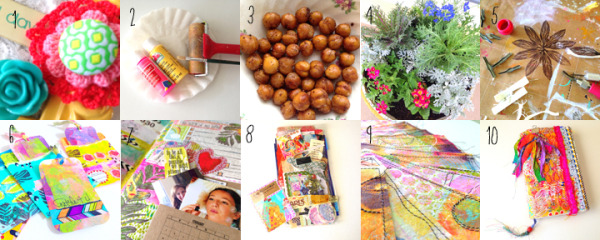
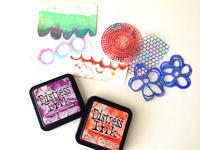
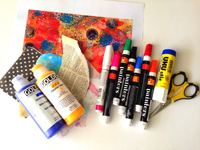
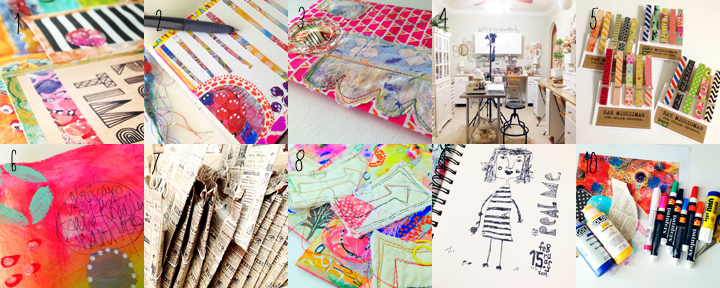
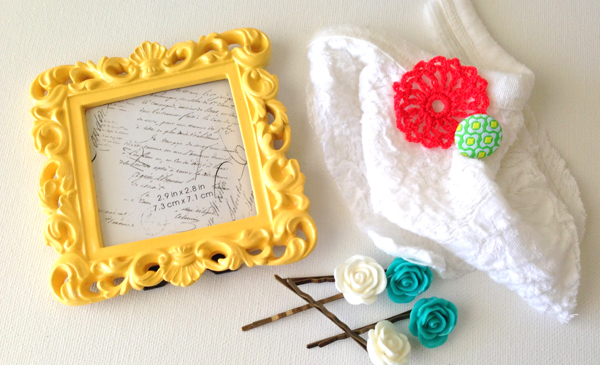
1. Gather your supplies -----> a frame, scrap of fabric, decorative bobby pins, assorted embellishments, wide elastic band, glue gun or permanent adhesive, my favorite scissors and ruler, a silicone mat and an exacto knife.

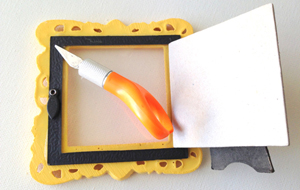
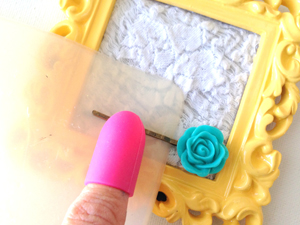
2. Open back of frame and take the glass or plastic out of your frame. Mine was fashioned with plastic so I carefully cut the plastic out of the frame using an exacto knife. -----> These knives are sharp. Please use extreme caution when cutting with them.

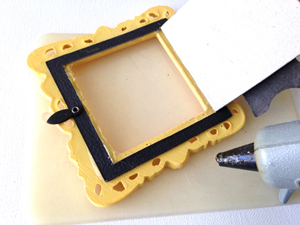
3. Measure the window opening of your frame. Cut fabric to a slightly larger size than this and set aside.

 4. Line one edge of window opening with a thin bead line of glue. Attach fabric, press into place and let dry. Repeat with other three edges of window opening, stretching the fabric taut as you go. Let dry. Close back of frame and trim excess fabric as needed.

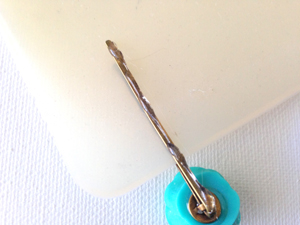
5. Open first bobby pin and slide over the silicone mat, making sure mat is firmly between both sides of pin. Turn mat over and apply a thin bead line of glue to back side of pin. Adhere in place on fabric. Let dry, carefully remove mat. Repeat with second pin.

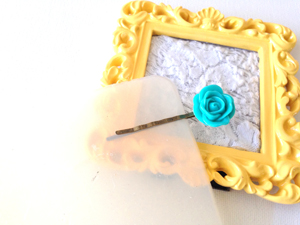
6. Cut your elastic band. Position on fabric and trim as needed. Place a thin bead line of glue on one end of band and attach to fabric. Hold in place for a few seconds. Let dry. Repeat with second side of band.

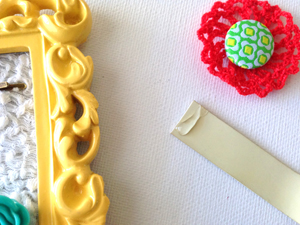
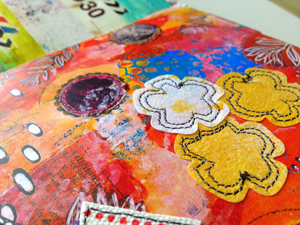
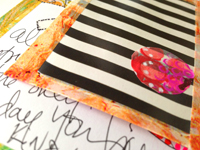
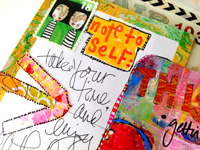
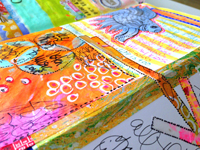
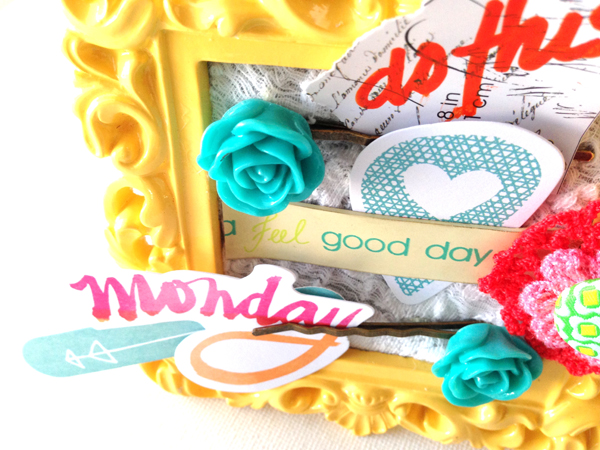
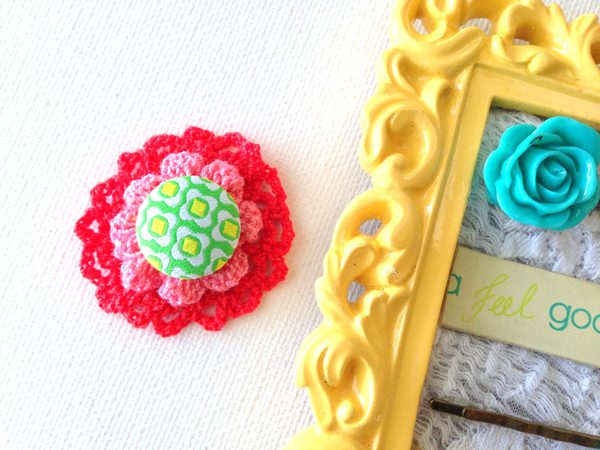
7. Select and position your embellishments and adhere in place. I chose to layer up a few varying sizes of crocheted flowers and a pretty fabric brad.

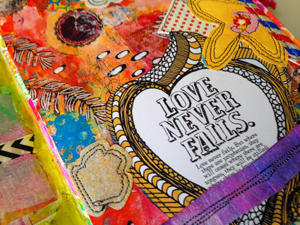
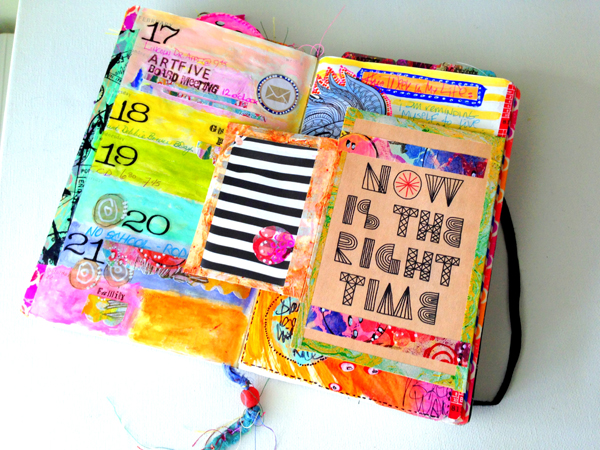
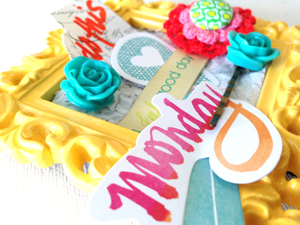
There you have it! A pretty little repurposed frame! Tack on a pretty word, a photograph, or reminder - now be inspired!

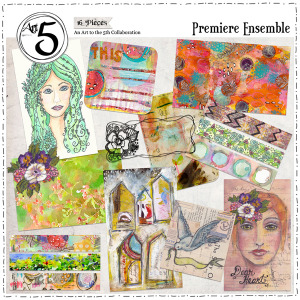
-------------> WOULD YOU RATHER WIN THIS ONE? I am giving it away on  the ART TO THE 5TH BLOG. Head on over to read the post and enter for your chance to win!

UPDATE ! WE HAVE A WINNER ! CONGRATULATIONS ---> TERRI TURNER!

Enjoy the process!

*as an amazon affiliate, I receive a small incentive if you purchase a product through these links*

Tuesday
Feb252014

15 minutes of mixed media

Welcome to 15 minutes of mixed media. Because of the overwhelming and positive response to the film version of this exercise in time management, I thought I would share another process video for this weeks self imposed challenge.

I think it is important to create everyday. When I first made the committment to do this, I doubted it's ability to help me be creative. I was wrong. Making the time to put any medium, to any substrate, on a daily basis has done more to motivate and inspire me than I ever thought possible.

This week's supply list: Apple Barrel Acrylic craft paints in - Key West Bleu Turquoise and Sublime Lime Gloss, Craft Smart Acrylic craft paint in Neon Pink, Painters Brand paint pens in red, black white and hot pink and orange, Golden Fluid Acrylics in Van Dyke Brown Hue, UHU Glue Stick, Water Brushes filled with watered down Dylusions Inks, a few stencils, scissors, paintbrush, brayer and an old gift card.

I am working in this art journal and love it! I started this week with a blank page, as I have had a few requests to do so. I usually take a day and make backgrounds so that when I go to create I have a colorful substrate to jumpstart the creative process.

Here are a few other journal pages I created using this technique!

Click on the images below to see how these journal pages were created using 15 minutes of mixed media.


*as an amazon affiliate, I receive a small incentive if you purchase a product through these links*

Monday
Feb242014

currently: ten things

1. Finishing up this mini tutorial blog post. I can't wait to share this fun project with you. Look for it next week on the blog!

2. Working out the details on this repurposed project. I love the notion of creating a new project. Trying out different materials, sampling paint colors and creating the prototype take time, but it is amazing how the original seed of an idea morphs into something so different during the creative process. Can't wait to share soon!

3. Trying out a homemade recipe. Roasted chick peas with assorted spices. Today I added cumin, garlic salt and red pepper flakes. These are YUMMY! I love how they get a little crunch to them and fill a void when you are craving something like a potato chip!

4. Planting ornamental cabbage with my spring flowers. These plants are so pretty. Ruffled edges and assorted shapes, sizes and colors make for beautiful additions in all sorts of potted arrangements.

5. Still loving these hand carved stamps. So much, that I carved another one today. I wish I had more time to devote to this craft. It is so rewarding...maybe in the near future.

6. Making pretty pockets and tags. Something as simple as a pretty ugly neon paper pocket can be transformed into something beautiful with a little paint, a few stamps and hand written lettering. Sending these along to a few special documentors I just happen to know!

7. Adding photos into my Documented Life Project Planner. I found these cute little pockets on a recent trip to the craft store. Twelve in all -  January through December, they are perfect for holding a few favorite photographs taken during each month. Another way to remember those special moments that are worth documenting!

8. Packaging up some mail art goodies. I can't wait to send these off to some pretty special people that I have come to know. I, in turn, have been the happy recipient of many similar parcels! Running to the mailbox each day has become a much anticipated event around here.

9. Stitching up some cool stuff. Nothing better than paint, paper, fabric, and a sewing machine.

10. Painting my Planner Cover. I took the plunge. I wasn't sure I wanted too, but now that it is complete I am in total love. A hundred (ok maybe ten) layers later and I just want to carry it around and stare at it all day. Thank you my talented friend Lorraine for your awesome video on how to do this - it made my day!

Saturday
Feb222014

the documented life project - weekly challenge 9

Welcome to Week 9 of The Documented Life Project!

February 22 - Collage Something You Recycled.

I LOVE to incorporate anything Re-Cycled or Re-Purposed into my projects, so this week was a fun challenge for me! I printed a tip-in that I created as part of the Premier Ensemble Digital Kit.

My recycled pieces, hand dyed color catcher sheets, are something I incorporate into many of my mixed media studio projects, like this CHUNKY IDEA KEEPER featured in Stampington's Greencraft Magazine. For my flowers, I ran one sheet through my die cut machine and then stitched the flowers to the page using black thread - I like the contrast against all the bright colors. The ribbon-like band was created using a second dyed sheet that I cut, pleated and stitched over the top of a quote using the same thread and a free motion line stitch.

I have been hiding inspirational and uplifting notes and cards in my children's lunch boxes for years. This quote was cut from one of those cards and added to my page along with a few fabric flowers. More black stitching around the edges added definition and really made the page pop!

A little chevron washi tape I rescued from a piece of mail art and my page was complete!

Found. Reclaimed. Repurposed. Just how I like it! I am looking forward to seeing your interpretations of this week's challenge and I can't wait to meet you back here next week!

------------------------------------------------------------------------------------------------------------------------------------

-------> Art to the 5th Blog - Our Story

-------> List of Weekly Archived Challenges

-------> Facebook

------> Flickr

-------> Instagram - #documentedlife

-------> Our Blogs

            Rae

            Lorraine

            Sandi

            Barbara

            Roben-Marie

Thursday
Feb202014

newsworthy: JOT MAGAZINE 

The Documented Life Project is catching on! We had the lovliest of features here at JOT MAGAZINE-

Read all about it in ISSUE 4 of this amazing online paper crafting magazine! It is packed full of ideas for all of us memory keepers!

The Documented Life Project has participants from all corners of the globe. Each of these daily documentors has their own unique way of creating. From mixed media to scrapbookers we are coming together as a community.

This mention at myscrapbookart.com highlights the project among those that offer challenges!

We are thrilled to be reaching so many people. Having fellow artists around the world create our weekly challenges alongside of us is turning out to be an amazing journey. Interested in joining in? It's not too late - we work on our schedule, at our own pace. Create a challenge this week, skip it the next if it doesn't speak to who you are.

------>Read all about this FREE and rewarding project here!

------>See a list of archived challenges here!

------>Learn more about Art to the 5th here!

-------> Facebook

------> Flickr

-------> Instagram - #documentedlife

-------> Our Blogs

            Rae

            Lorraine

            Sandi

            Barbara

            Roben-Marie

Tuesday
Feb182014

15 minutes of mixed media

Welcome to this week's 15 Minutes of Mixed Media !  It is a bold one this week! I mentioned I have been experimenting with color, specifically those I shy away from- so this is what happened when I set the timer. !5 minutes and counting....Go.

I started with a simple background- two oversized swipes of bright color. I like the FolkArt Neons in pink and orange. They are nice, inexpensive paints to use for backgrounds, as much of it get painted over later in the process. I also grabbed some paint pens, a few collage papers, a glue stick, scissors, two Golden paint colors - Ultramarine Blue and Diarylide Yellow,  two ink pads - ripe persimmon and seedless preserves , a few stencils and a water brush filled with a mixture of water and Dylusions ink in Bubblegum Pink.

I began by adding a few pieces of collage paper using the glue stick, followed by several swipes of white paint. (I failed to mention that I also used my go to paint for everything - Apple Barrel White Gloss Craft Paint. ) Next I stenciled several shapes and dried them quickly with my heat embosser. I journaled large words with a paint pen and made several more small marks and swirls also using the paint pens, drying layers with the embosser as I went.

I stamped my ink pad directly to the page in several areas and moved the color around while still wet with my ink filled water brush. I added some small marks using the same brush and dried again with the heat embosser. I laid a stencil down and rubbed white paint over it in several areas to create some texture.

I hope you are enjoying the process. Setting your timer doesn't have to be stressful. I used to find that my teeth were actually clenched when the buzzer went off. I got over that. Once I realized no one was grading me, testing me, watching me- the tension slipped away and it became an enjoyable creative exercise. Need more time until you are comfortable creating this way? Set the timer for 30 minutes and have those supplies at the ready!

Here are a few other journal pages I created using this technique!

Want to see more simple background ideas for your art journal pages created using 15 minutes of mixed media? Read here----->

Click on the images below to see how these journal pages were created using 15 minutes of mixed media.


Monday
Feb172014

currently: ten things

1. Feeling Happy that I have found a way to make my daily life pretty. Making appointments and keeping track of schedules for a family of seven isn't always FUN, but now it is at least artistic. Documenting my Life has taken on a whole new meaning. I can't wait to grab my planner and make the next note. Pulling it out at the Dentist is sure to be a showstopper. Read more about it here.

2. Making Lots of Lists. With a recent move, the launch of a new project, a big family, and my own artistic efforts I am always making lots of notes. I used to use post it notes. They were everywhere. My desk and worktable often looked like the attack of the Skittles. The problem was this- I liked making the notes. I liked lining them up and looking at them, and I especially loved counting them... but I never had that awesome feeling of making great headway. Checking things off feels good. When I completed a task before I just crumpled the paper up and tossed it in the basket. No more. Now I am making lists. Pretty lists. Now I have the luxury of physically checking said task off and feeling good about it. Of course I do all of this in my planner. ONE MORE reason to pick it up everyday!

3. Sending Mail Art. Having connected with so many wonderful and talented people lately has sent my heart soaring. I have been overwhelmed and amazed and wholly grateful for all of the positive and uplifting comments I am fortunate to read each day. Thank you all for the love. It does not go unnoticed or unappreciated. It makes me smile in the biggest way.

4. Pausing to relish the Clean. I am a tidy person. Okay, so that is an understatement. Most days my family wishes I would take a chill pill, but order is my thing. I need, I like it, I have to have it. So when I get on a serious roll in the studio I often have to leave my stool to attend to my real life. You know- the family, the carlines, the cooking, the errands, all that stuff. No matter how much it might make my skin itch to leave those messes in the studio, I have too. I am in the middle of big things.I can't, realistically, and believe me I have tried, clean it ALL up EACH AND EVERY SINGLE TIME. So I walk away, feeling irritated and try to forget about it- which I do. Life takes over. But going back in is hard. I work better with a clean slate, so every few days I just have too. I have to pack it all up and pretend like I am done and start over. Yeah. I know. But it is how I operate, and so looking at a clean studio makes me sigh and feel happy and ready to do great things.

5. Wrapping things up for Etsy. I love this job. My mom always said when I was little I wanted to grow up to be a professional gift wrapper. What an awesome job that would be. I wish.

6. Making lots of collages. I am in that mood. When I get in that mood I stockpile things. Collages, sheets of hand written journaling, gelli prints. I like to be able to reach for things as I need them and not have to stop and branch off on a "side project" every time. It helps. One whole day of stockpiling these things means weeks of uninterrupted creating time!

7. Collaborating with the talented Lorraine Bell. When this girl does something, she does it right! She is amazing and so when the opportunity arose for me to join in with her on a little something, something- well I couldn't say no. There is some pretty cool stuff in these bags and they are yours for the taking in just a few days! Check back soon!

8. Stitching up some more fabric tags. These are my favorite little additions to projects right now and so of course I had to stitch some up for my fellow Art Fivers! Stitching is a great way to add dimension and texture to all of your projects. I even love to stitch on paper and have shared a little video tutorial here!

9. Trying New Things. For all of the artsy things I have done and tried in my life, I can honestly say I have never been much of a "drawer." I have tried but I just never seem to get it. I don't feel like I have the steady hand required for fine art- but recently I heard something said, and it triggered me into trying. This is what happened on day 1. I have a feeling there will have to many, many more days of practice to get the hang of this.

10. Loving these Painter's Paint Pens. (and no they don't pay me to say this-I really do just love them!) I picked one up to try it out and was hooked. I have been looking for more colors ever since. I go through the black and white ones like crazy, but the colors are awesome too. Opaque - just like I like them. And the pens actually work well too - I haven't had any clogging or issues with them yet, and I have been using them for months now!

Saturday
Feb152014

the documented life project - weekly challenge 8

Welcome to Week 8 of The Documented Life Project!

February 15- Add a flap to your flap.

This was my favorite challenge so far! I was going to use a full size tip in page, and add a small flap to that, but then I stumbled upon this wonderful postcard! It had the perfect quote on it and I liked how I could see the colorful planner page behind it.

I spruced up my postcard with some washi tape and then added a smaller flap that I cut from a catalog flyer. I loved the bold black and white stripes. I added a little painted paper circle for a pop of color and some more washi tape.

A note to myself was written on the back of my postcard and I used one of my digital downloads on the reverse side of my mini flap to create a list of things I am doing this week. A pretty painted washi tape arrow and funky stamp add nice bits of bold color.

I love how I can fold my mini flap and postcard tip ins back on themselves. All the doodles, stripes and color mixed make me so happy!

When I first started this project, I wondered what I would do with the lined planner pages that fall between the calendar and tip ins. As it turns out, this page has been my favorite to work on each week. It is a place to write lists, doodle, practice my sketches and leave notes and reminders to myself. I really loved this challenge and will definitely be adding more of these flap on flaps into my planner in the future!

I am looking forward to seeing your interpretations of this week's challenge and I can't wait to meet you back here next week!

------------------------------------------------------------------------------------------------------------------------------------

-------> Art to the 5th Blog - Our Story

-------> List of Weekly Archived Challenges

-------> Facebook

------> Flickr

-------> Instagram - #documentedlife

-------> Our Blogs

            Rae

            Lorraine

            Sandi

            Barbara

            Roben-Marie

Thursday
Feb132014

Premier Ensemble- Digital Art Kit

You asked- We answered! We are celebrating the Grand Opening of the Art to the 5th Store!

To applaud this occasion we have created our first product-------->The Premiere Ensemble Digital & Printable Downloads. It is available in our Etsy store HERE. This kit is a "collaboration of elegant, painterly downloads made with your Planner and Mail Art in mind. From art journal ready faces and hand drawn labels & banners to colorful strips begging to be torn, punched & stitched, this collection is ready for creative play. We’ve even included a bonus set of painted numbers perfect for documenting and journaling as a celebration of our premiere!"

-------------------------------------------------------------------------------------------

--------------------------------------------------------------------------------------------

You get 16 individual files (1 png and 15 jpgs).  In addition, we created four jpg printable sheets, combining several of the smaller images for use on your own printer. And a BONUS set of numbers includes 10 additional png files. 

----------> Wondering how to use your digital goodies once you've printed them? Here is what I did.

-----------------------------------------------------------------------------------------------------------------------------------


-----------------------------------------------------------------------------------------------------------------------------------

-------> Read more about it here on the Art To The 5th Blog

-------> Purchase  the New Premier Ensemble Digital Art Kit

-------> To see Ideas  & Inspiration visit our Sample Gallery

----------------------------------------------------------------------------------------------------

----------------------------------------------------------------------------------------------------

-----------> Inspirational samples created by my fellow team members <----------

Look for our next challenge in a few days! Can't wait to see what you create! Enjoy!


Tuesday
Feb112014

15 minutes of mixed media

Welcome to this week's take on 15 minutes of mixed media. This week I thought it would be fun to share a video of me creating a journal layout using my tried and true method for spontaneous creativity! Don't worry- I sped up the video so you can view the entire process in about 7 minutes!

I hope you enjoyed the video! I love being able to create an entire layout in just a few short minutes. Just to let you know- I am creating in this Small Dyan Reavely Creative Journal.

Here are a few other journal pages I created using this technique!

Want to see more simple background ideas for your art journal pages created using 15 minutes of mixed media? Read here----->

Click on the images below to see how these journal pages were created using 15 minutes of mixed media.