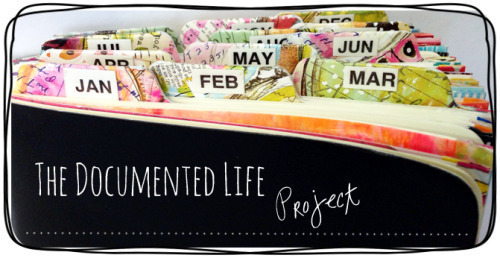
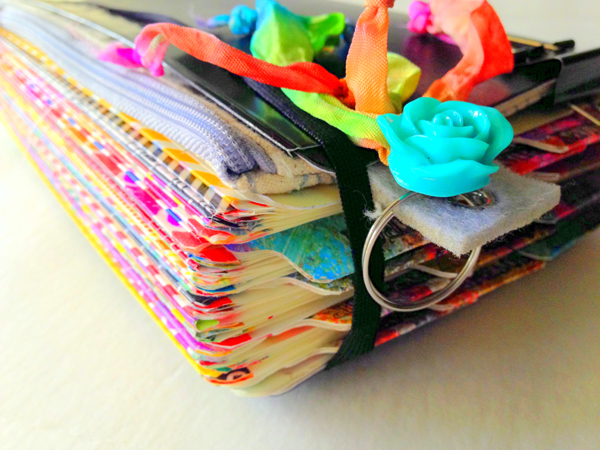
the documented life project- weekly challenge 4
Welcome to Week 4 of The Documented Life Project!
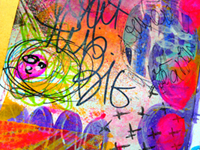
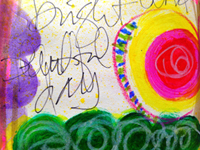
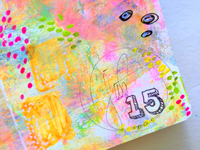
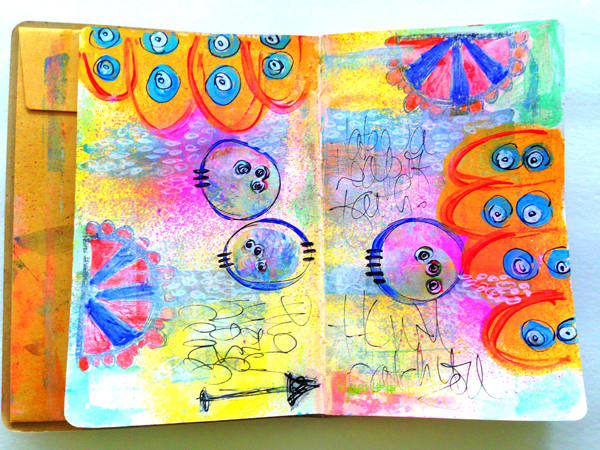
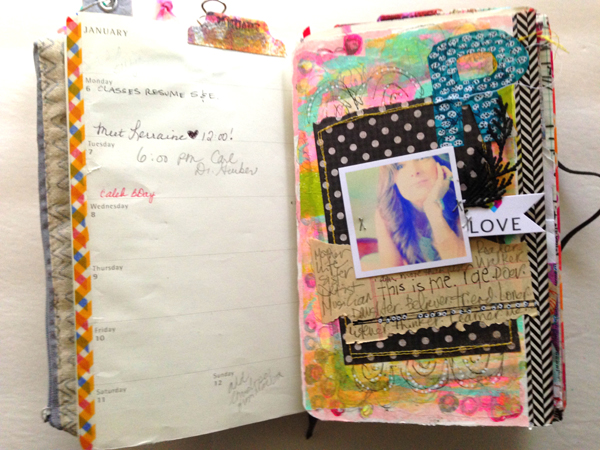
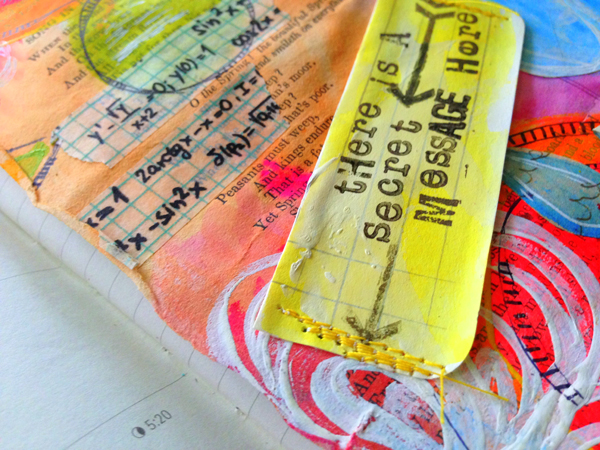
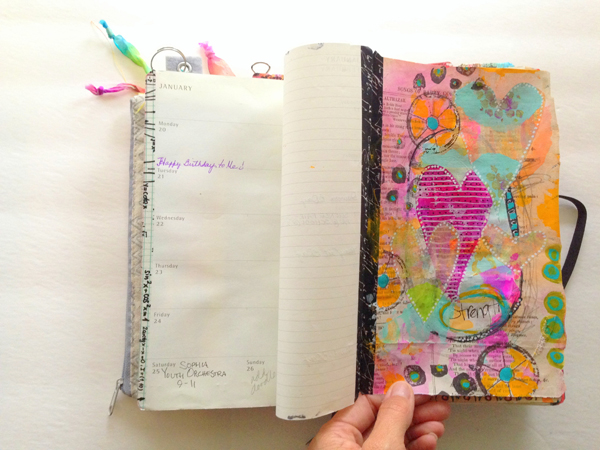
January 19 Challenge - Write a Secret Message. Paint over all but one key word.
This was a great challenge for me this week. I have had a lot of feelings running through my head that needed to be written down, but not necessarily rehashed every day. Somehow the process of painting over it all helped put it to rest.
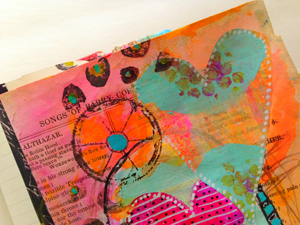
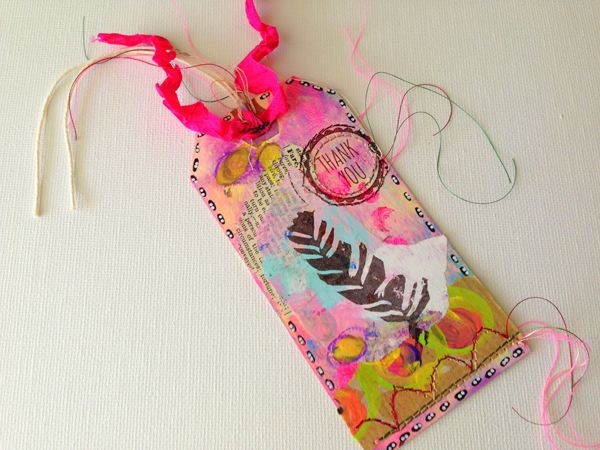
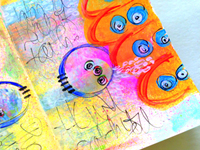
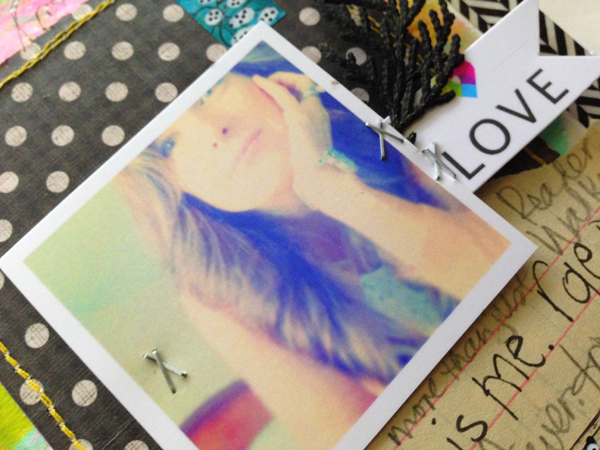
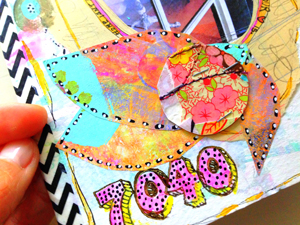
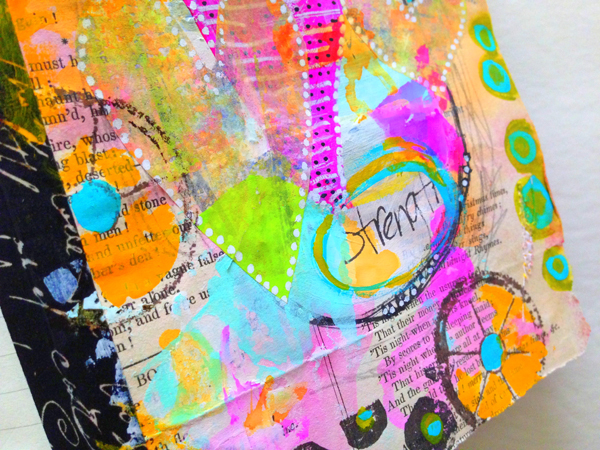
Leaving just one encouraging word peeking through turned a discouraging thought encouraging. My key word for this challenge is STRENGTH. A perfect word to pair up with my One Little Word for the year, LOVE. These two words are a written reminder of where I need my focus to be in the coming months. If I remain strong in all things, and love what I do and who I am with, I will have a wonderful year.
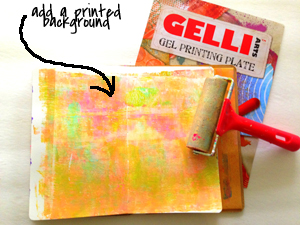
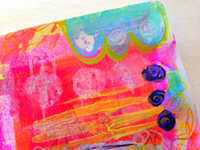
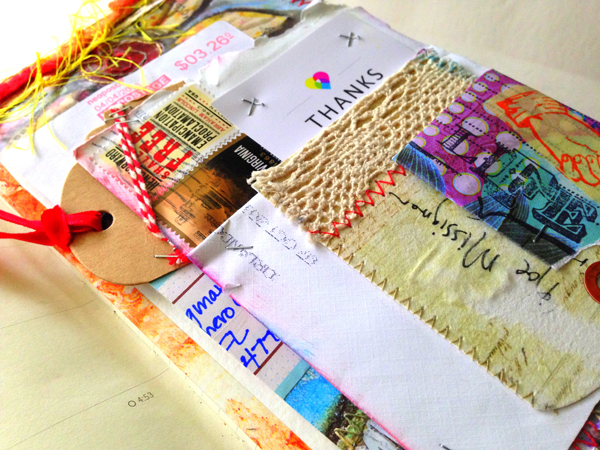
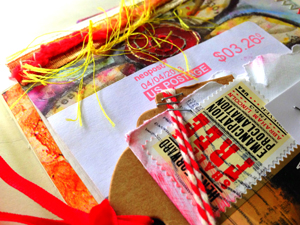
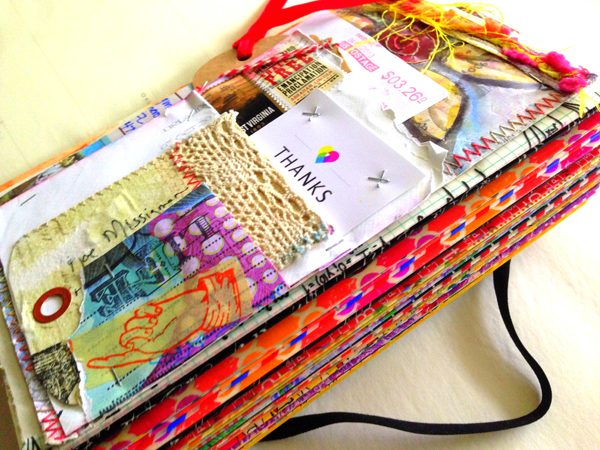
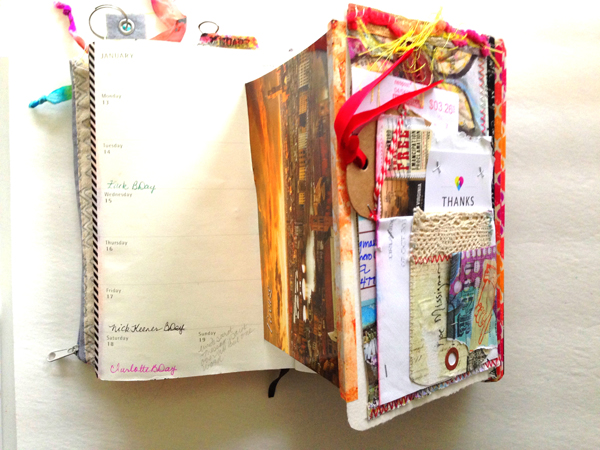
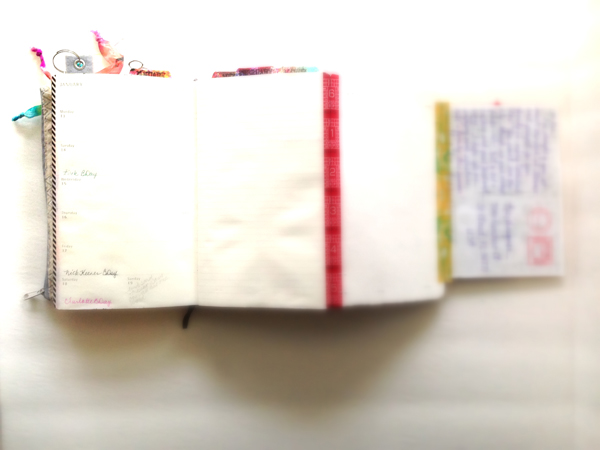
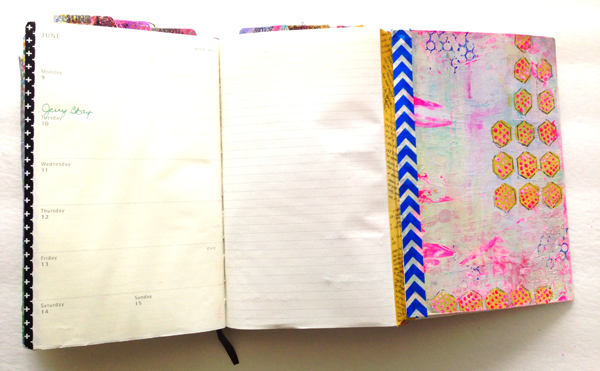
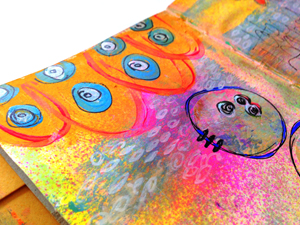
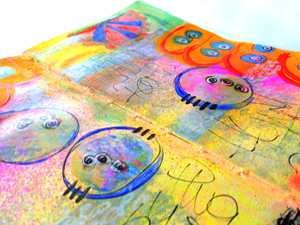
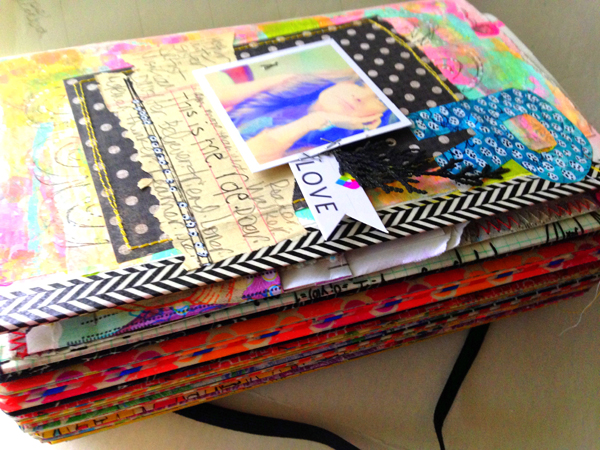
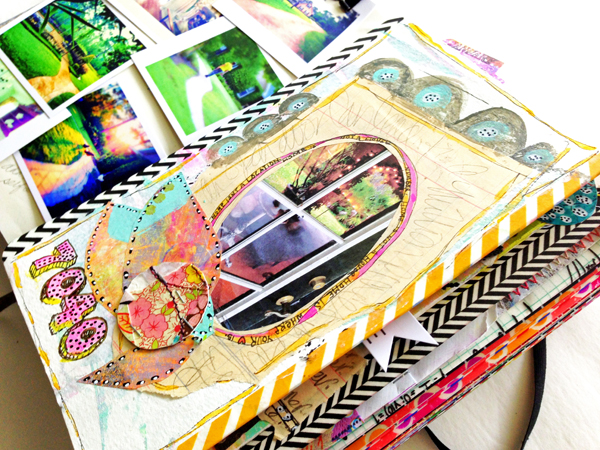
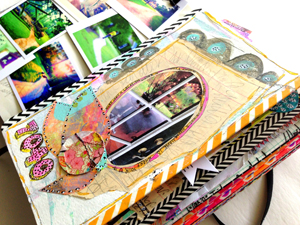
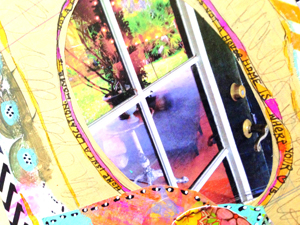
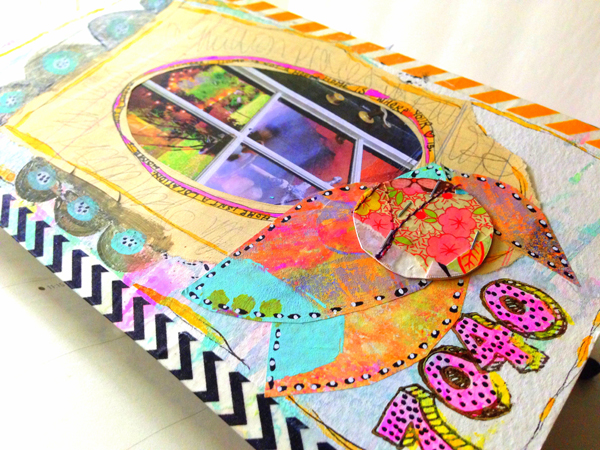
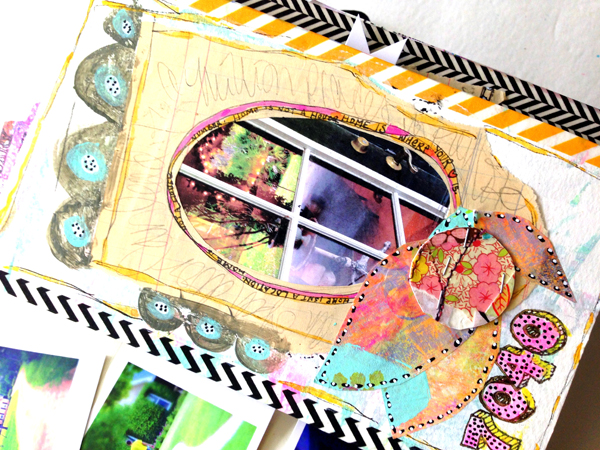
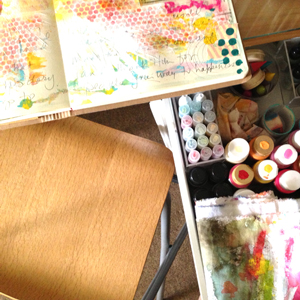
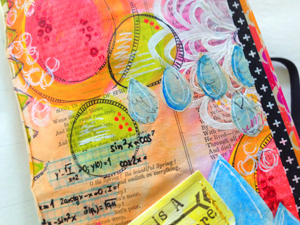
I used a book paper collage I created on a trip with my Art to the 5th pals in Grand Cayman last September as the base of my tip in page for this week's challenge. I have been saving it for something special. Since the whole idea for THE DOCUMENTED LIFE PROJECT began to form on that trip, thanks to the ever talented Lorraine Bell, it seemed fitting to add it into my planner for the year.
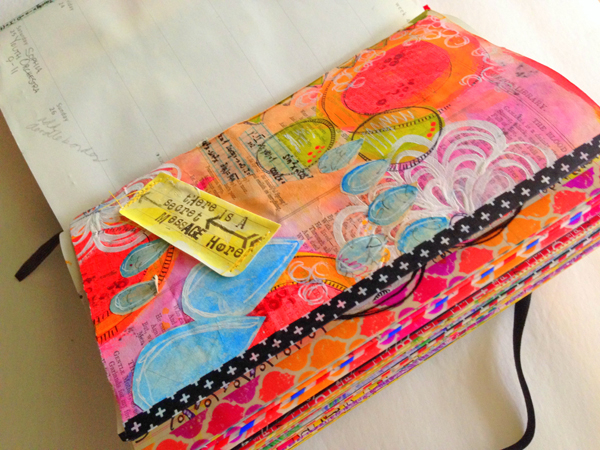
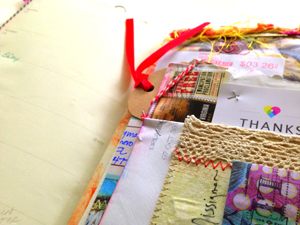
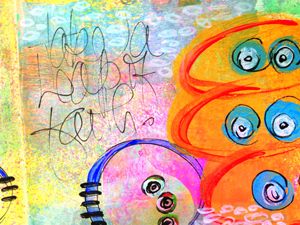
I added my secret message to the backside of this tip-in collage, stitching on a stamped message telling you where to look on the front of the page.
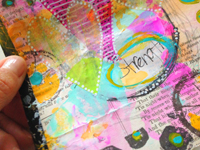
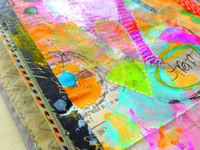

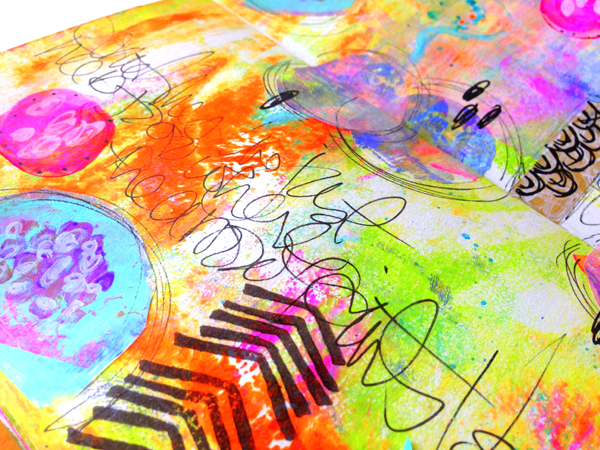
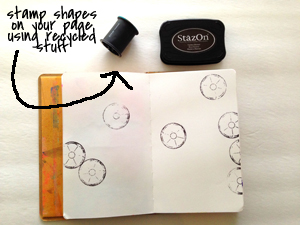
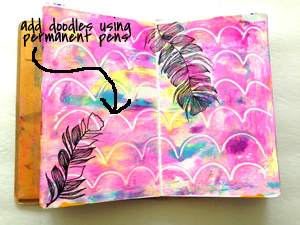
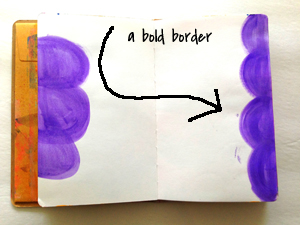
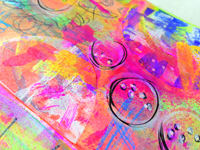
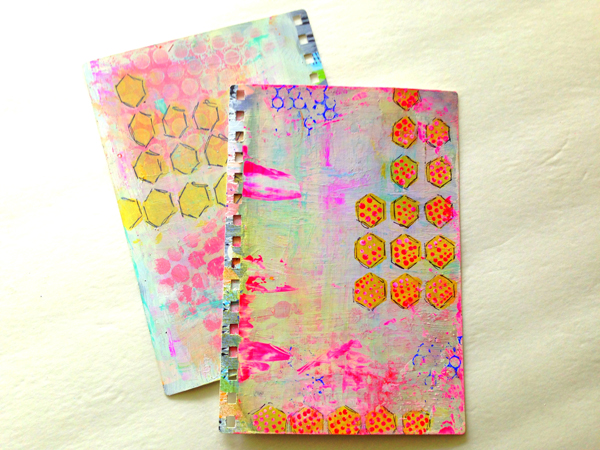
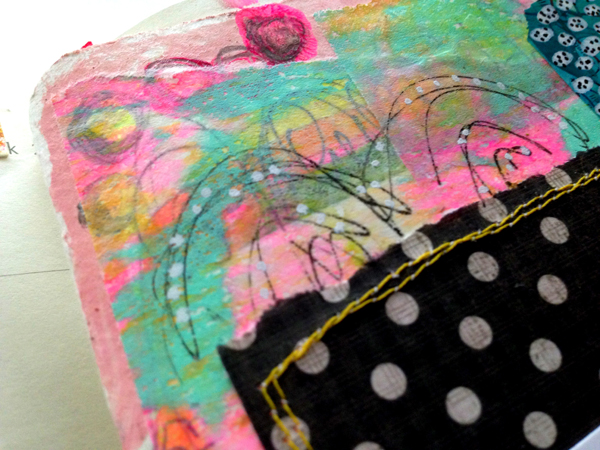
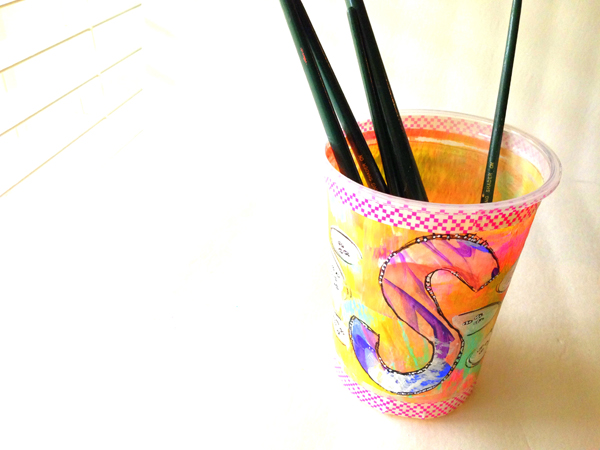
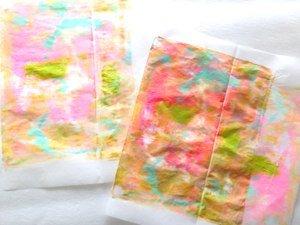
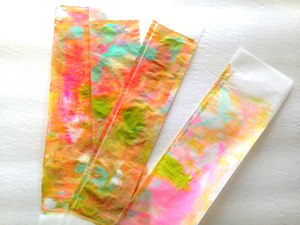
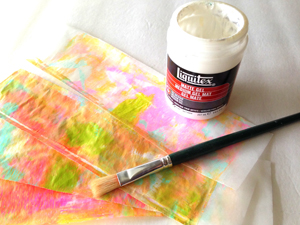
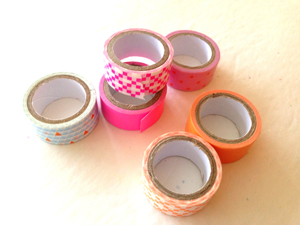
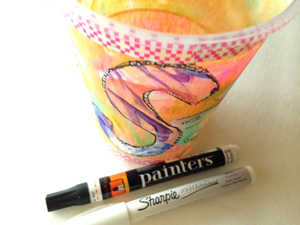
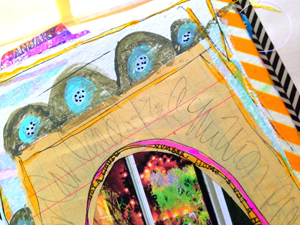
The bold colors seemed to go hand in hand with my word STRENGTH. I added lots of deli paper shapes, adding pops of color through black washi tape and paint pens. A wheel shaped stamp is the latest addition to my favorite recycled tools in the studio, and is an empty thread spool!
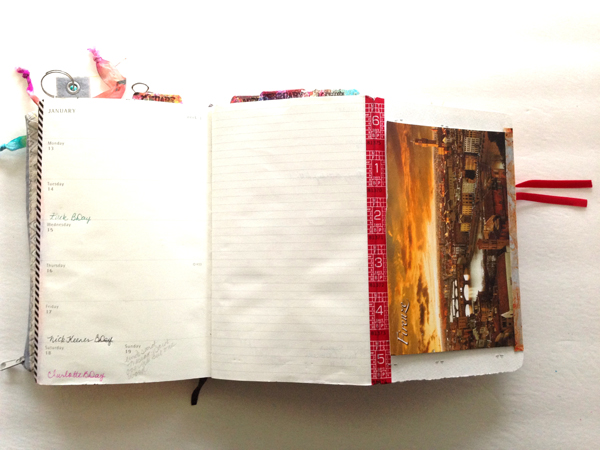
I plan on doing some extra special stuff to the date side of the page this week. I had a pal tell me today that I needed to celebrate myself, (with a big birthday coming up) and so I think I will paint and doodle and ink and stitch away to my hearts content. Maybe I will make everyday a special day this week!
Looking forward to your interpretations of this week's challenge and can't wait to meet you back here next week!
- Facebook:
https://www.facebook.com/groups/thedocumentedlifeproject/
- Flickr:
http://www.flickr.com/groups/thedocumentedlifeproject/
- Instagram: #documentedlife
- Roben-Marie Smith
- Lorraine Bell
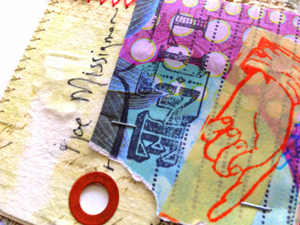
- Rae Missigman
- Sandi Keene
- And our Life Photographer: Barbara Moore

 Rae Missigman