Roben-Marie Smith

Roben-Marie Smith


THIS AND OTHER  PRODUCTS AVAILABLE AT

       IS A REGISTERED TRADEMARK


 sandi-keene

Roben-Marie Smith

Blog Index
The journal that this archive was targeting has been deleted. Please update your configuration.

Entries in studio stuff (45)

Thursday
Dec262013

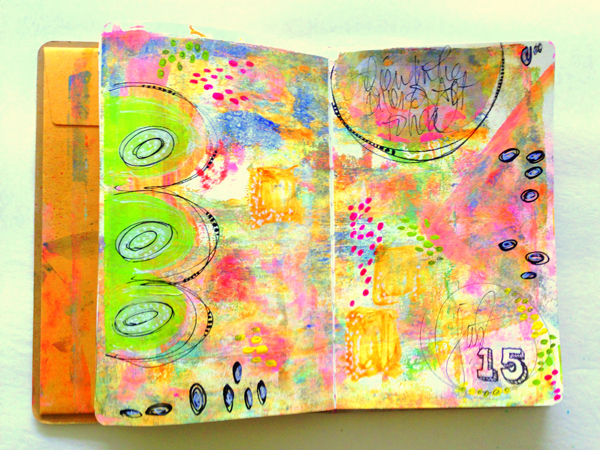
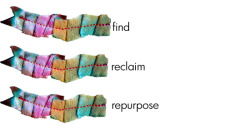
tutorial: 1 mini project, 4 mini gifts & big happy new year

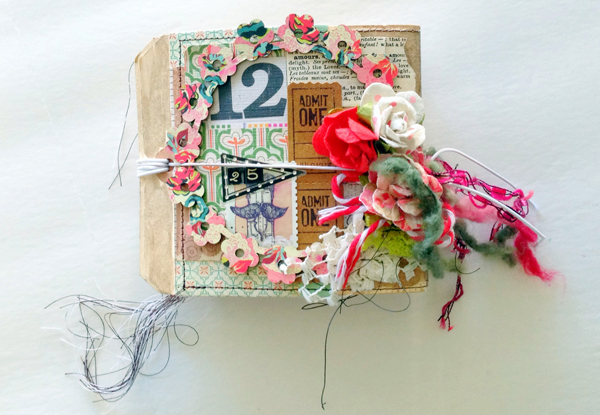
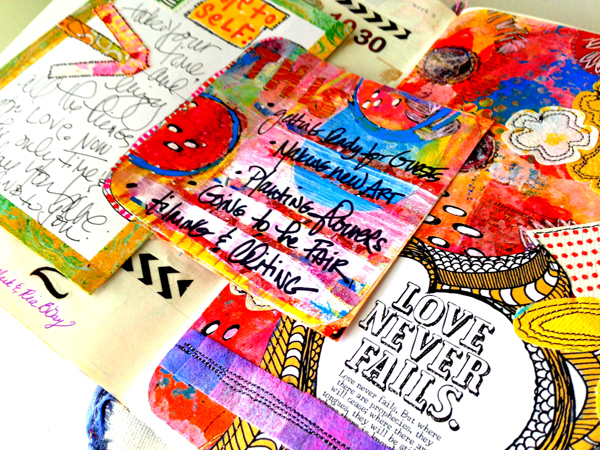
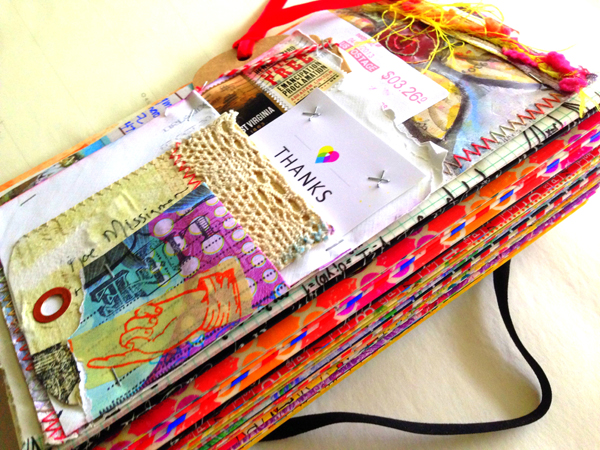
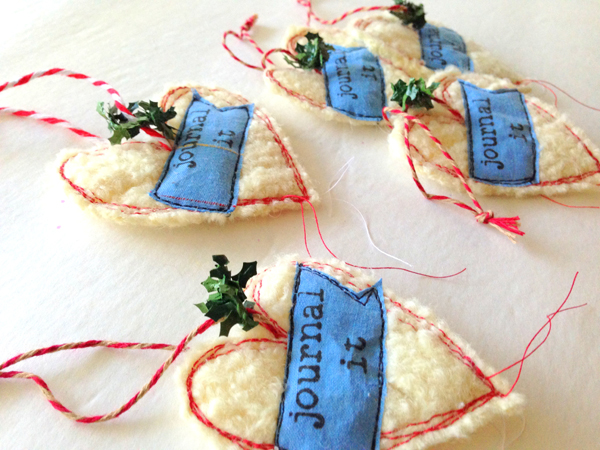
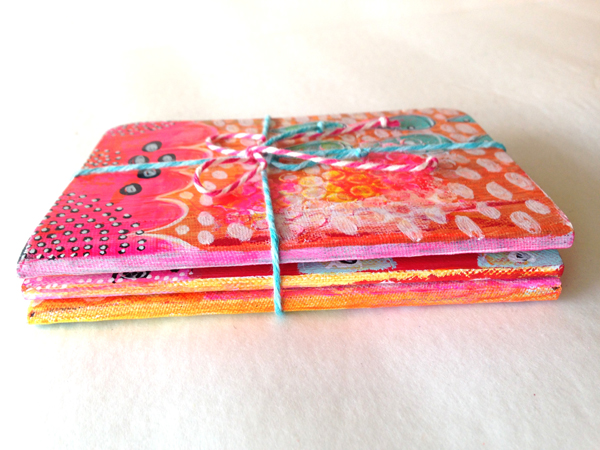
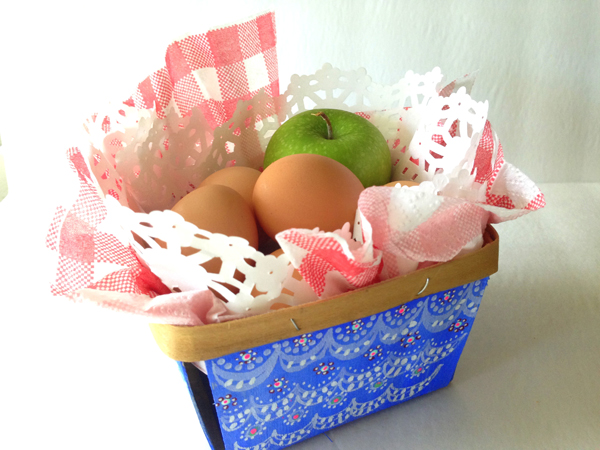
I have been a little behind since the second half of this year started. Not my fault. Seriously. I never let art or meetings or appointments or shopping take precedence over family life. Never. So I am a teeny tiny bit behind in making and delivering a few of my gifts. Nothing huge. Just a few little THANK YOU's I wanted to make sure to deliver to people that matter in my life, but might not know it, like the postman, the kids teachers, and even my bank teller. I thought since I was behind anyway it might be nice to change things up a bit and surprise them with a NEW YEAR gift instead...it works for me. And the best part is you just need some scraps and a few supplies!

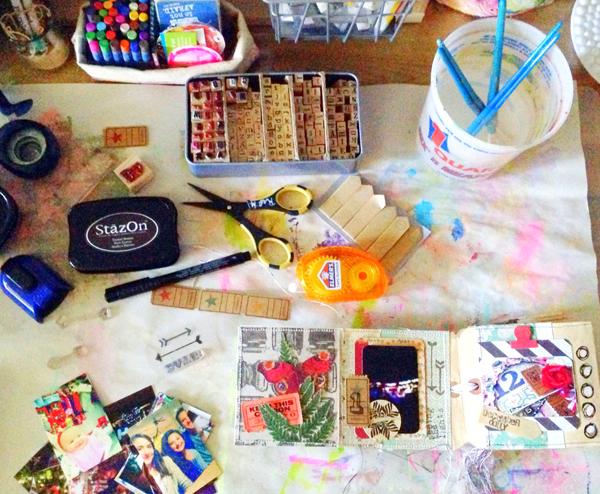
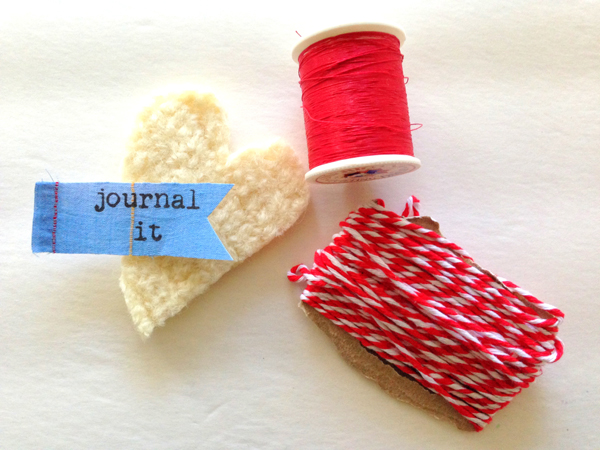
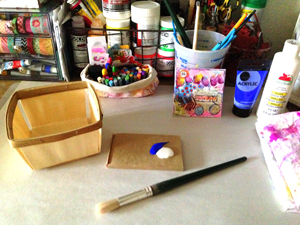
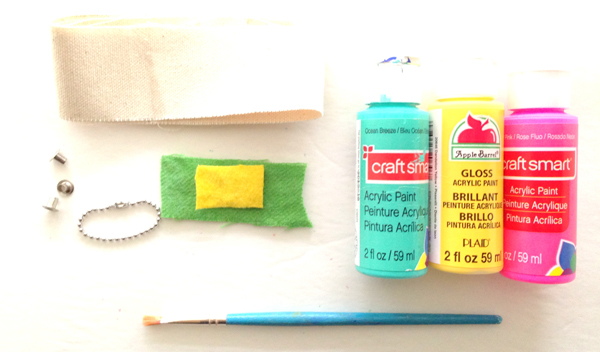
I made all four of these in just under an hour. Grab this stuff to make your own: * scrap of canvas or duck cloth. Mine was only 2 inches high by 12 inches long. * some paint *paint pens *hole punch *eyelets *scissors *sewing machine *cotton balls *bakers twine *bead ball necklace chain *bead ball key chain *aircraft cable key ring *felt or fabric scraps *glue gun *silicone finger caps

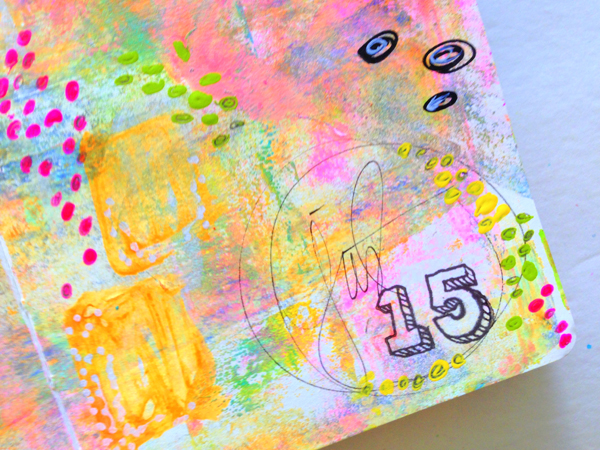
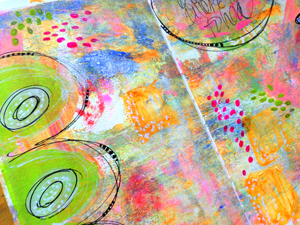
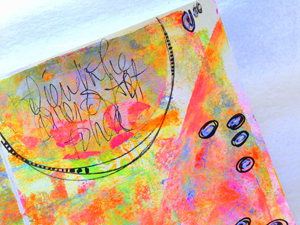
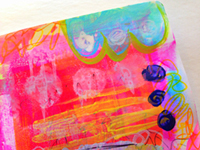
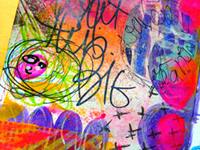
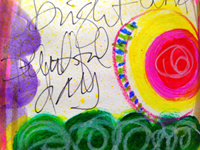
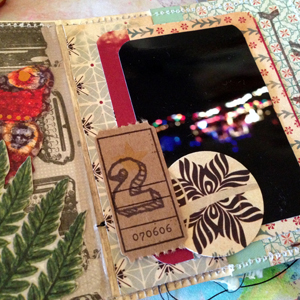
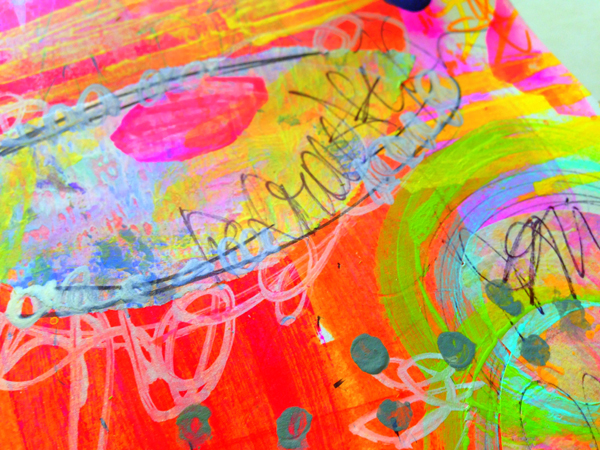
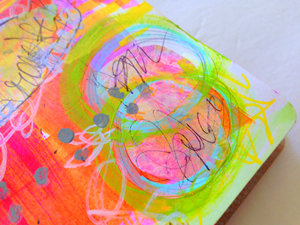
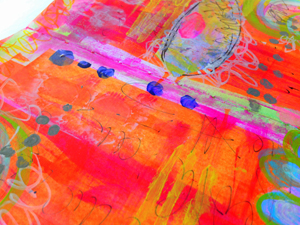
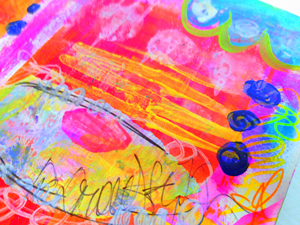
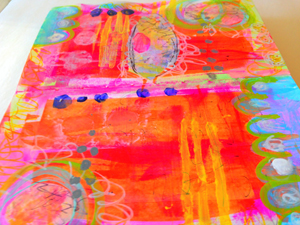
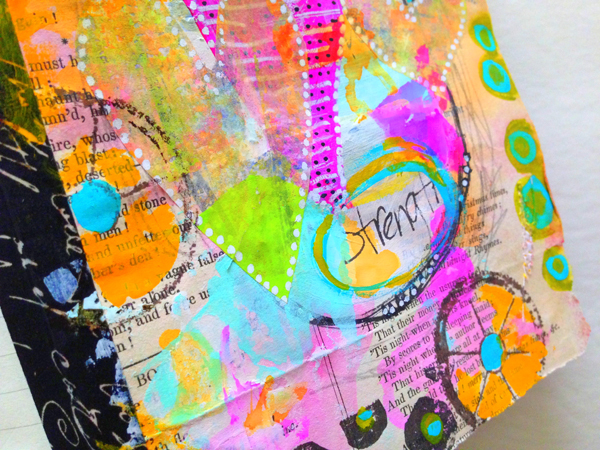
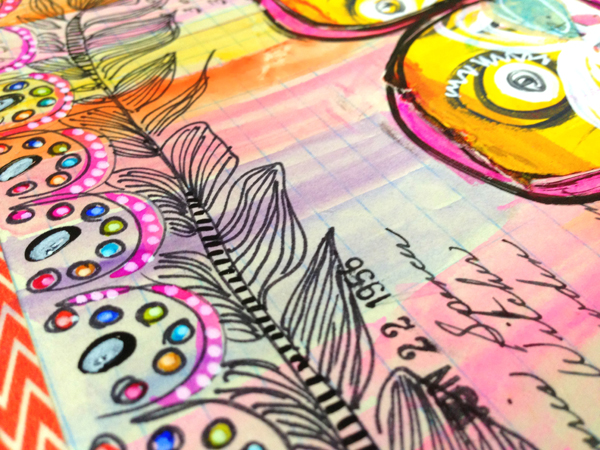
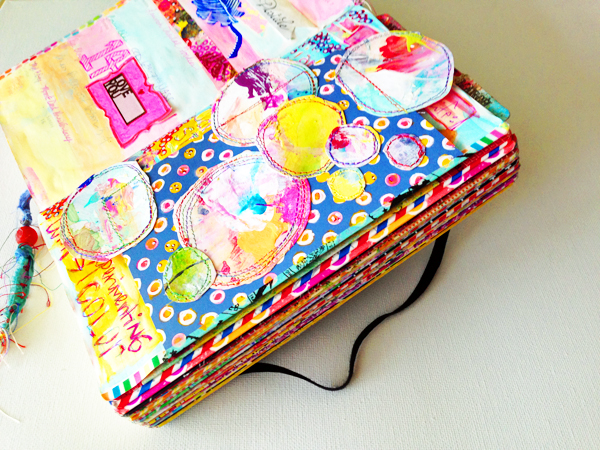
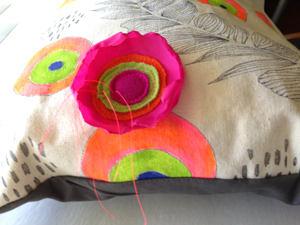
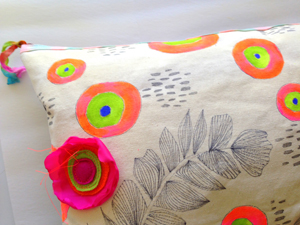
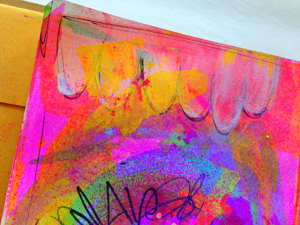
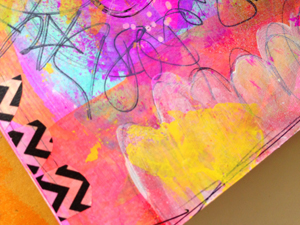
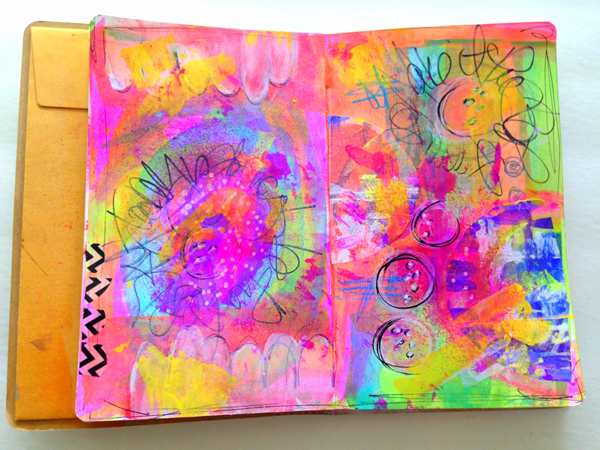
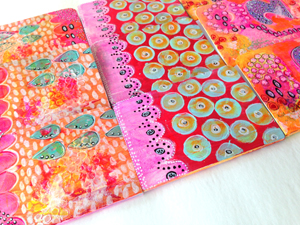
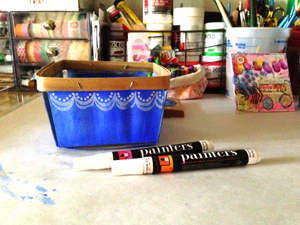
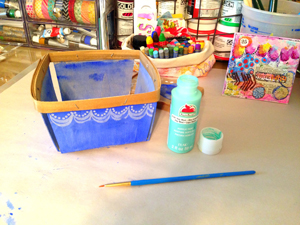
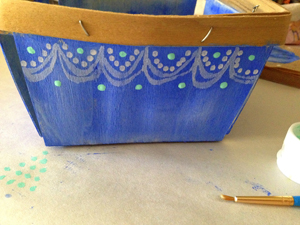
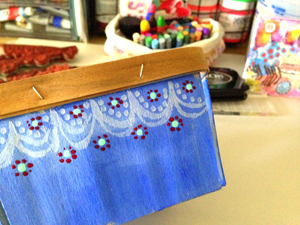
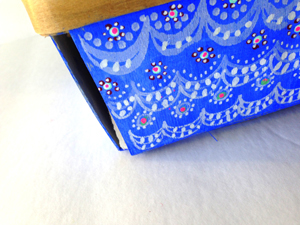
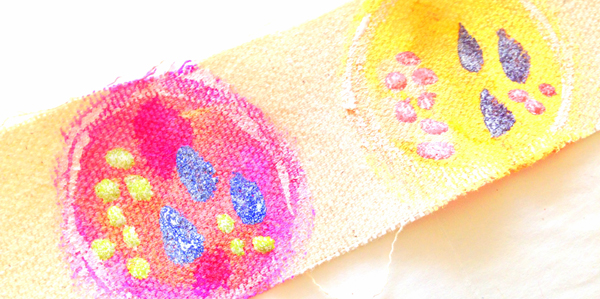
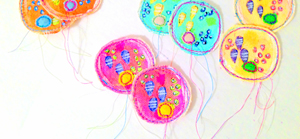
Step 1. Paint circles on your canvas scrap. **If you want both sides of your canvas pouf to be the same, you will need TWO of each color circle**I took mine all the way to the edges to allow cutting and stitching later.  Add little designs using paint and pain pens. Let dry completely.

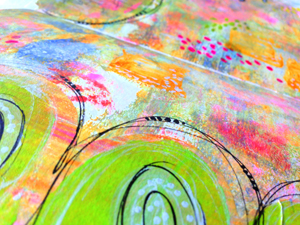
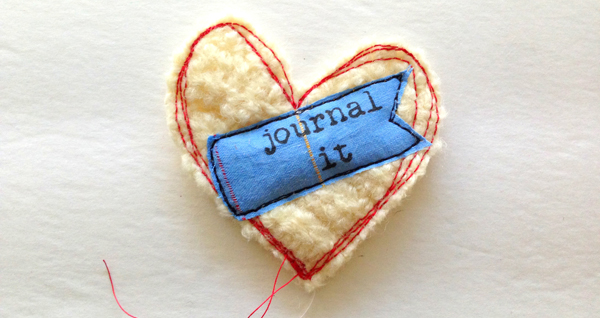
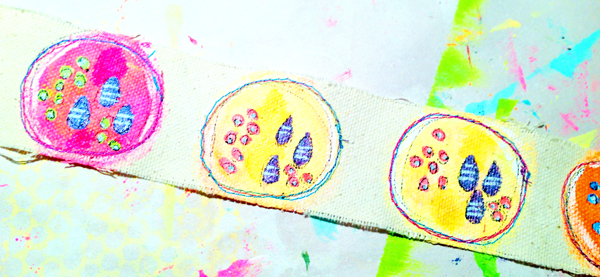
Step 2. Stitch around the edges of each circle a few times.

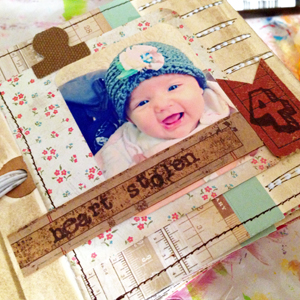
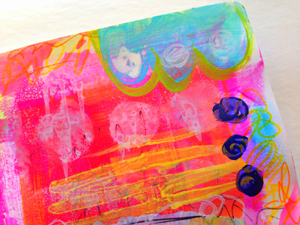
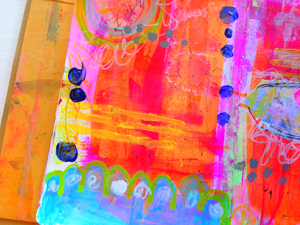
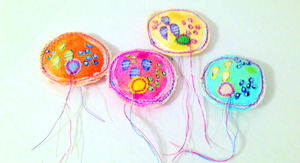
Step 3. Cut each circle out. You can trim your threads or leave them dangle. Cut tiny pieces of felt or fabric and stitch on for a little 3-D embellishment. Using a coordinating thread makes it pop!


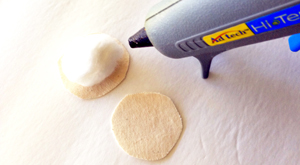
Step 4. Place one of each color circle RIGHT SIDE DOWN on protected surface. Place a small dot of glue on cotton ball and lay on WRONG SIDE of circle. Run a small line of glue along outer edge of circle and place MATCHING circle on top of cotton ball RIGHT SIDE UP. Using silicone finger tip protectors, quickly press edges of circle together.


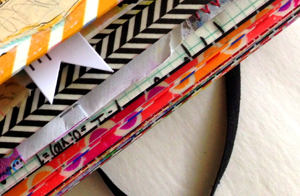
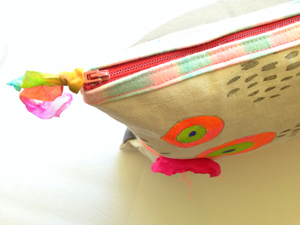
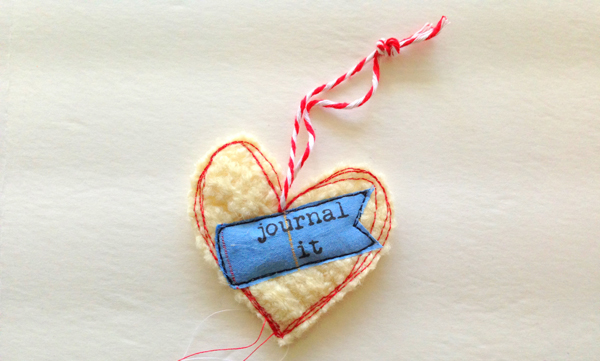
Step 5. Punch a hole near the top edge of each of your canvas poufs using a heavy duty hole punch.

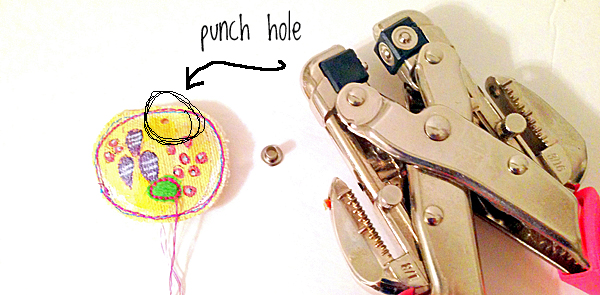
Step 6. Add eyelet to hole you have punched.

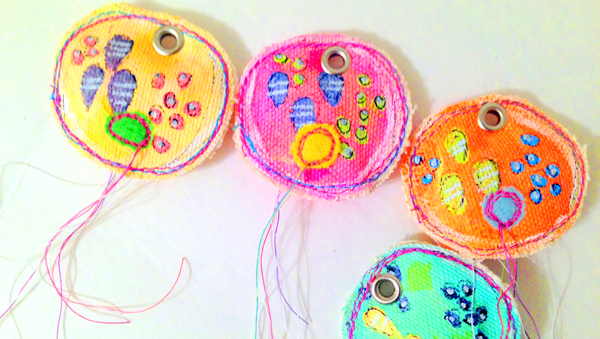
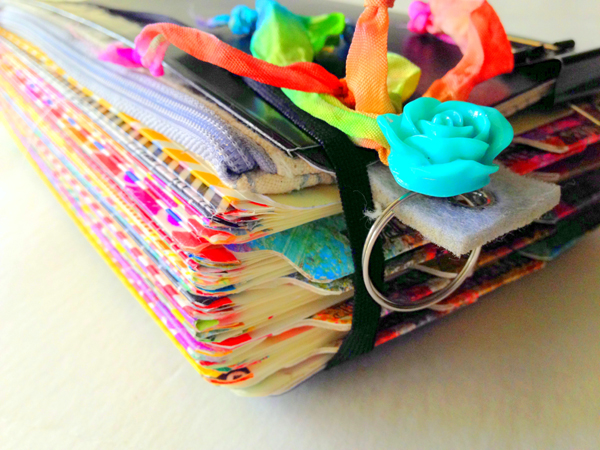
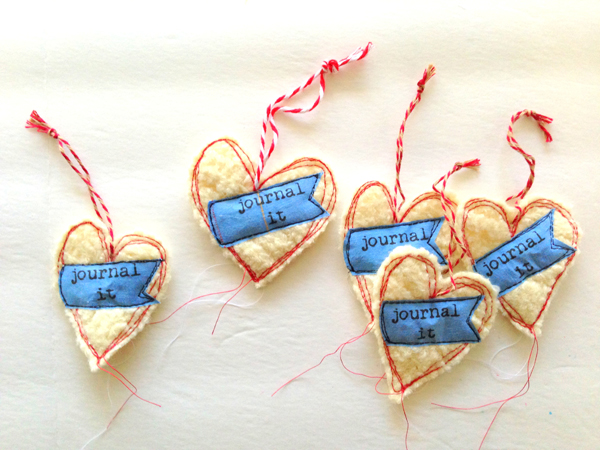
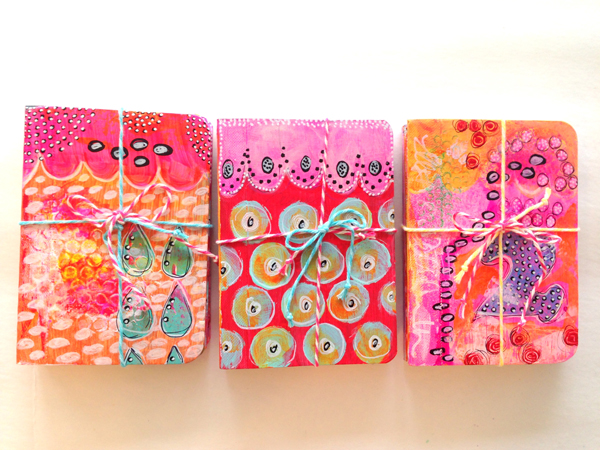
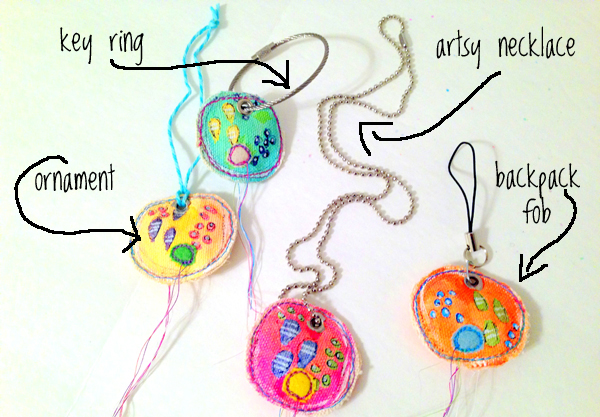
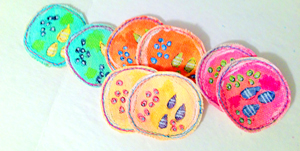
Step 7. Add twine, chain or rings to complete your canvas poufs.

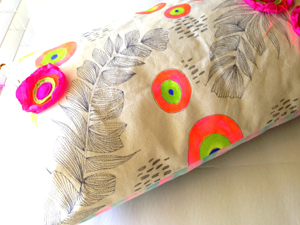
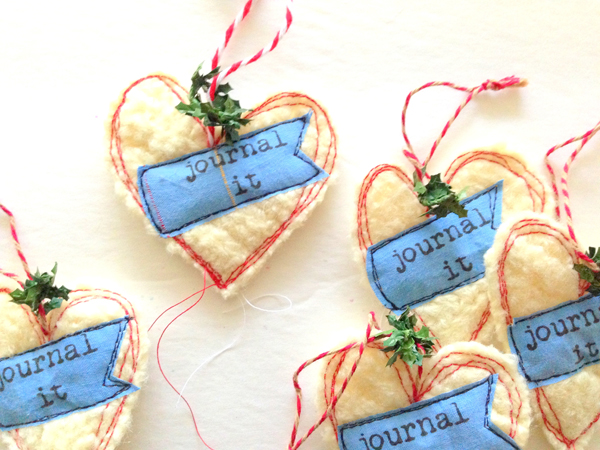
Enjoy what my little girl likes to call "those jelly fish things!" Hey I see an UNDER SEA party theme somewhere in there!

Tuesday
Dec242013

15 minutes of mixed media

New to the blog? This has turned my time in the studio around.

For this layout I started with a gelliprint background and had the following supplies at the ready before I started the timer---> *3 paint colors *black & white paint pens *permanent marker *a few scraps of painted deli paper *scissors *glue stick *number stamp set

Want to see some of my other creative exercises like this? Here you go! --->


Enjoy!

Monday
Dec232013

december daily: re-purposing & catching up

December Daily, with Ali Edwards. I decided to play along this year thanks to the friendly nudging of my pal Sandi. She has been playing for years and has the most awesome collection of memory books to prove it. There are a million different way artists, scrapbookers and journalers are interpreting this project. I chose to keep it real. No buying new pretty stuff. No staging photos. Just good ole' daily life in December and a whole lotta leftover papers and trims from projects past.

I didn't want anything too big either. In my mind I was thinking coffee table book. SMALL coffee table book. MINI coffee table book. Short, squat and chunky. I love the way this book feels so much I decided to create a quick mini workshop on how to make one. It will be available sometime after the New Year.

I stitched vintage style papers the base of each page of my book and added nature cut outs, stamped tags, fabric tabs and punched words. A little bit of doodling and paint plus some sparkle made it more "me" and less "scrapbooky."

I have to admit. I jumped on board for this project with more than a little skepticism. I just wasn't sure I would stick with it. What I should have been more worried about was actually STARTING the project. In all honesty I didn't start it on the 1st, but I DID start it and am now playing catch up.

I have enjoyed working in a small format, with everyday photos of "us" AND re-purposing the art supplies I had in the studio. As far as catching up- well I will be there soon! But the very best part of this project of all is the VIEW!

I will post more page peeks soon. Hopefully in December, wink wink! Have a very Happy Christmas and a Merry Merry New Year! Enjoy!

Wednesday
Dec182013

art stuff: 15 minutes of mixed media

So my journal is filling up and I am still loving it. This is keeping me honest- getting me into the studio, onto my stool, paintbrush in hand.

This is what I had on the table ready to go: a few colors of paint, a scraper, two paintbrushes, a fine tip sharpie, two fat tip acrylic paint pens- black and white, one roll of washi tape, scissors, a glue stick, and a sheet of painted deli paper.

I allow myself to have a few supplies on hand so that I do not cut into my 15 minutes looking for stuff. I never spend more than 5 minutes gathering these things, to keep the challenge honest- which is to say, QUICK!

Pre-selecting some supplies also adds to the challenge. I must work with what is in front of me- no sneaking into the paint drawer without cutting into my time. The clock is always ticking.

I love how this one turned out. The colors, the design, all of it. I am loving those glossy blue dots. If you haven't given this a whirl yet, I hope you will hop on board! Enjoy!

Saturday
Dec142013

newsworthy: The Documented Life Project

One part planner plus one part art journal and one part weekly challenge equals an amazing year of organization, inspiration and community.
Join us for the Documented Life Project.

We start with a Moleskine Weekly Planner.

  • If you want to buy the "as it comes" Moleskine Planner online, Click Here
  • If you want to take a mini-class on how to alter your Moleskine planner including gorgeous downloads, details coming soon via Lorraine Bell's blog Here
  • If you have your own calendar or planner you want to use, that's great too.
Now the journey begins!

Starting January 1, 2014, *we will issue a weekly challenge on  ways to use and decorate your planner to make it uniquely yours.  Interpret the challenge in any way you desire or be inspired by our artists.  Yes, this is free and open to everyone - artists, scrapbookers, calendar keepers, organization lovers, art journalers- yes, YOU! You can find the first challenge on any of the below blogs or the Facebook page listed.

If you would like your planner to look just like ours, we are offering a mini-class taught by artist Lorraine Bell with step-by-step video instructions, filmed behind the camera by Roben-Marie, featuring hand painted gorgeous downloads to make your book an inspiring place for you to look forward to spending some time each week (click here to see a sample of Lorraine's gorgeous planner). Watch for details coming for this class soon OR if you prefer, you can make the planner in your own style.


You can find us:
*Our Blogs


Post your challenge response to your favorite social media and upload it to our Flickr group or Facebook group to share in the community of Life Documentors!
We would be thrilled to have you create and play along with us in The Documented Life Project. 

Who knows what can happen?!

Here are a few photos of what my planner is shaping up to look like --->


I am so excited to be a part of this group! And to be working in and with this amazing planner! I could not survive with out my yearly planner, but I, like these other artists were tired of the boring, plain agendas you would find yourself grabbing, year after year, in the school supply aisle. This planner is going to change all of that!

I love having one side of some of my pages already collaged, painted, and doodled. I plan using them as a springboard for the upcoming challenges as well as for inspiration as I create alongside of my daily life. To me, documenting your life can occur in any number of creative ways. Lists, drawings, doodles, photographs and more- ! The fold-out page construction of this planner allows you to add as many or as few pages as you choose. All the more space to DOCUMENT YOUR LIFE!

The bold and patterened tape edges are one design element that makes this planner both functional and pretty. I, for one, like to have a pop of color or a splash of pattern on each of my art journal pages. Seeing colorful stripes as I flip through my book makes me want to fill the pages with more than just my daily appointments - it makes me want to create! I can't wait to share more detailed photos along the way!

With the added option of painting your cover, this planner will be entirely YOU! I have chosen to leave my cover plain for now, but I can see that changing as the year goes on. We save photographs, we save diaries, we save art journals- most of us have stacks upon stacks, collected over the years. This project offers a deep and personal look into our ordinary, into our everyday. The routines of ourselves and our loved ones that make our memories personal. Something, that at years end, will be worth adding to that stack.

I am always anxious for the new year to arrive. Resolutions and a fresh start in so many ways- a new look at life. Won't you join me- join us, in making our daily life more beautiful? Come be a part of what is sure to be one of the most rewarding projects you take on this year!

To DOCUMENT YOUR LIFE in this planner means- staying focused, keeping up, and being creative too. Whether you like to make lists, doodle while you plan, or sketch your surroundings, this is your agenda. This is your new year. This is YOUR LIFE! DOCUMENT IT!


Friday
Dec132013

sewing stuff: she loves pretty too

When my sweet friend, and other NO. 1 fan, Lorraine at Serendipity Studios wanted me to create a painted pillow for her I knew it had to be special. She is special. She laughed when she read this - so here you go Lo- because you loves pretty too!

Can't wait to visit her beautiful studio again- it is amazing! This will fit her bright and beautiful personality perfectly!

If you haven't stopped by here and met her - do it today! She is beautiful, kind and wickedly talented! AND SHE LOVES PRETTY TOO!

Wednesday
Dec112013

art stuff: 15 minutes of mixed media

Here we go again. 15 minutes of mixed media is the best thing to ever happen to my journal.

Same routine. Set the timer to 15 minutes. I had a few supplies out and ready, but tried to keep it simple today. A few paints, a permanent marker, some spray inks,  a few paint pens and a little washi tape.

I continue to work in my small Dyan Reavely Journal. I like the smaller page layouts when I am setting the timer.

This is a fantastic creative exercise. I encourage you to set the timer and try it yourself. I think you will be pleased with the results. Enjoy!

Thursday
Dec052013

art stuff: recycled sweater ornaments

one beautiful vintage sweater + one super duty front loader dryer = wooly heart ornaments

Please tell me someone else has done this - accidentally dried their favorite sweater! Well, I did it this week, and after I cried for three days I chalked it up to some yummy felted wool and a handful of awesome vintage buttons.

With Christmas just around the corner I decided to use some of the salvaged wool for pretty little ornaments. Let me tell you- I LOVE them! And they were so super easy that I thought I would share. (Just don't go shrink a sweater to make 'em! )

1. Grab some wool or felt or whatever else you have on hand that is nice and chunky and cut it into the shape of a heart.

2. Stamp or print a word or two on fabric and cut out.

3. Stitch all around the edges of your heart. Doodle style stitching is my favorite, so no need to be perfect here.

4. Lay your tag out on heart and stitch around that too. A contrasting color is always my favorite.

5. Using a needle with a large eye, thread some bakers twine or ribbon through the top of the heart and tie a knot.

You could be done here, but I decided to add a tiny ring of faux greenery on the twine. I love them!

Super sweet. Super easy. AND I can share my favorite sweater with my besties!

Friday
Nov222013

art stuff: teeny tiny painted notebooks

Who doesn't love teeny tiny things? These notebooks are my favorite lately. They feel so great when they are all finished and look so much cooler to pull out of your bag or backpack than a regular ole' notebook.

These notebooks are just the right size for those little lists and reminders along the way.

And since I can't remember anything these days, I always have a few of them tucked away here and there - my bag, backpack, the car and of course, one on my nightstand, for the middle of the night - because THAT is when I remember everything I forgot during the course of the day!

Oooh and these make the sweetest little stocking stuffers! Check them all out here! BIG ones coming next week! (you know- for all those BIG IDEAS and LONG LISTS!)

Thursday
Nov142013

the process: simple painted berry basket

I picked up these berry baskets at my local feed store this past spring and have been using them in the pantry every since. Thought I would dress a few of them up for fun!


It was a simple process. First I painted the base of the basket with craft paint. I used a lighter wash of the same color for the inside of the basket.


 Next I doodled on my basket. I used a variety of different sized paint pens.

I added a few little pops of color along the way, using craft paint, followed by more doodles.

 Super quick. Super easy. And a pretty way to display your favorite trinkets or present a holiday basket of goodies to your neighbor!

Blessings to you and yours at Holidays and always! Enjoy!