Roben-Marie Smith

Roben-Marie Smith


THIS AND OTHER  PRODUCTS AVAILABLE AT

       IS A REGISTERED TRADEMARK


 sandi-keene

Roben-Marie Smith

Blog Index
The journal that this archive was targeting has been deleted. Please update your configuration.

Entries in studio stuff (45)

Saturday
Feb082014

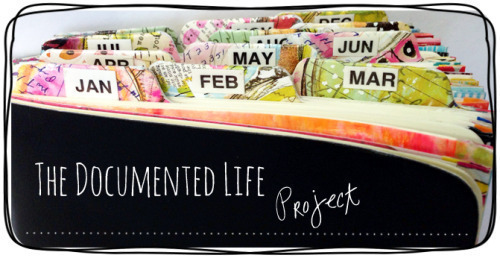
the documented life project: weekly challenge 7

Welcome to Week 7 of The Documented Life Project!

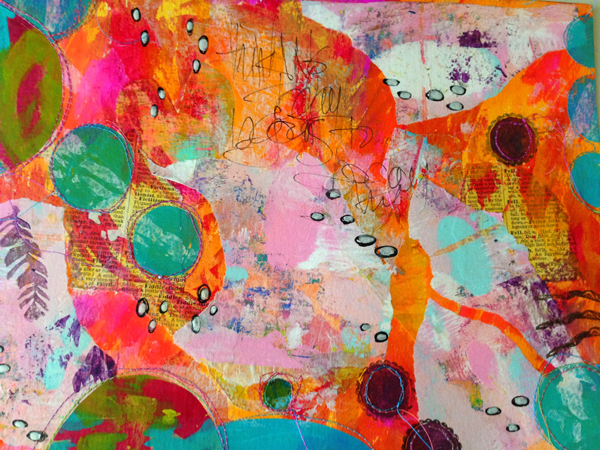
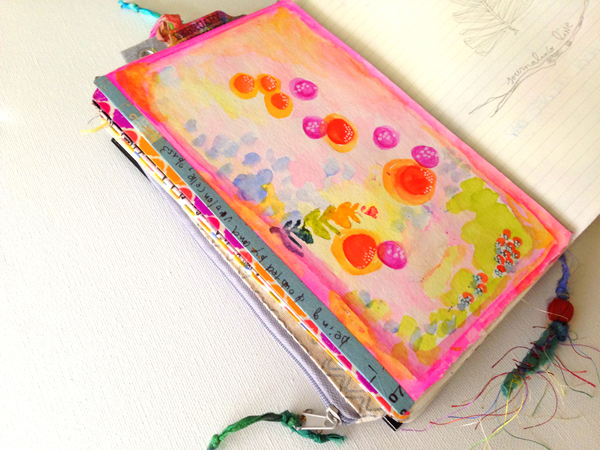
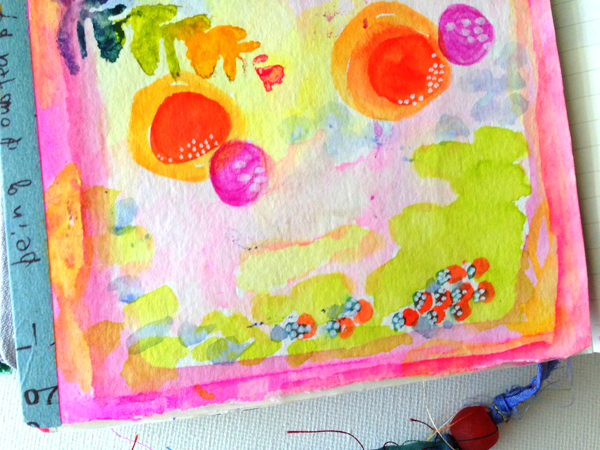
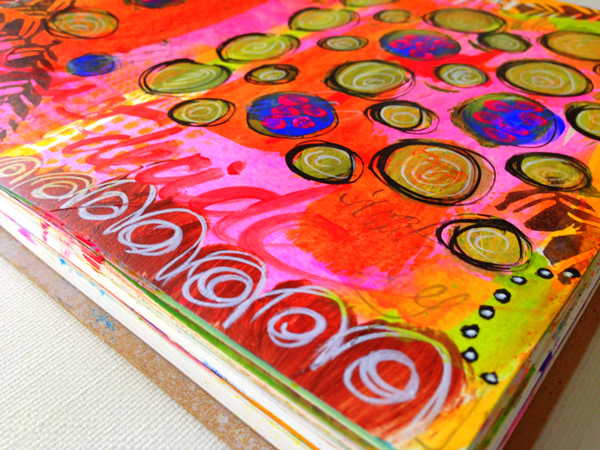
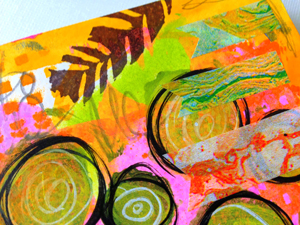
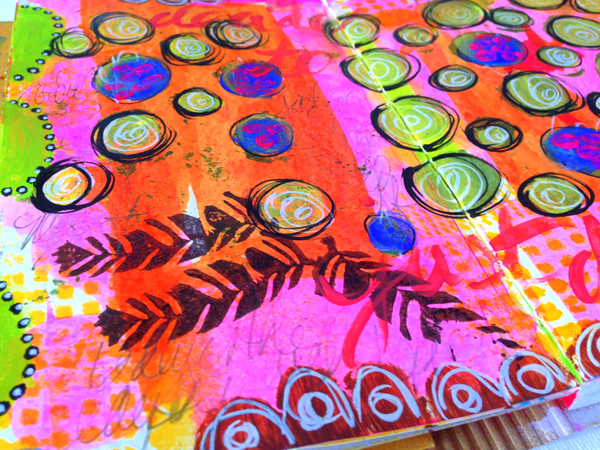
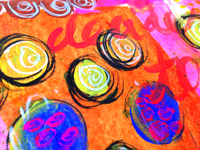
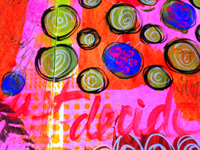
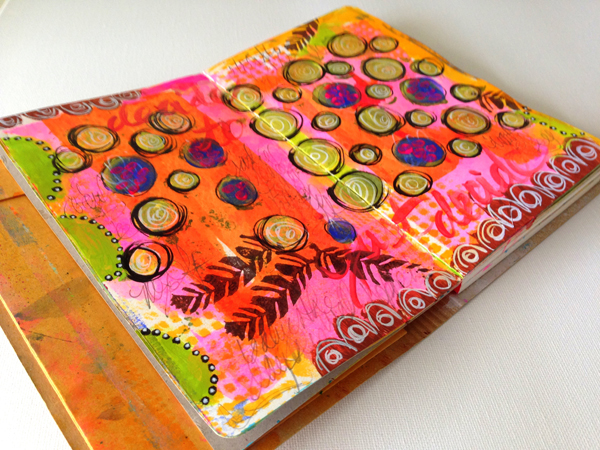
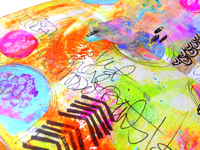
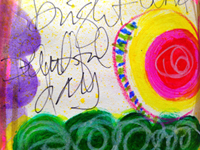
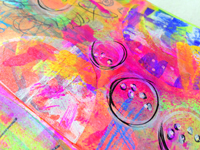
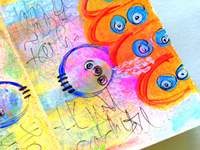
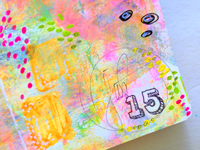
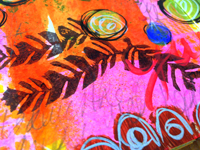
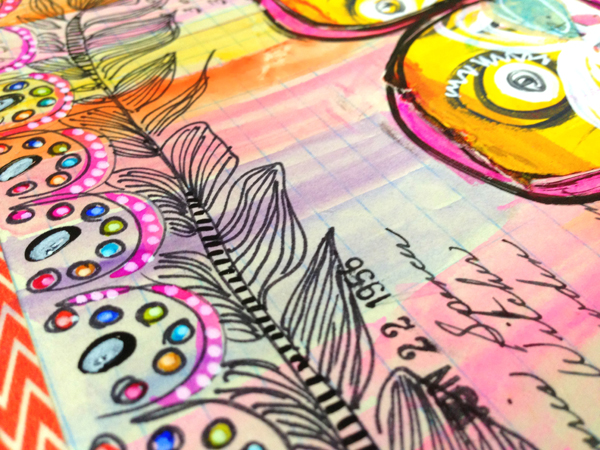
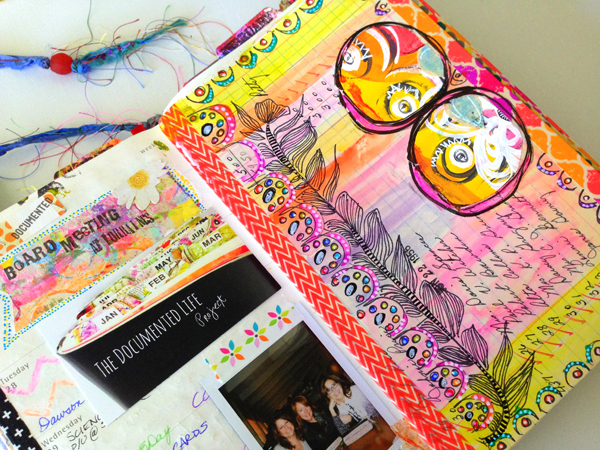
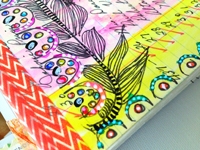
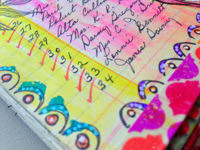
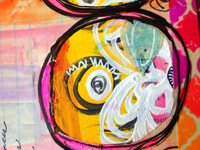
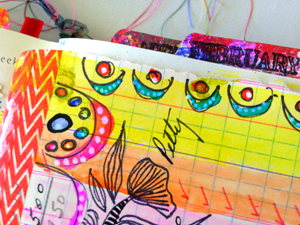
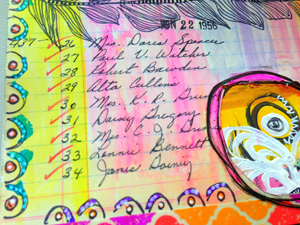
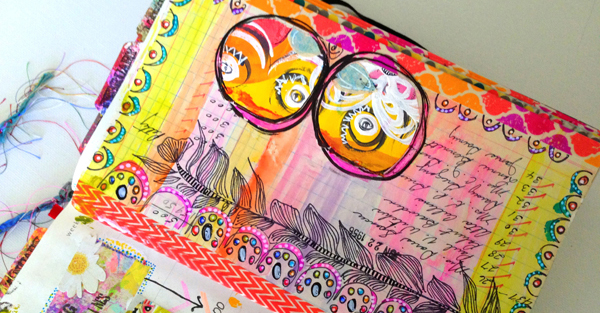
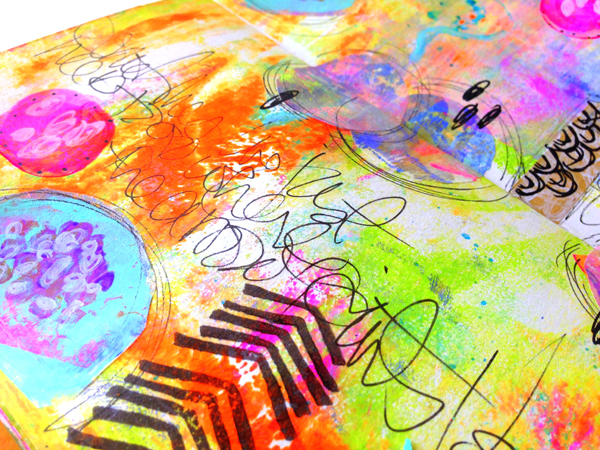
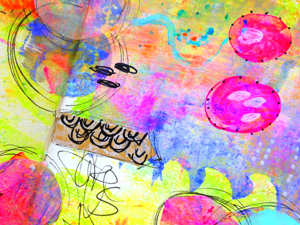
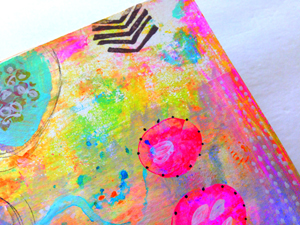
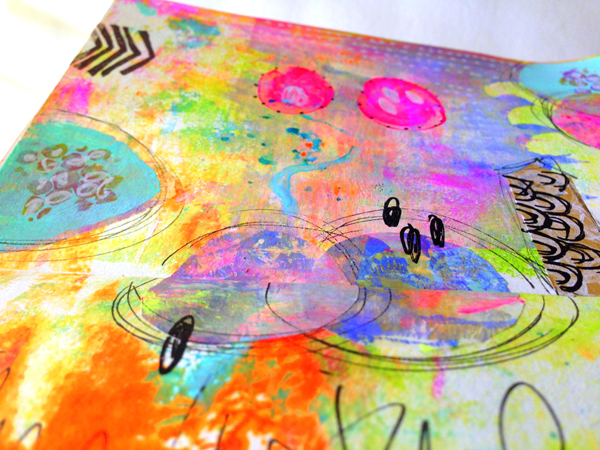
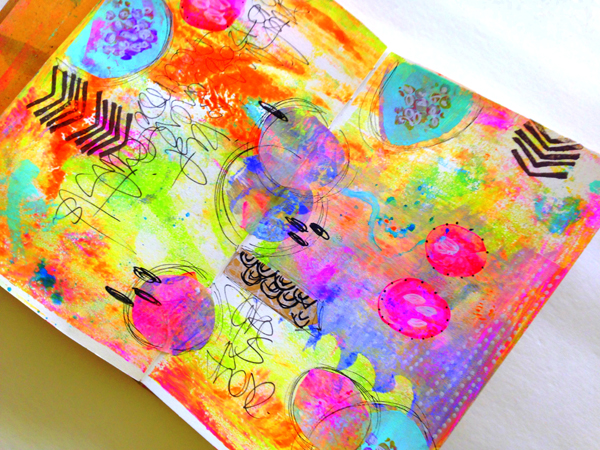
February 8 - Draw one Shape. Repeat. Add Color. 

I knew I would love this week's challenge! Any project that is repetitive in nature calms me. I can draw the same thing over and over again and feel myself de-stress. It is silly, but true. 

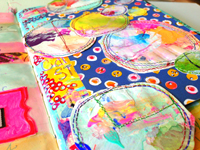
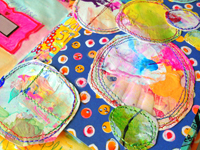
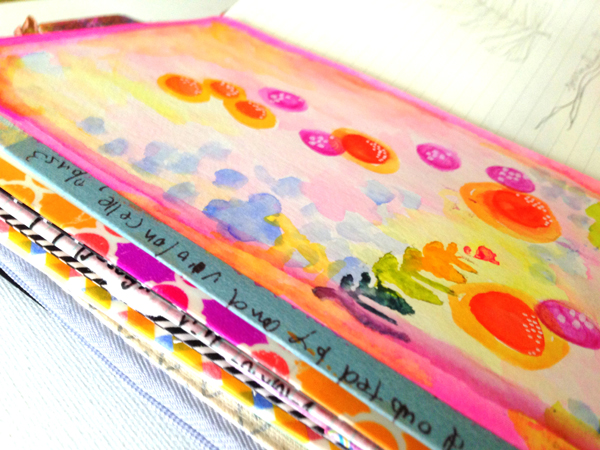
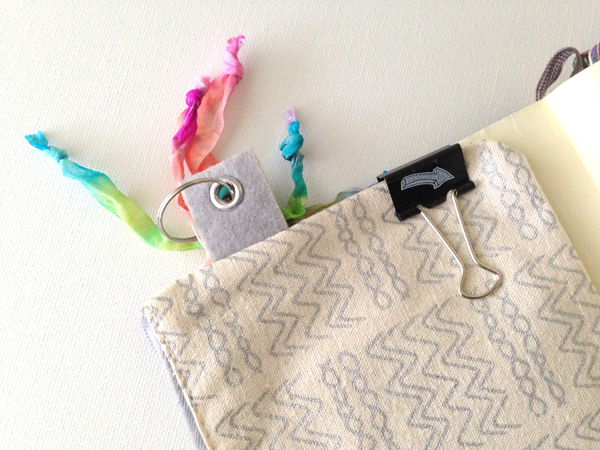
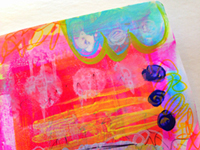
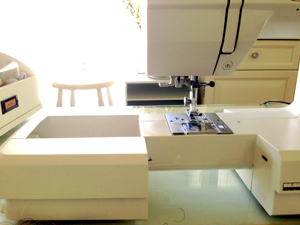
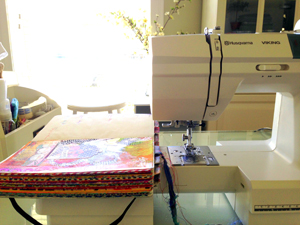
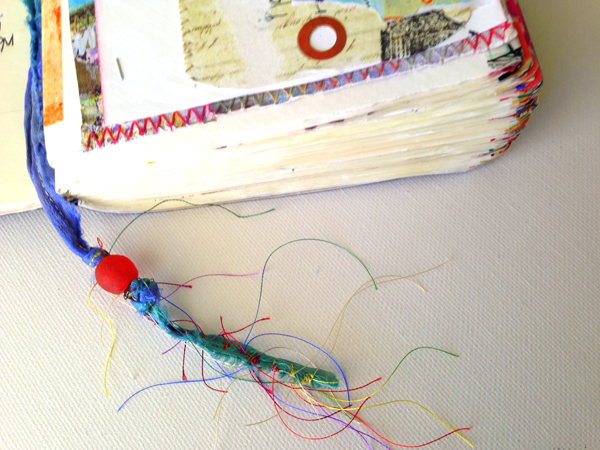
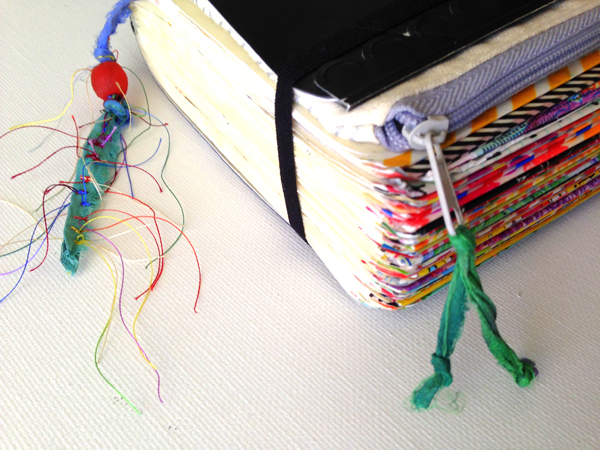
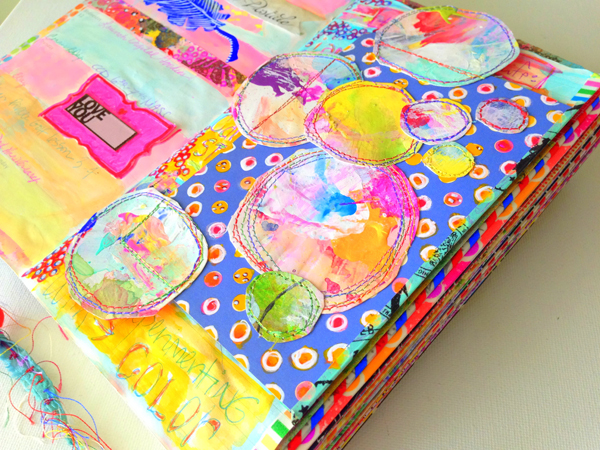
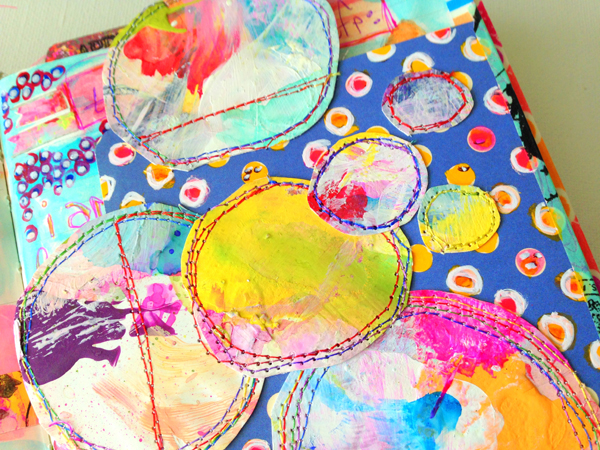
Circles are my favorite. To create my shape I took one of my homemade palettes, a paper plate, and cut several different sizes of my shape out. I stitched them to a piece of patterned cardstock that had white circles printed on it and filled them in with two bold colors.

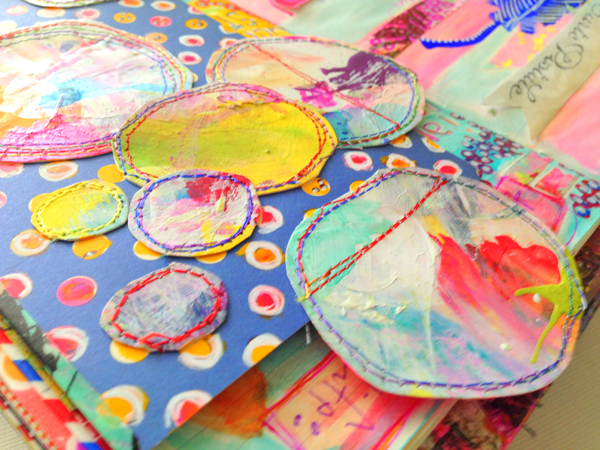
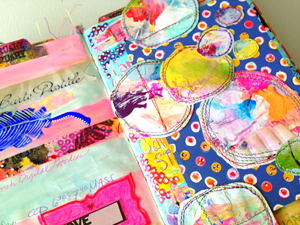
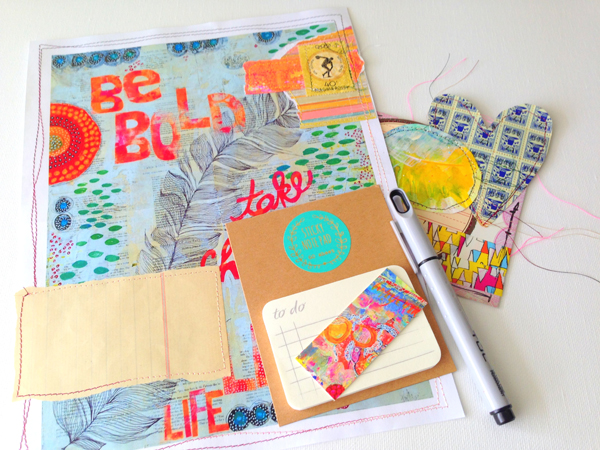
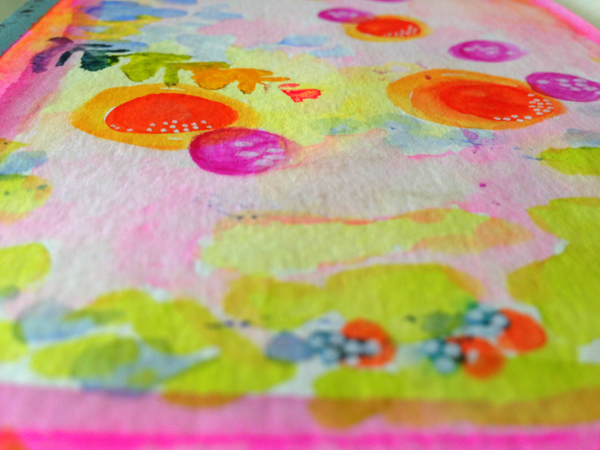
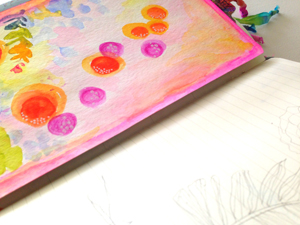
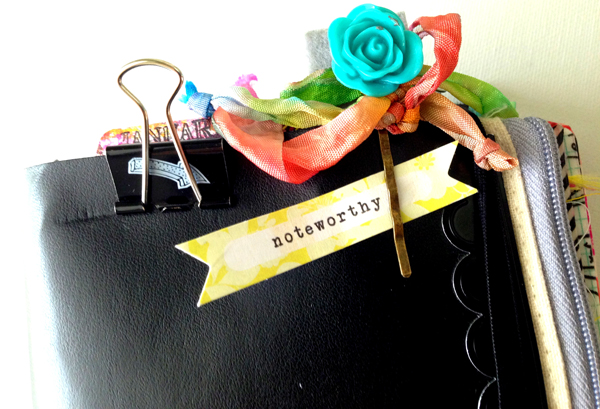
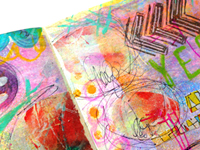
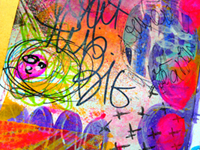
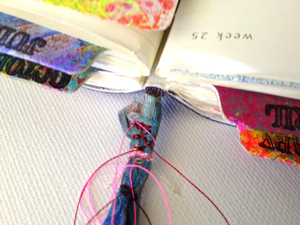
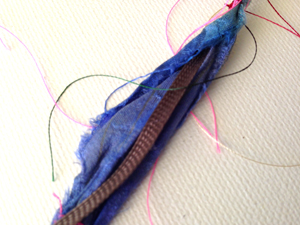
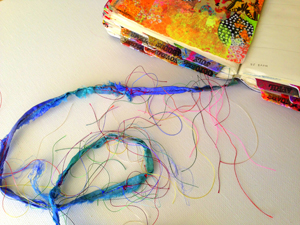
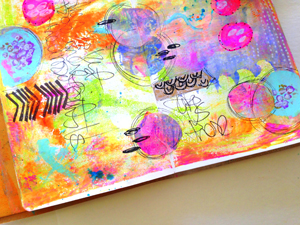
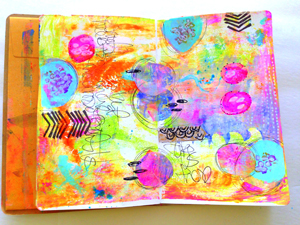
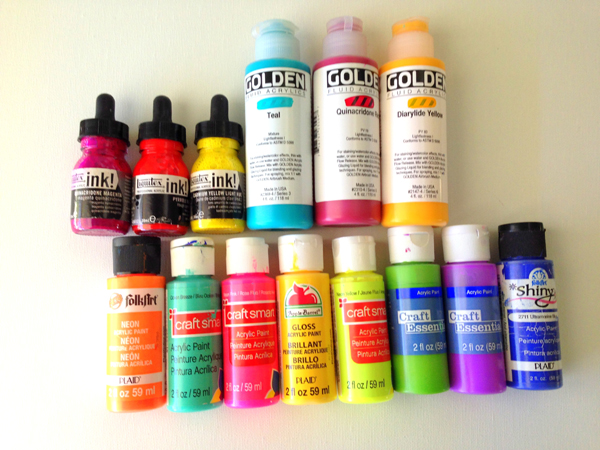
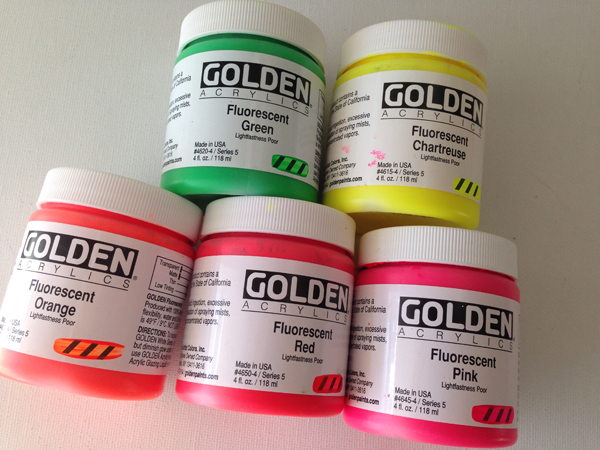
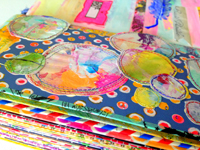
I chose to make my tip in much smaller for this week. I wanted my circle shapes to hang off of the edges so I could see more of my planner page peeking from behind. I love the way that this challenge turned out. It is bright and colorful and the paper plate circles have a lot of yummy texture. The mix of paint, gesso, ink and thread all create a painterly look- just what I wanted!

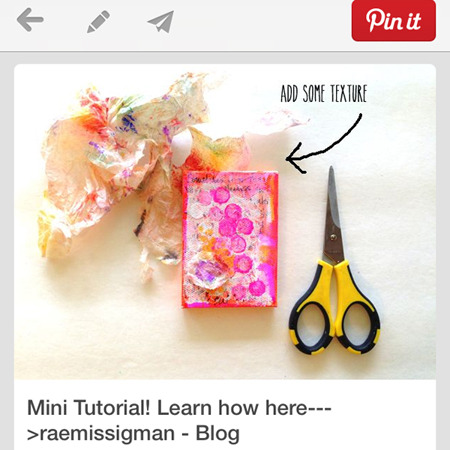
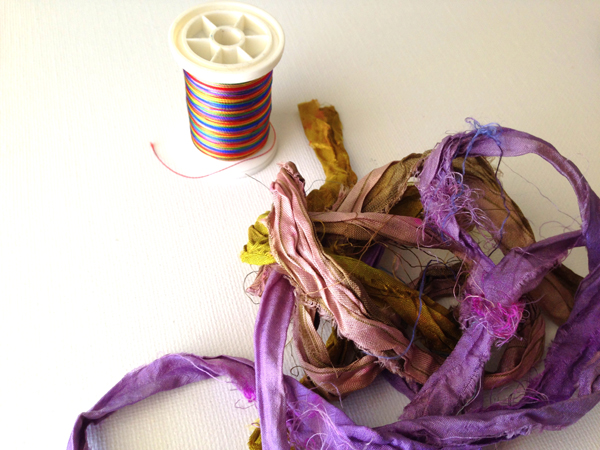
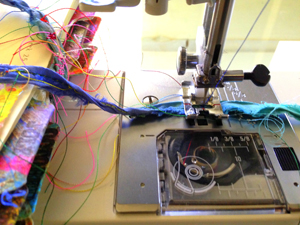
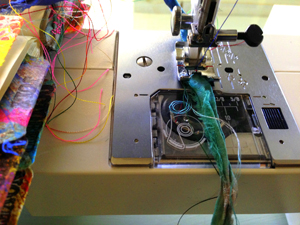
Want to stitch something to your page? You can see a quick little video here----->  STITCHING ON PAPER.


I am looking forward to seeing your interpretations of this week's challenge and I can't wait to meet you back here next week!

------------------------------------------------------------------------------------------------------------------------------------

-------> Art to the 5th Blog - Our Story

-------> List of Weekly Archived Challenges

-------> Facebook

------> Flickr

-------> Instagram - #documentedlife

-------> Our Blogs

            Rae

            Lorraine

            Sandi

            Barbara

            Roben-Marie


Thursday
Feb062014

stitching on paper 

Ever since I learned how to turn a sewing machine on I have stitched on paper. I am sure in the awesome world of great seamstresses this is a big no no. Well, I can't help it. There is something about paper and thread together that make me very happy.

What started out as scary and frustrating, is not my favorite thing. I have broken a hundred needles, clogged my bobbin too many times to count. I break my thread on a daily basis and have to look up how to change the tension every. single. time. BUT I love it. I love it. I love it.

Enjoy the process. If you get frustrated, keep going. I promise one day you will love it. 


Tuesday
Feb042014

mailart from my art

Just making a little mail art over here. Hoping to get my act together this year and do a swap!

MAILART: print of my be bold canvas. vintage ledger paper. to do tab. wasi tape. vintage grocery stamps. painted paper plate circles. patterened paper scraps. vintage postage stamps.

Saturday
Feb012014

the documented life project: weekly challenge 6

Welcome to Week 6 of The Documented Life Project!

February 1 - Open Your/A  Pinterest Board and Be Inspired!

At first I wasn't sure about this challenge. Pinterest is a tad bit overwhelming on a good day - to open a board and be inspired could easily lead to hours of surfing beautiful pages and boards. To simplify things and keep my "surfing time" to a minimum, I chose to open one of my own boards - Tutorials. This is what I found!

I loved sharing how to make this mini canvas and everything about the way it turned out- the colors, the texture and the interesting look the paint took on. I took the challenge one step further and only allowed myself to use watercolors. Watercolors are a fairly new medium for me and I am much more comfortable using acrylic paints. I thought this would push me to use the watercolors, experiment with them a little more...

I used a piece of watercolor paper that was already collaged on the reverse side for my tip-in page this week. I chose a pretty, bright palette and following the lines of my pinterest inspiration I began painting.

As it turned out, I taped my tip-in backwards (NOT the first time) and so I had to create my challenge on the back of my collaged paper. I could have removed the tape and started over, but I chose to leave it as is. Now I have TWO pretty pages this week.

I quickly and loosely applied a bright "frame" like border to my page, followed by several large circles of color. Next I added some swathes of color to the bottom edges of the page. I applied several colors of the paint to my hand-carved feather stamp and then stamped my page. I love it! 

Once all the paint had been applied and dried, I added little pops of white using my favorite white pen of all time. You can see that I have a lot to learn about moving and thinning color, but overall I enjoyed the challenge. Watercolor paints leave such a beautiful fluid look to your page when applied correctly. I look forward to giving this technique some more practice!


I am looking forward to seeing your interpretations of this week's challenge and I can't wait to meet you back here next week!

------------------------------------------------------------------------------------------------------------------------------------

-------> Art to the 5th Blog - Our Story

-------> List of Weekly Archived Challenges

-------> Facebook

------> Flickr

-------> Instagram - #documentedlife

-------> Our Blogs

            Rae

            Lorraine

            Sandi

            Barbara

            Roben-Marie


Thursday
Jan302014

zipper pouch for my planner

Ever since the big announcement about THE DOCUMENTED LIFE PROJECT people all over the world have been posting photos of their cool planners and journals. I love all of the sharing and communicating that has come from being a part of this project.

I have had quite a few fellow documenters ask about the zipper pouch that I have attached to my planner, so I thought I would give you the scoop. I bought this pouch as part of a two pack in the Dollar Section of Target. I think I paid $3 for this and a smaller one like this.

I left the ring that attached both pouches on the felt tab but removed the smaller pouch. I use a binder clip to hold the pouch in place- this way I can remove it easily when replenishing supplies and what not. I found that by positioning it a little off center the book closes nicely.

Most days I keep several colored ink pens and a small roll of washi tape on hand. I also keep a sleeve of stamps and a few miscellaneous papers on hand. This way I can make notes on pretty scraps, doodle them up and tape them in- all on the go. I think I will keep my eyes open for a special charm to add to that ring!

I dyed some seam binding using DYLUSIONS INKS for a pop of color, and attached them to a pretty bobby pin I found in the Dollar Bin at Micheals. I can use it to attach an uplifting word or note to the front of my journal.

When I am finished documenting for the moment, I zip up the pouch and flatten out the supplies. The planner closes just fine. I am sure that as my planner gets chunkier I will have to add a longer elastic band to hold my book closed. Maybe I will dye some elastic in a bright color. I am working on adding a prettier, longer, wider place marker ribbon as well. Will post some photos when that is complete!

READ HERE -----> to learn how to add a pretty Sari Ribbon Place Marker to your Planner!

I hope this answered some questions. I can't wait to see what you guys come up with for your planners over the next few months. I have seen so many awesome adaptations here and here already and I am loving every one of them! Want to learn more?  More Details here ----->

You can find us:
*Our Blogs


Tuesday
Jan282014

15 minutes of mixed media

This week for my 15 minutes of mixed media I took a cue from a challenge in another project I am working on - The Documented Life Project. I wrote an entire two pages of journaling, then painted over all but what I felt like sharing.

Before I set the timer this week I chose a two page layout that had been prepped with a simple background- just a few swipes of bright paint.

Once the clock was ticking I started writing. I wrote in pencil and paint. I had my embosser handy, as always, to dry layers more quickly, saving me lots of time. Once I finished journaling I started layering. First I painted over most of my writing with large circles of yellow and blue paint. I like to use glossy craft paints for these little pops of color.

The scalloped border was created using a handcut cardstock stencil. Lots of little black and white details were added using my favorite thing ever- paints pens. Another recycled stencil, a scrap of laser cut lace paper, was used with spray inks to create lots of tiny colorful squares all over my page. I used a hand carved stamp to create feather leaves.

My journal layout this week is bold and bright. I am learning to be brave and let go and let the colors choose themselves. Sometimes, like this week, they are pretty wild, and not what I would usually choose- but I like it!

Supplies at the ready when the clock started ticking this week: 4 colors of craft paint, black and white paint pens, two recycled cardstock stencils, hand carved feather stamp, sunshine dylusions spray ink, brown staz on ink pad, pencil.

Want to see more simple background ideas for your art journal pages created using 15 minutes of mixed media? Read here----->

Saturday
Jan252014

the documented life project- weekly challenge 5

Welcome to Week 5 of the THE DOCUMENTED LIFE PROJECT.

January 25 - Add a Doodle Border to your page.

This week I chose a piece of vintage ledger paper as my tip in. I added large swipes of translucent watercolor and two large colorful collaged circles.

I doodled a large feather as my border, then decided it needed more.  I added lots of scallops and circles with a permanent pen. Then I began to fill in with color. I even added another piece of bright washi tape. I added some doodled circles and dots to my collage shapes.

Doodling is so fun, but truthfully it is not the easiest thing for me. I am better with a more sketchy approach and so my doodling always apprears a little shaky when I try to make it pretty and symmetrical. I try to compensate for this with color.

I filled in my scallops with dylusions inks. I knew the colors would bleed out on the old paper but wanted them to appear more fluid like and less like zentangle.  I love how the bright hues all popped together. Once the inks were dry I added little dots of white to make the bold colors stand out even more.

It is very difficult for me to confine a layout to one layer. This week was the perfect challenge for me for that reason. All of  the doodles helped make my tip in appear as if it were more than one dimension, so I was happy with my page in the end.

Looking forward to seeing your interpretations of this week's challenge and I can't wait to meet you back here next week for some more exciting fun!

Find out more about Art to the 5th and see a list of archived challenges here ----->

You can find us:
*Our Blogs


Post your challenge response to your favorite social media and upload it to our Flickr group or Facebook group to share in the community of Life Documentors.


Thursday
Jan232014

sari ribbon place marker

If you are participating in The Documented Life Project and are anything like me, you may be having a hard time leaving your planner or journal alone!

As I was creating challenges over the past few weeks, it occurred to me that I needed a longer place marker. Because my book is so chunky I knew my sewing options were limited. Here is what I came up with ----->

I grabbed some beautiful recycled sari ribbon a pal gifted to me, and some colorful thread.

Next I moved the detachable arm piece of my sewing machine out far enough that I could rest my planner on it. I opened my planner to the center and rested it on the arm, stretching the original place marker out as far as I could.

I opened the sari ribbon up and wrapped it around the end of the original place marker, getting as close to the book as possible. I secured it with a straight pin until I had it under the foot of the machine. Once under the foot (it will move a little) I lowered the foot and removed the pin. I stitched back and forth a few times to secure the two markers together. Moving downward from my stitching,  I opened the sari ribbon and wrapped it around the original marker.

Once secured, I stitched the sari ribbon, rotating from horizontal to vertical stitching every few inches.

Lastly, I trimmed the ribbon and threads. I added a pretty bead,  knotting the ribbon just below it a few times until secured. If I need more length as the year goes on, I can undo one or two of the knots and easily make my marker longer.

Now my planner has a pretty place marker that can handle the bulk of my book! I love it!

Want to make your place marker longer or prettier? This was an easy and FREE project. Just dig through your stash and grab a piece of ribbon or colorful twine and stitch away. Don't sew? Use a tacky fabric glue and set aside to dry overnight!

READ HERE -----> to see how I added a removable zipper pouch (in about five minutes) to my planner here!

READ HERE TO LEARN MORE AND JOIN ME IN DOCUMENTING YOUR DAILY LIFE! Enjoy!

Tuesday
Jan212014

15 minutes of mixed media

This week's 15 minutes of mixed media challenge turned out even better than I had hoped. I love the colors.

This week I started with a ghost print of a gelli print. This was a print that was already in my art journal. It gave me a slight edge, as starting with a back ground will do. I like it. Sometimes it is a great springboard for color and definition on a page.

Having backgrounds at the ready in your journal is a simple way to add layers to your 15 minute challenge as well as perserve supplies. I never wipe my gelli plate to clean it. I always keep printing until all the paint is depleted. This makes beautiful ghost (or light) prints. I also like to take extra paint off of the palette and swipe it on the page, smearing it out from the center as I go. To do this I like to use an old credit card or a scraper.

Here is the short list of supplies that I had on hand before I started the timer. Remember, having just a few supplies at the ready saves valuable time when the clock is ticking! *5 paint colors (just run of the mill cheap craft paints. I would list the colors, but most of them are so old the labels are worn off) *sticky note tabs *permanent marker *black and white paint pens *glue stick *scraps of painted deli paper *stamp *stamp pad *embosser (to speed up the drying process in between layers) *dylusions blue spray ink

Setting the timer is certainly a challenge on most days, but it gets my creative mind racing. I usually begin a bit harried, but by the time the buzzer rings I am in a flow. Remember- if you are joining in on this challenge and setting the timer- THIS IS YOUR ART JOURNAL. Depending on your schedule and what goals you have set for yourself, YOU DON'T HAVE TO STOP THERE. Keep creating. If nothing else, you will have spent 15 minutes setting up a base for your layout. I choose to stick to the 15 minutes so that I can post honest to goodness 15 MINUTES OF MIXED MEDIA ART JOURNAL PAGES.

If you have started playing along I would love to hear about it. Love how your art is turning out when you set the timer? Send me a few photos via the contact page- I would love to see them! Enjoy!

Sunday
Jan192014

go to paint and ink colors

This little post is in response to the dozens of requests I have had about my favorite paint colors. I have so many - but these are the few I seem to go most often!

In order from top to bottom, left to right ------>

LIQUITEX INKS - pyrrole red. quinacridon magenta. cadium yellow light hue.

GOLDEN ACRYLIC PAINTS- teal. quinacridone red. diarylide yellow.

ASSORTED ACRYLIC CRAFT PAINTS - I like the glossy colors too!

FolkArt- neon orange. Craft Smart- ocean breeze. Craft Smart- neon pink. Apple Barrel (gloss)- dandelion yellow. Craft Smart- neon yellow. Craft Essentials- apple tart. Craft Essentials- neon purple. Plaid Shiny- ultramarine blue.

GOLDEN HEAVY BODY NEON ACRYLICS - Fluorescent Green, Fluorescent Chartreuse, Fluorescent Orange, Fluorescent Red, Fluorescent Pink.

I hope this helps. As I choose new favorites I will post them here to share with you! Happy Creating!