Roben-Marie Smith

Roben-Marie Smith


THIS AND OTHER  PRODUCTS AVAILABLE AT

       IS A REGISTERED TRADEMARK


 sandi-keene

Roben-Marie Smith

Blog Index
The journal that this archive was targeting has been deleted. Please update your configuration.

Entries in tutorials (34)

Thursday
Dec192013

last years christmas projects revisited 

Time was not on my side this year when it came to creating ten tons of christmas crafts. Luckily for me I had whipped up a few quick and easy ones last year that I could revisit. If you need a few last minute homemade holiday gifts just click on the images to find quick and easy tutorials!


Enjoy and happy holidays to you all!


Thursday
Dec052013

art stuff: recycled sweater ornaments

one beautiful vintage sweater + one super duty front loader dryer = wooly heart ornaments

Please tell me someone else has done this - accidentally dried their favorite sweater! Well, I did it this week, and after I cried for three days I chalked it up to some yummy felted wool and a handful of awesome vintage buttons.

With Christmas just around the corner I decided to use some of the salvaged wool for pretty little ornaments. Let me tell you- I LOVE them! And they were so super easy that I thought I would share. (Just don't go shrink a sweater to make 'em! )

1. Grab some wool or felt or whatever else you have on hand that is nice and chunky and cut it into the shape of a heart.

2. Stamp or print a word or two on fabric and cut out.

3. Stitch all around the edges of your heart. Doodle style stitching is my favorite, so no need to be perfect here.

4. Lay your tag out on heart and stitch around that too. A contrasting color is always my favorite.

5. Using a needle with a large eye, thread some bakers twine or ribbon through the top of the heart and tie a knot.

You could be done here, but I decided to add a tiny ring of faux greenery on the twine. I love them!

Super sweet. Super easy. AND I can share my favorite sweater with my besties!

Thursday
Nov142013

the process: simple painted berry basket

I picked up these berry baskets at my local feed store this past spring and have been using them in the pantry every since. Thought I would dress a few of them up for fun!


It was a simple process. First I painted the base of the basket with craft paint. I used a lighter wash of the same color for the inside of the basket.


 Next I doodled on my basket. I used a variety of different sized paint pens.

I added a few little pops of color along the way, using craft paint, followed by more doodles.

 Super quick. Super easy. And a pretty way to display your favorite trinkets or present a holiday basket of goodies to your neighbor!

Blessings to you and yours at Holidays and always! Enjoy!

Thursday
Oct312013

in my house: happy halloween

...wishing you all a safe and fun filled holiday!

Read more about how I made this sweet All Hallows Eve Banner,  this Yummy Triple Decker Candy Dish and this Spooky Stack of Vintage Books!

Friday
Sep132013

mini tutorial: homemade flower stencil

I have been wanting to try to make my own stencils for awhile now and when I stumbled across this plastic at my local Wal-Mart I had to give it a try. I also needed a sharp knife, a cutting mat and a permanent marker. This is what I did if you want to give it a try yourself.

Step One: Draw a template with a permanent marker on cardstock. (you could use tracing paper too, but I had trouble with the pencil smearing as I was cutting) Place template under piece of stencil plastic and staple or tape the edges to hold in place.


Step Two: Place on cutting mat and slowly and carefully cut away all the parts you wanted REMOVED from your stencil.

Keeping the flowers all connected was a bit tricky so I actually ended up with two seperate stencils. One with two flowers and one with three. I sprayed it heavily so you could see the detail better.

Here I used the same stencil, rubbing paint over it instead of spraying it with ink.

This really wasn't as difficult as I thought it would be. I think I might give it another go this week.

Wednesday
Sep042013

the process: recycled binder turned art journal

Let's recycle something else this week!

I took this old clear binder and turned it into a pretty art journal cover. It was super easy and took just under an hour to create, including drying time, which I sped up by using my heat embosser.

Next, grab one of these re-purposed scrapers and scratch off a little gesso- letting your favorite words shine through. Ink the gesso using a dry brush or sponge.

Mix a little gesso with some ink or paint and rub it over your favorite stencil. Chunky goodness happens here.

Add a stamp or two along the edges.

Use a black paint pen to add more journaling.

Stitch some fabric to the front cover to add some texture.

Punch holes along the edges of your solitary pages or add in those you have removed from a spiral bound journal.

My favorite part is seeing my journaling, in reverse, on the inside of the cover.

Wednesday
Aug142013

the process: sometimes mini canvas

...because lately I love anything new and tiny. (If you follow my instagram you will know why) --->

Tiny and Pretty. Enjoy the process!

Tuesday
Aug062013

tutorials: plastic fused notebook

Today I have another tutorial for you using the same simple steps we used to make THIS PRETTY PLASTIC FUSED CANVAS AND COLLAGE PIECES.

If you had fun making your PLASTIC CANVAS COLLAGE PIECES I think you will enjoy making the easy pocket notebook. JUST GO HERE TO MAKE A PLASTIC FUSED CANVAS. Once you have your  CANVAS hop back over here and follow a few more easy steps to create this pretty, recycled pocket notebook.

STEP ONE:  Trim your plastic canvas to the desired size and shape, using your paper pad as a template. Be sure to allow for a half inch seam allowance around the edges of your paper pad. Stitch all the way around the edges of your canvas a few times with pretty thread. I added some zig zag stitching at the last minute too!


STEP TWO:  Grab some notebook paper or a small tablet- a sticky note pad works great. If you are using note book paper you will need to trim it to size, allowing for folding to create a signature.

STEP THREE:  Stack your trimmed paper, creating a signature. Fold in half and score. Now stitch down the score line with pretty thread. ( If you are using a ready made tablet you can skip this step! )

STEP FOUR: Once your signature is stitched, position it slightly off center on the wrong side of your PLASTIC FUSED CANVAS. Check that both sides will fold in toward center of notebook, overlapping. If positioned correctly, open to middle of signature and restitch down the center. Double back for added strength.

STEP FIVE:  Fold in your notebook flaps and mark both sides where you will need to punch a hole for your ribbon tie and button.

STEP SIX: Attach your ribbon and knot. Add a button or bauble on second flap. Fold & Wrap!

What a pretty little notebook to pull out of your bag for all those LITTLE NOTES AND LISTS. And the best part? It is recycled!


Enjoy!

Friday
Aug022013

tutorials: plastic fused canvas = pretty collage pieces

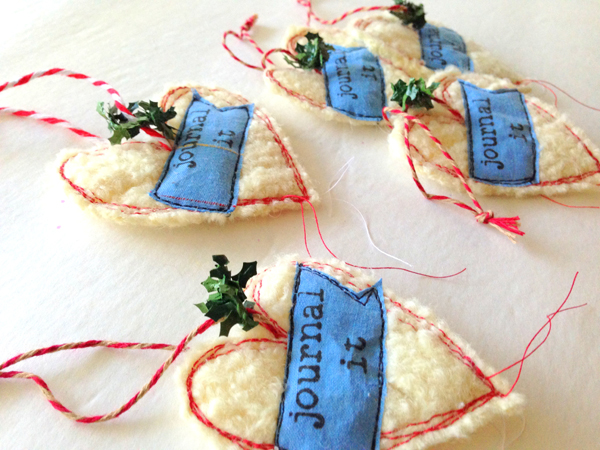
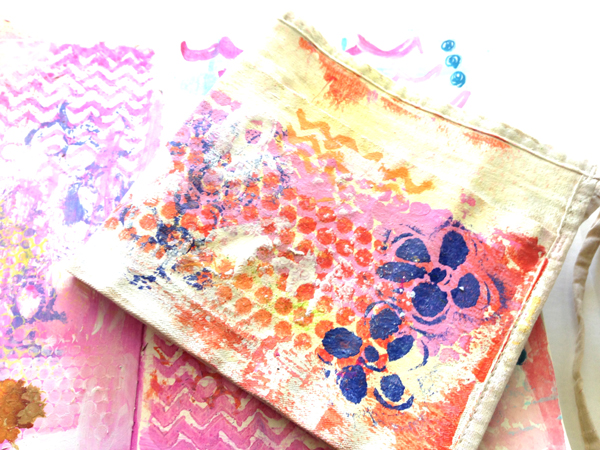
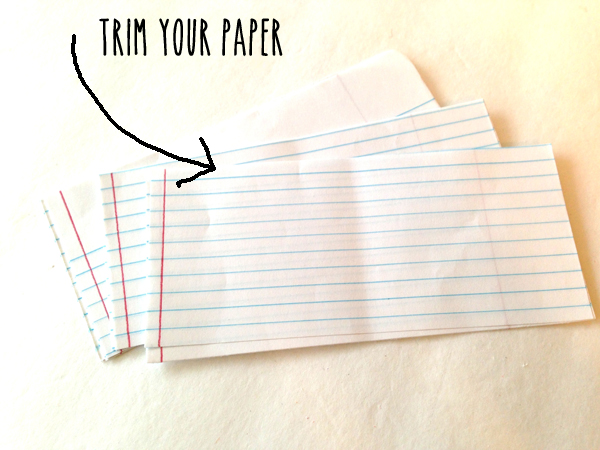
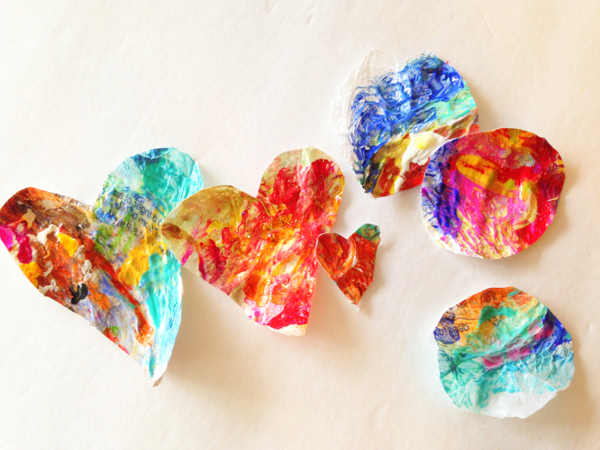
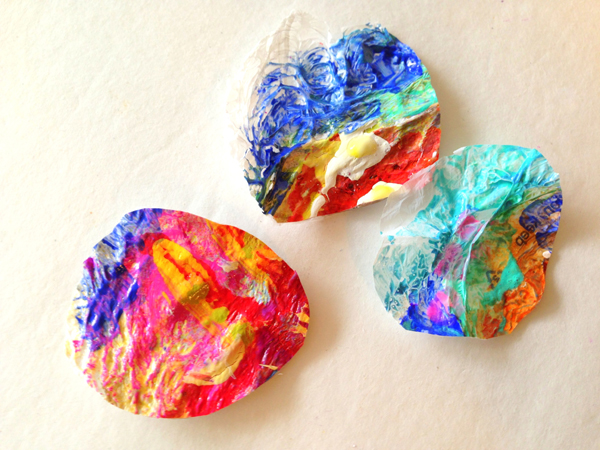
I make a lot of collage pieces to use in my art journals, but lately I am hooked on these pretty pieces. They are so full of wonderful texture and color. Since I have had so many questions about them I decided to do a little tutorial.

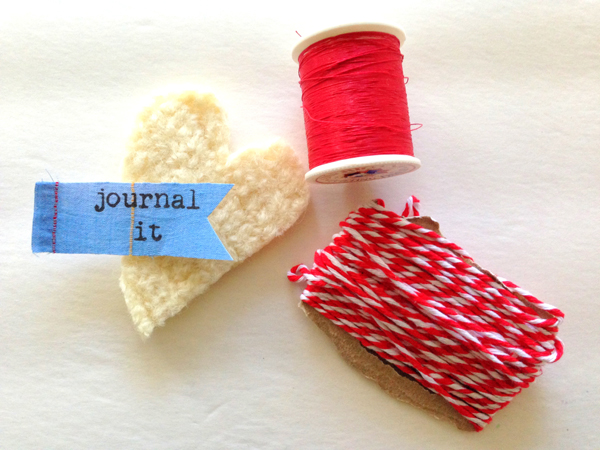
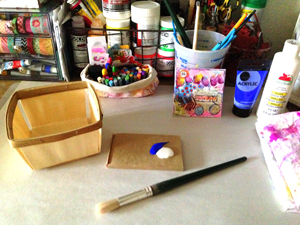
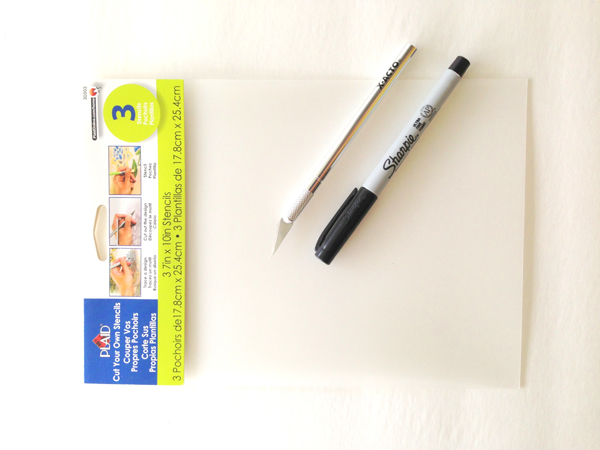
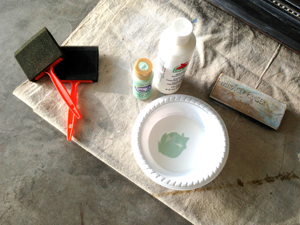
SUPPLIES YOU WILL NEED:

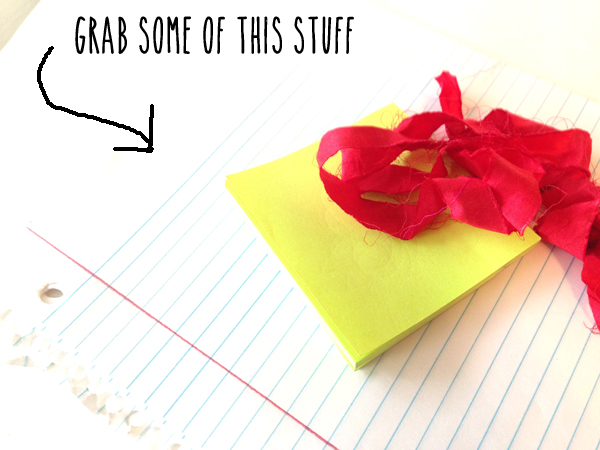
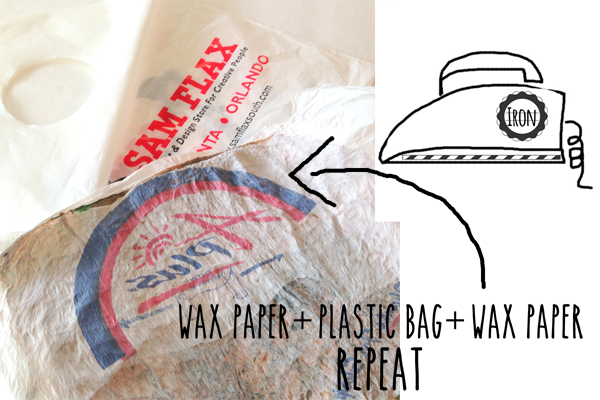
<--- plastic bags and wax paper
<--- towel to protect your surface
<--- iron and ironging board or flat surface
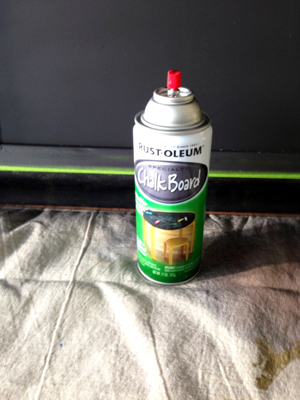
<--- inks paints and gesso 

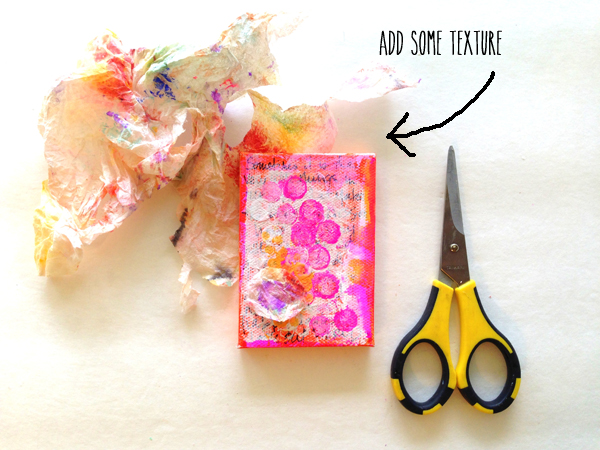
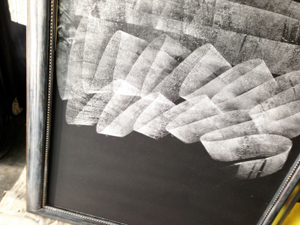
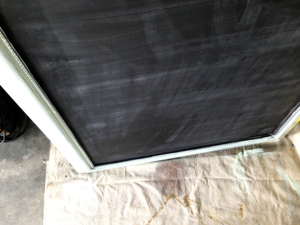
STEP ONE:  Cut bottom seams and handles off of your plastic bags. Lay a towel on ironing surface to protect it, followed by a piece of wax paper that is larger than your plastic bag. Next, lay out one plastic bag ( print side in to protect your iron ) followed by another sheet of wax paper. Iron. Continue layering and ironing until you have a four to eight ply stack. Add a final piece of wax paper to your stack and iron one last time.

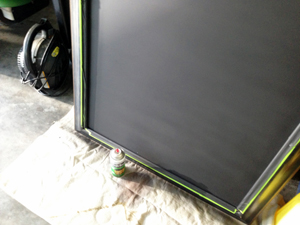
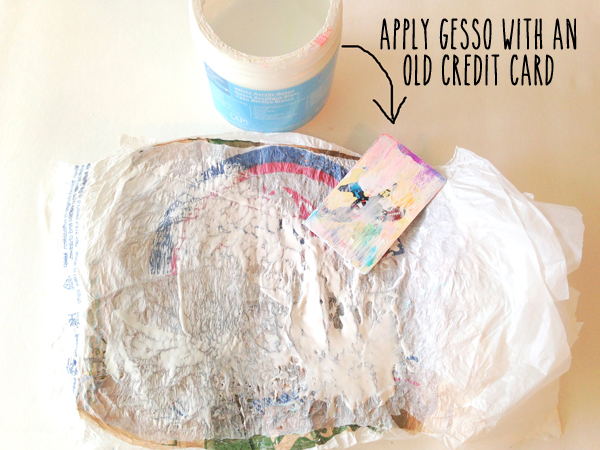
STEP TWO:  Apply a layer of gesso to your finished plastic canvas. Use an old credit card to move the gesso around. Let dry completely.

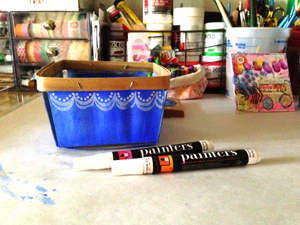
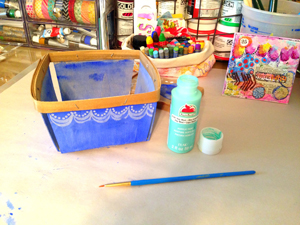
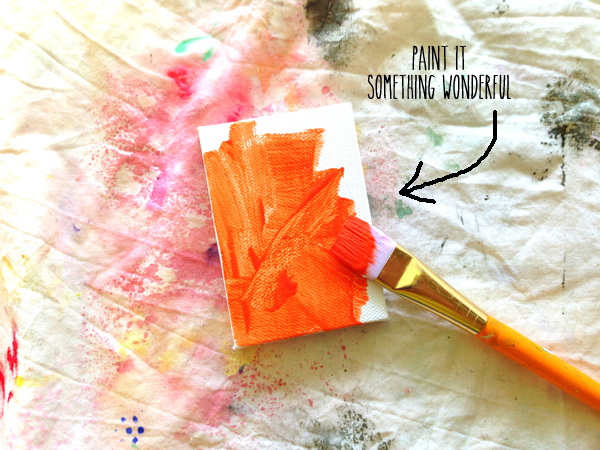
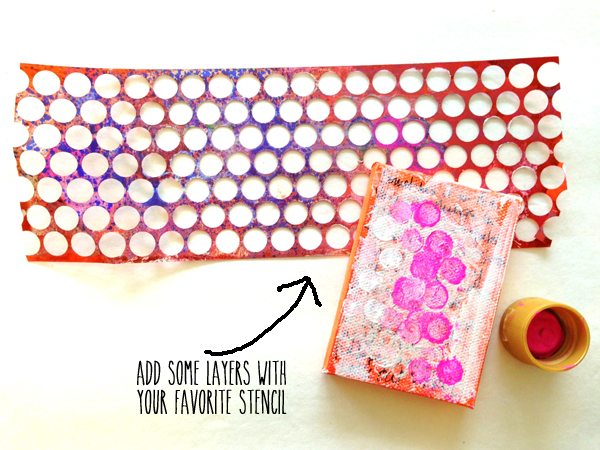
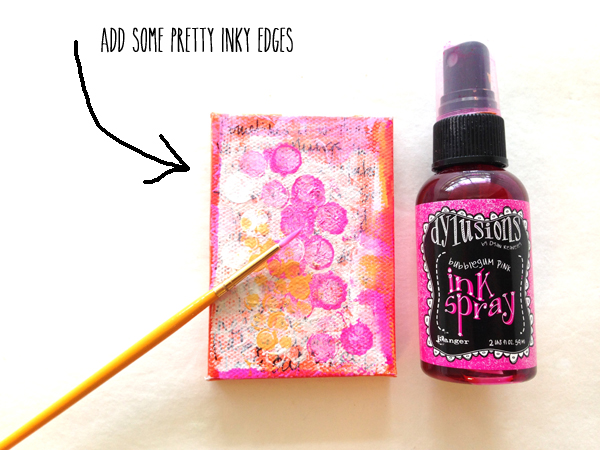
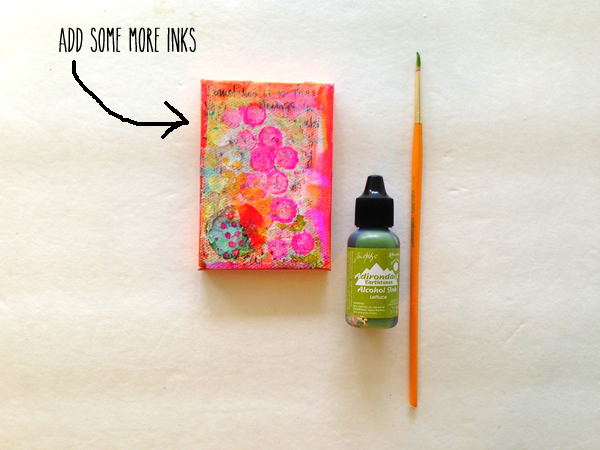
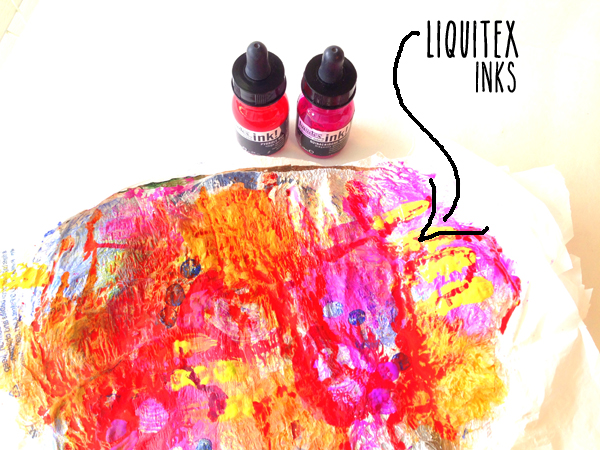
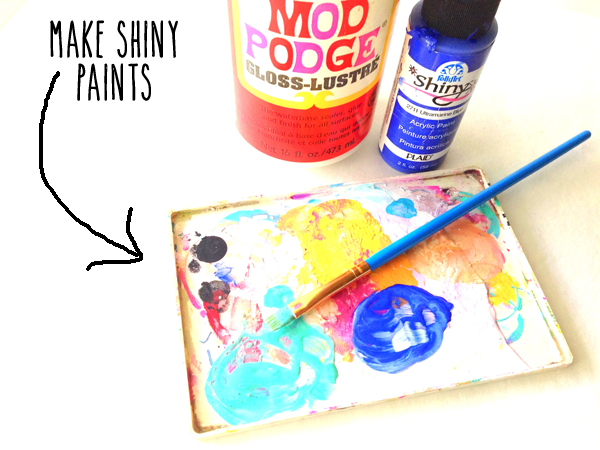
STEP THREE:  Start layering your canvas with inks and paints. Spray, brush or dab on your colors to create dimension and color, making sure to let each coat dry completely before adding another layer.

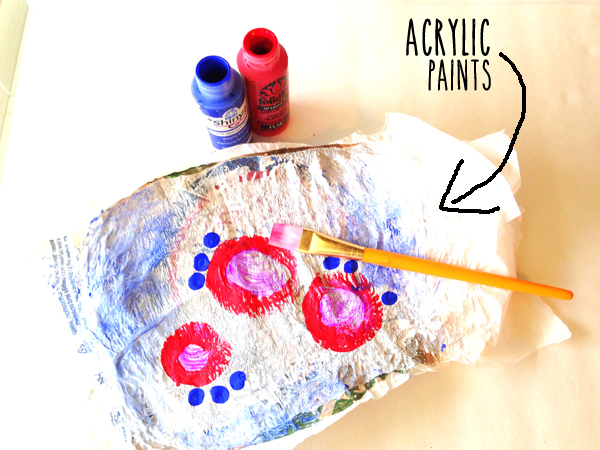
You can mix a little glossy mod podge with your favorite acrylic paints to create a beautiful color that dries with a shine.

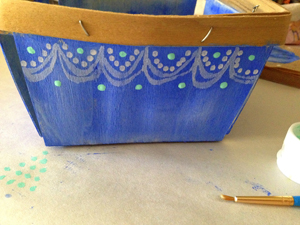
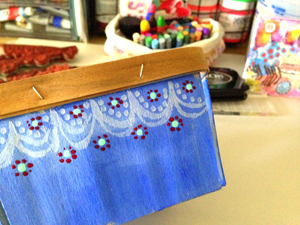
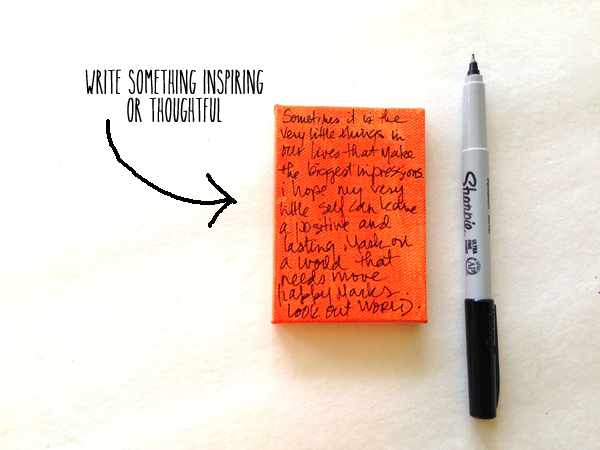
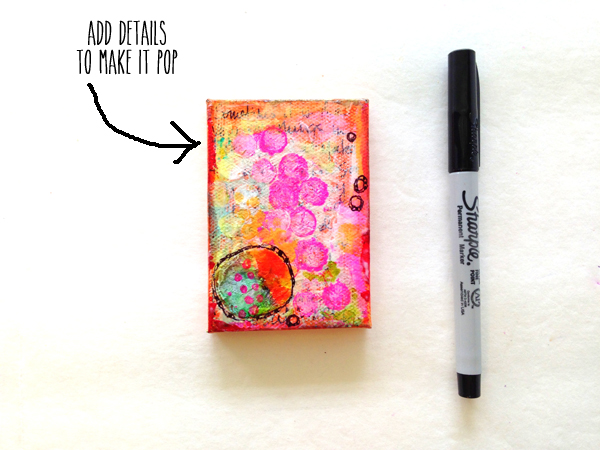
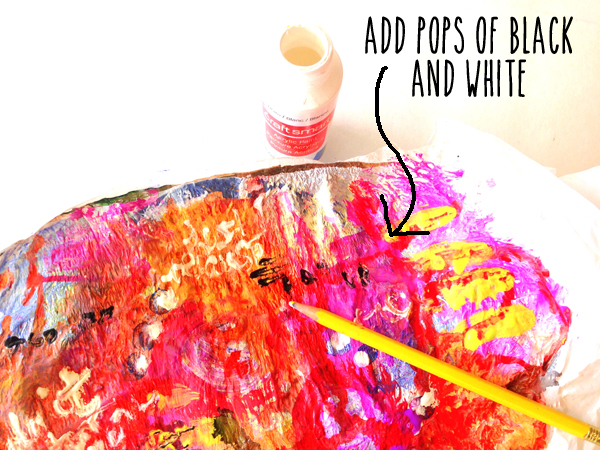
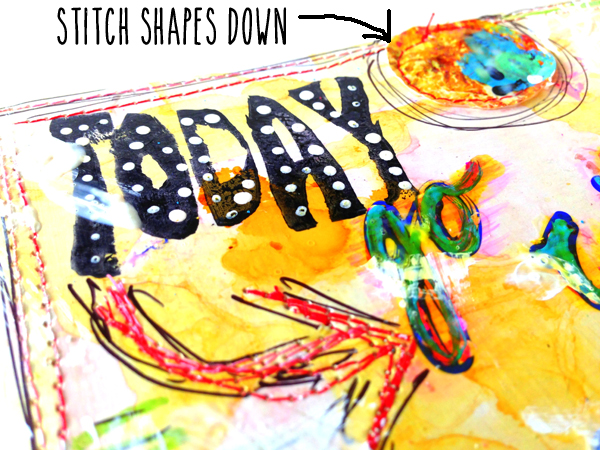
STEP FOUR:  Add pops of white and black using a fine tipped brush or the end of a pencil. Add inspiring words or phrases.

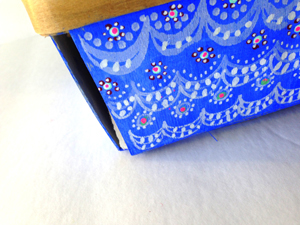
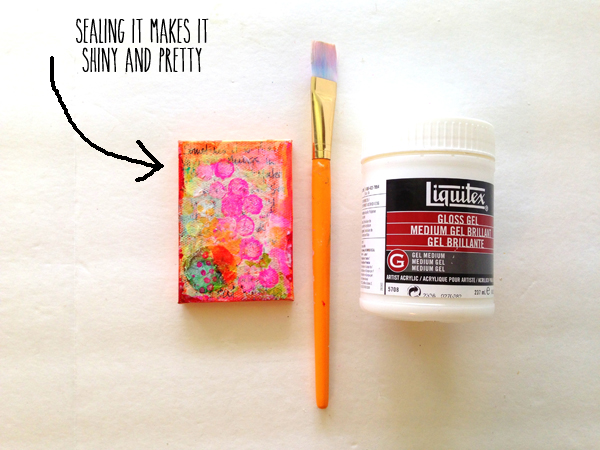
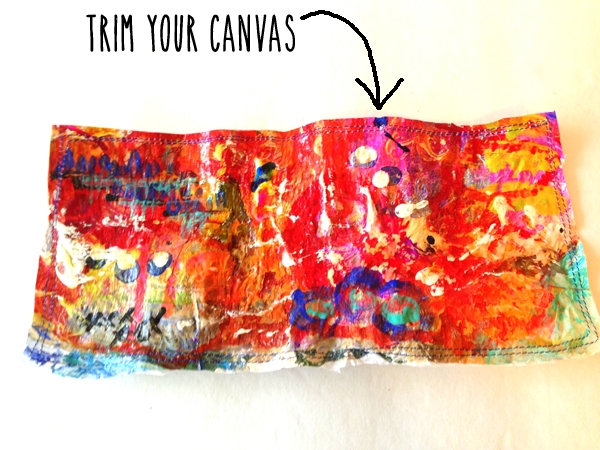
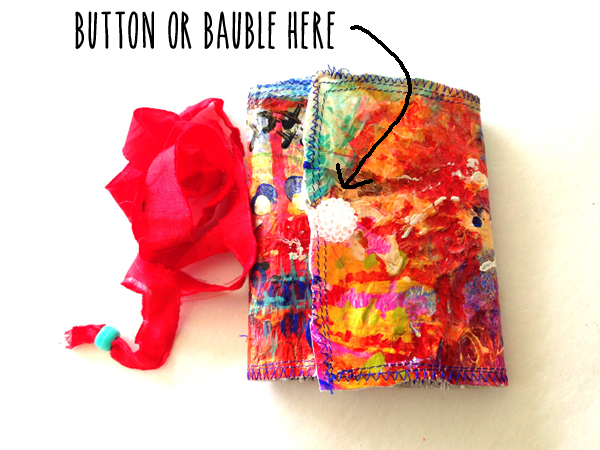
STEP FIVE: After your PLASTIC FUSED CANVAS has dried completely, add a final coat of glossy gel medium or mod podge. Let dry. Now your canvas is ready to cut into shapes.

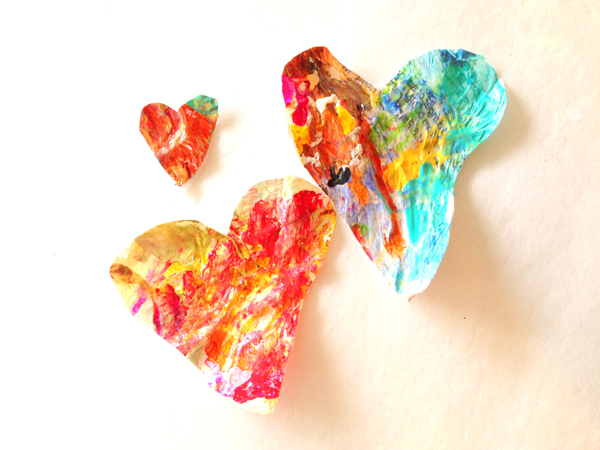
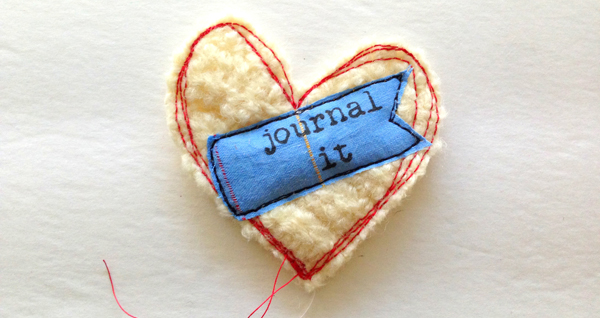
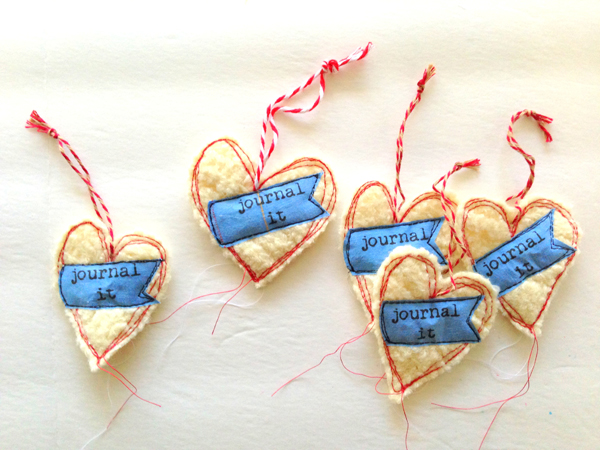
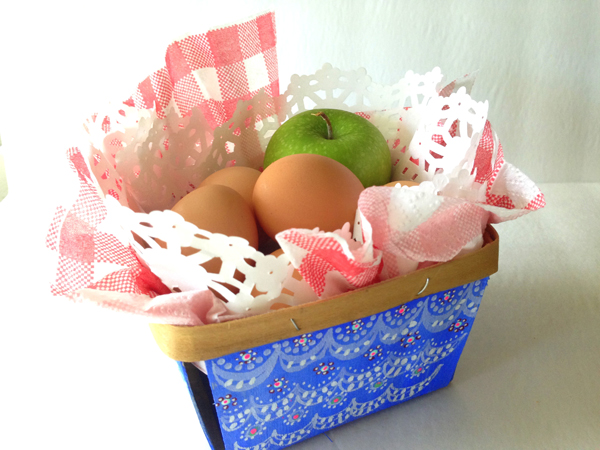
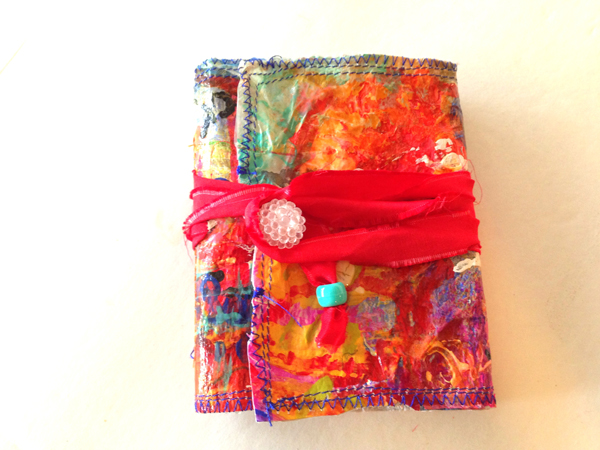
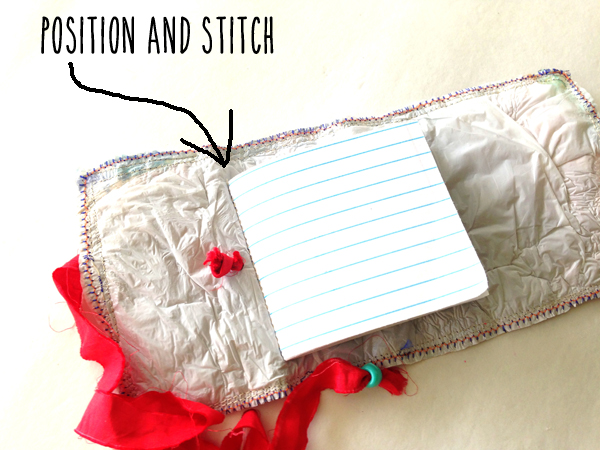
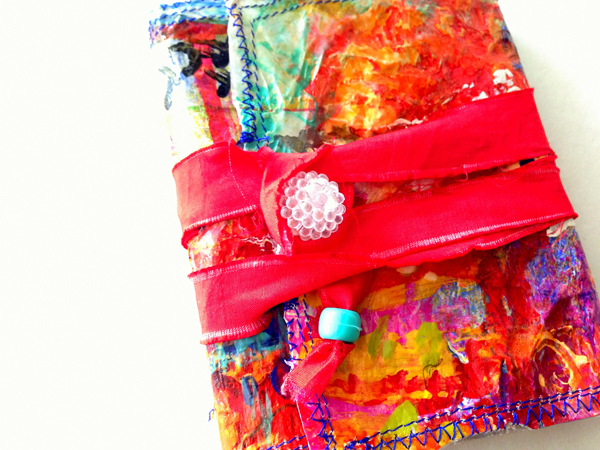
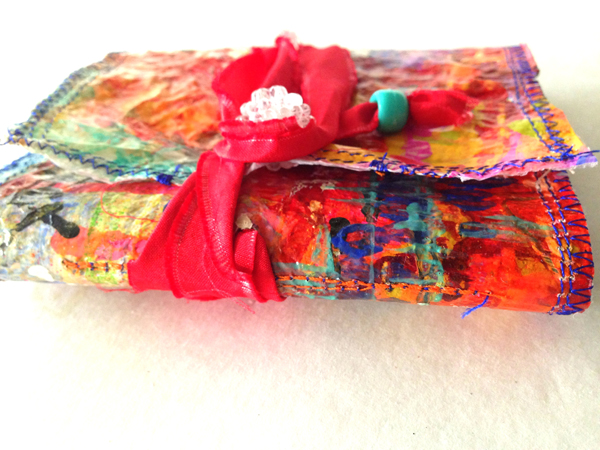
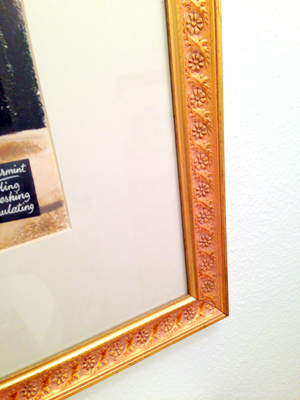
They look so pretty stitched to your favorite card or journal page.

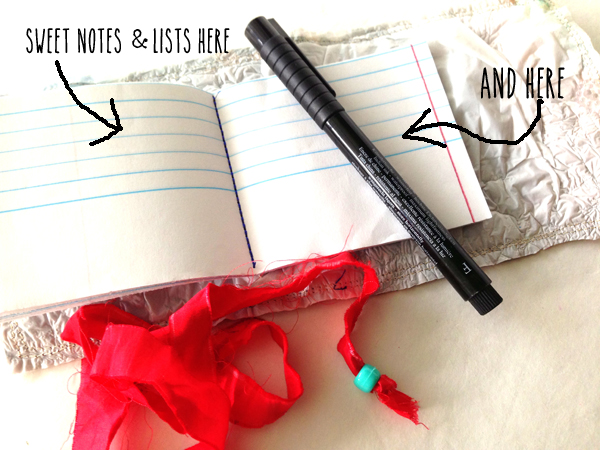
Look for another cool way to use your PLASTIC FUSED CANVAS soon!

Friday
Jul052013

tutorials: chalkboard wall art

I am sharing an easy tutorial today! Chalkboard Wall Art.

This pretty chalkboard is so easy you can make it in just a few hours. To start with, just shop your home for a piece of framed wall art that you are not using or are ready to change up. Tape off the frame and grab some chalkboard spray paint. I like to use Rust-Oleum because it covers so well and doesn't seem to drip.

Next I spray the glass of the wall art according to the directions on the paint you are using. The hardest part for me was waiting in between coats, but it is important to follow this step. I sprayed two coats. Once your final coat is dry you will need to season your chalkboard. To do this you simply rub the entire surface with the a piece of chalk and then erase it.

After I seasoned my chalkboard I took the painters tape off and mixed up some craft paint to spruce up my frame. I mixed white and mint green to get a pretty coppery green color. After I finished painting, I immediately sanded the entire frame lightly.

Waaalaaa- you are done! This is a super easy way to change up your wall art while only spending a few pennies on supplies.

Easy, cheap and re-purposed!